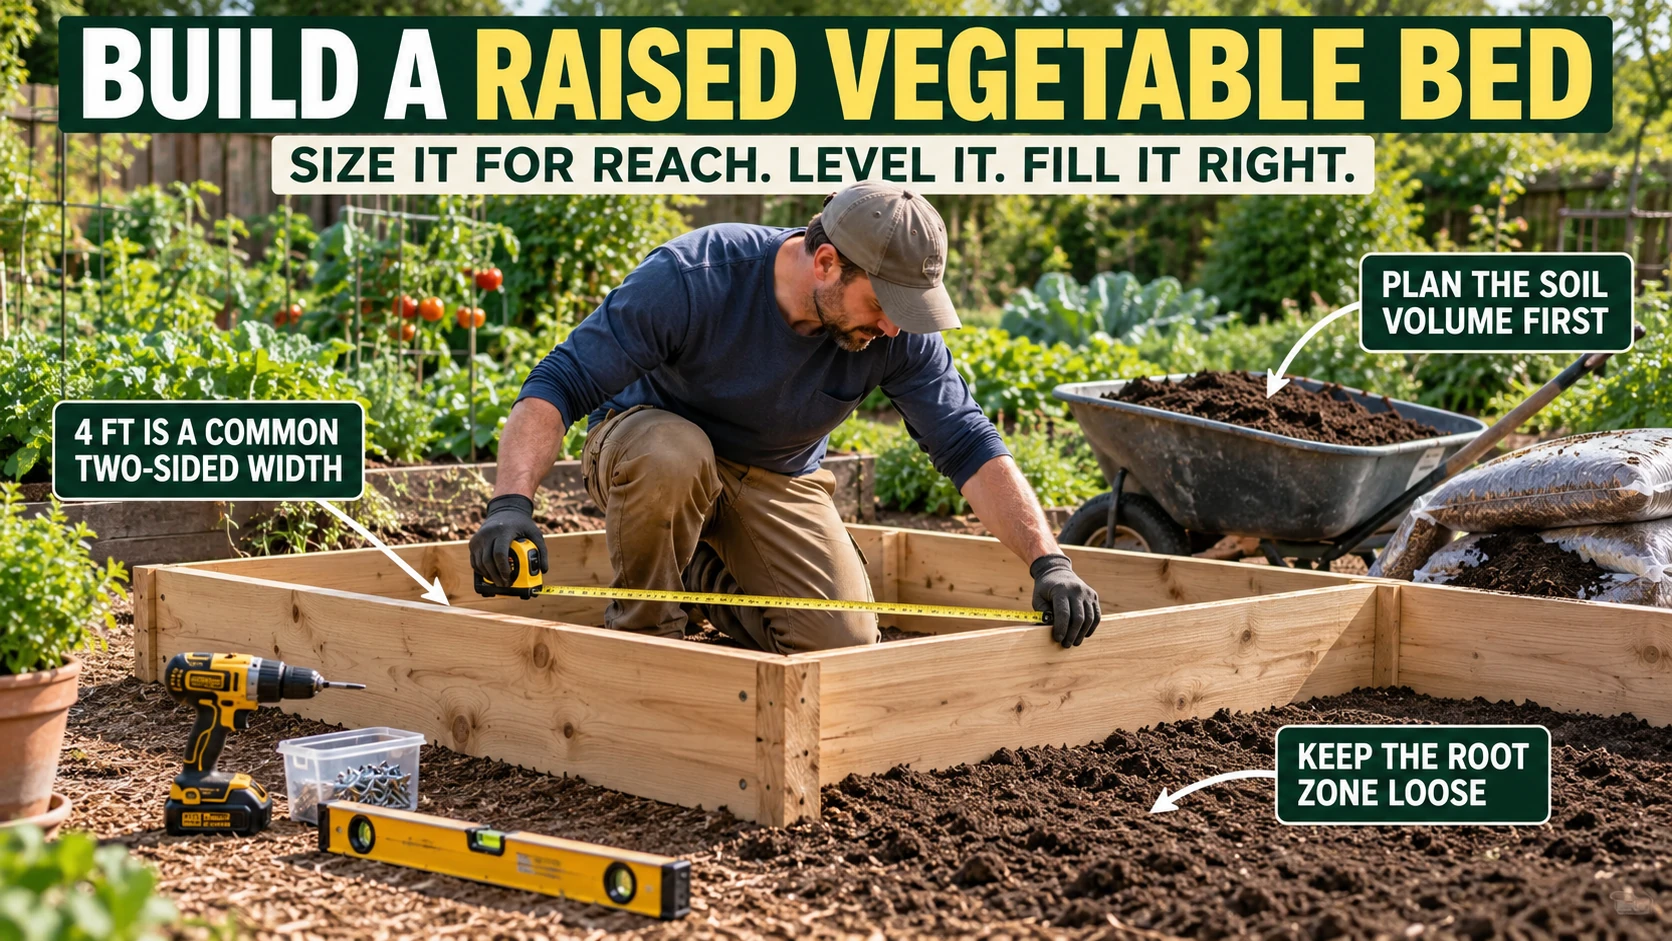

A good raised vegetable bed starts with three decisions: make it narrow enough to reach the center without stepping into the soil, build the frame level and well braced, and calculate the fill volume before ordering soil. For many home gardens, a bed around 4 feet wide when accessible from both sides and roughly 8 to 12 inches high is a practical starting point, but the correct height depends on the existing ground, the crops, drainage, and the gardener’s access needs. Plan those constraints first, then cut lumber and buy soil.
Raised beds are useful because they let you control the rooting zone, improve access, and work around compacted or difficult native soil. They also behave more like large containers than flat ground, so they can dry faster and need a reliable water source nearby. The goal is not to make the bed as tall or as rich as possible; it is to create a stable, reachable volume of well-drained soil that roots can actually use.
The raised-bed build in one minute
Use this sequence if you want the shortest reliable path from bare ground to a plantable bed. Each step prevents a common downstream problem: awkward reach, a twisted frame, bowed sides, an incorrect soil order, or a bed that is difficult to water. The detailed sections below explain how to adjust the same workflow for slopes, hard surfaces, questionable native soil, and different frame materials.
- Choose a sunny site near water. Most fruiting vegetables perform best with at least 6 to 8 hours of direct sun.
- Set the width from your reach. About 4 feet is a common limit when you can work from both sides; keep a one-sided bed closer to 2.5 to 3 feet.
- Choose the height for the root zone and access need. A 6- to 12-inch rooting zone is a common minimum range, while deeper beds can help over very poor ground or improve accessibility.
- Level the base before assembling. A level frame distributes soil pressure more evenly and makes irrigation less frustrating.
- Brace the corners and long sides. Wet soil is heavy, and long boards can bow outward without support.
- Calculate fill volume before buying soil. Multiply inside length by inside width by fill depth using the same units.
- Fill with a soil-forward mix, then water and settle it. A practical starting blend is roughly 70% good topsoil and 30% finished plant-based compost, adjusted for the soil you actually buy.
The dimensions above align with university-extension guidance rather than a single commercial kit size. University of Missouri Extension describes 4 feet as a convenient two-sided width and 3 feet as a practical one-sided limit, while University of Minnesota Extension emphasizes sizing the bed around comfortable reach so you do not compact the soil by walking in it. Use the numbers as a design check, not as a rule that overrides your body, site, or access needs.
| Decision | Practical starting point | Change it when… |
|---|---|---|
| Width | Up to about 4 ft with access from both sides | You can reach only one side, have limited mobility, or need a narrower path. |
| Height / fill depth | Roughly 8-12 in for many vegetable beds over usable soil | Native soil is compacted, contaminated, paved, very shallow, or the gardener needs a higher working surface. |
| Path width | About 2-3 ft where carts or wheelbarrows need access | You need wheelchair turning space, two-person access, or wider maintenance equipment. |
| Soil mix | Soil-forward mix with finished compost; 70/30 is a useful starting blend | A soil test, the supplier’s blend, drainage, or crop needs justify a different ratio. |
Choose the site before you buy lumber
Put the bed where the plants you want to grow can get the light they need, not simply where the box looks neat in the yard. Tomatoes, peppers, eggplants, cucumbers, beans, and many other fruiting vegetables generally need a full-sun position, and University of Minnesota Extension uses 6 to 8 hours of direct sun as a useful benchmark for those crops. If your site has less light, you can still use a raised bed, but the crop list should shift toward greens and other plants that tolerate partial shade.
Keep the bed close enough to a hose, irrigation line, or other dependable water source that midsummer watering does not become a chore. Raised beds often dry faster than surrounding garden soil because more soil surface and sidewall area are exposed to heat and air, especially when the bed is tall or sits on pavement. If you are still deciding where vegetables belong in the whole yard, the kitchen garden planning guide can help you place beds, paths, crops, and access before you commit to construction.
Check the ground itself before placing the frame. Level small high spots, correct obvious drainage traps, and do not build directly over a utility, septic component, or area you may need to excavate later. If the native soil may contain lead, pesticide residues, industrial contamination, or other hazards, treat that as a soil-safety problem rather than a normal raised-bed setup; Penn State Extension recommends special testing where contamination is suspected and clean imported soil with appropriate separation from the questionable ground.
Size the bed around reach, not around a standard kit
Width matters more than length because width determines whether you can reach every plant without putting a foot into the growing soil. A two-sided bed can often be about 4 feet wide, while a bed against a fence or wall should usually be narrower because all maintenance happens from one side. If the gardener has shorter reach, uses a mobility aid, or will garden while seated, reduce the width until the center is genuinely comfortable to reach.
Length is flexible, but very long wooden sides need more bracing and can make circulation awkward. University of Minnesota Extension notes that shorter boards are less likely to warp or break, while Missouri Extension suggests breaking very long runs into shorter beds with walkways between them. For a first project, 6 to 8 feet long is easy to manage, leaves room for useful planting layouts, and keeps soil pressure on the sidewalls reasonable.
Height should solve a problem rather than create one. A modest frame can provide a good root zone over workable native soil, while a deeper bed may be useful over compacted ground, rock, pavement, or for a gardener who needs less bending. Once walls approach roughly 18 to 24 inches, the structure has to resist much more outward soil pressure, so stronger supports, better joinery, and in some designs a more deliberate foundation become important.
Choose frame material without creating a future problem
Untreated cedar, redwood, black locust, and other naturally durable woods are straightforward choices when available, and ordinary untreated lumber can work when lower cost matters more than maximum lifespan. Metal beds, masonry, concrete blocks, and garden-rated composite materials are also viable when their surfaces and coatings are appropriate for food-growing use. Avoid railroad ties, creosote-treated material, and reclaimed lumber of unknown treatment history in a vegetable bed.
Pressure-treated lumber needs a more careful answer because guidance is not identical across extension sources. The U.S. EPA notes that chromated copper arsenate (CCA) was discontinued for most residential wood uses after 2003, and Oregon State University Extension reports ongoing research indicating that modern copper-azole-treated ground-contact lumber can be a durable raised-bed option without concerning copper accumulation in the vegetables tested at its Oregon study site. Other extension publications still recommend untreated wood for food beds, so gardeners who want the lowest-uncertainty route can simply choose untreated rot-resistant wood, metal, masonry, or another garden-rated material.
Whatever material you choose, design for repair. Keep fasteners accessible, avoid trapping water against end grain, and use corner blocks or posts so screws are not relying only on end grain to hold the box together. If the side is long, add a mid-side stake, post, or cross-brace before the bed is filled; correcting bowing after a cubic yard of wet soil is already inside is far harder.
A practical 4 x 8-foot wooden example
This example uses U.S. nominal dimensional lumber to show the logic, not to prescribe one universal stock size. For an outside footprint close to 4 by 8 feet using nominal 2-inch-thick side boards with an actual thickness around 1.5 inches, two 8-foot side boards and two end boards around 45 inches long will produce an outside width close to 48 inches when the end boards fit between the sides. Measure the actual boards you bought before cutting because dimensions and stock standards differ by country and product.
- Two long side boards at the chosen bed length.
- Two end boards cut to the required inside or outside width for your chosen joint.
- Four corner blocks or posts cut to the wall height.
- At least one mid-side brace or stake for each long side when the boards are long enough to bow.
- Exterior-rated structural or deck screws long enough for the joint; 3-inch galvanized screws are a common recommendation in extension build guides.
- Tape measure, square, spirit level, drill/driver, saw if cuts are required, eye protection, gloves, shovel, rake, and wheelbarrow.
- Optional hardware cloth underneath where burrowing animals are a known problem.
If the project needs to be higher for standing or seated access, do not simply stack more thin boards without changing the support plan. A tall bed behaves more like a retaining structure, especially after heavy irrigation or rain adds weight to the fill. For a waist-height alternative that keeps the soil completely elevated, see the separate guide on how to make a raised garden bed with legs.
Build the frame step by step
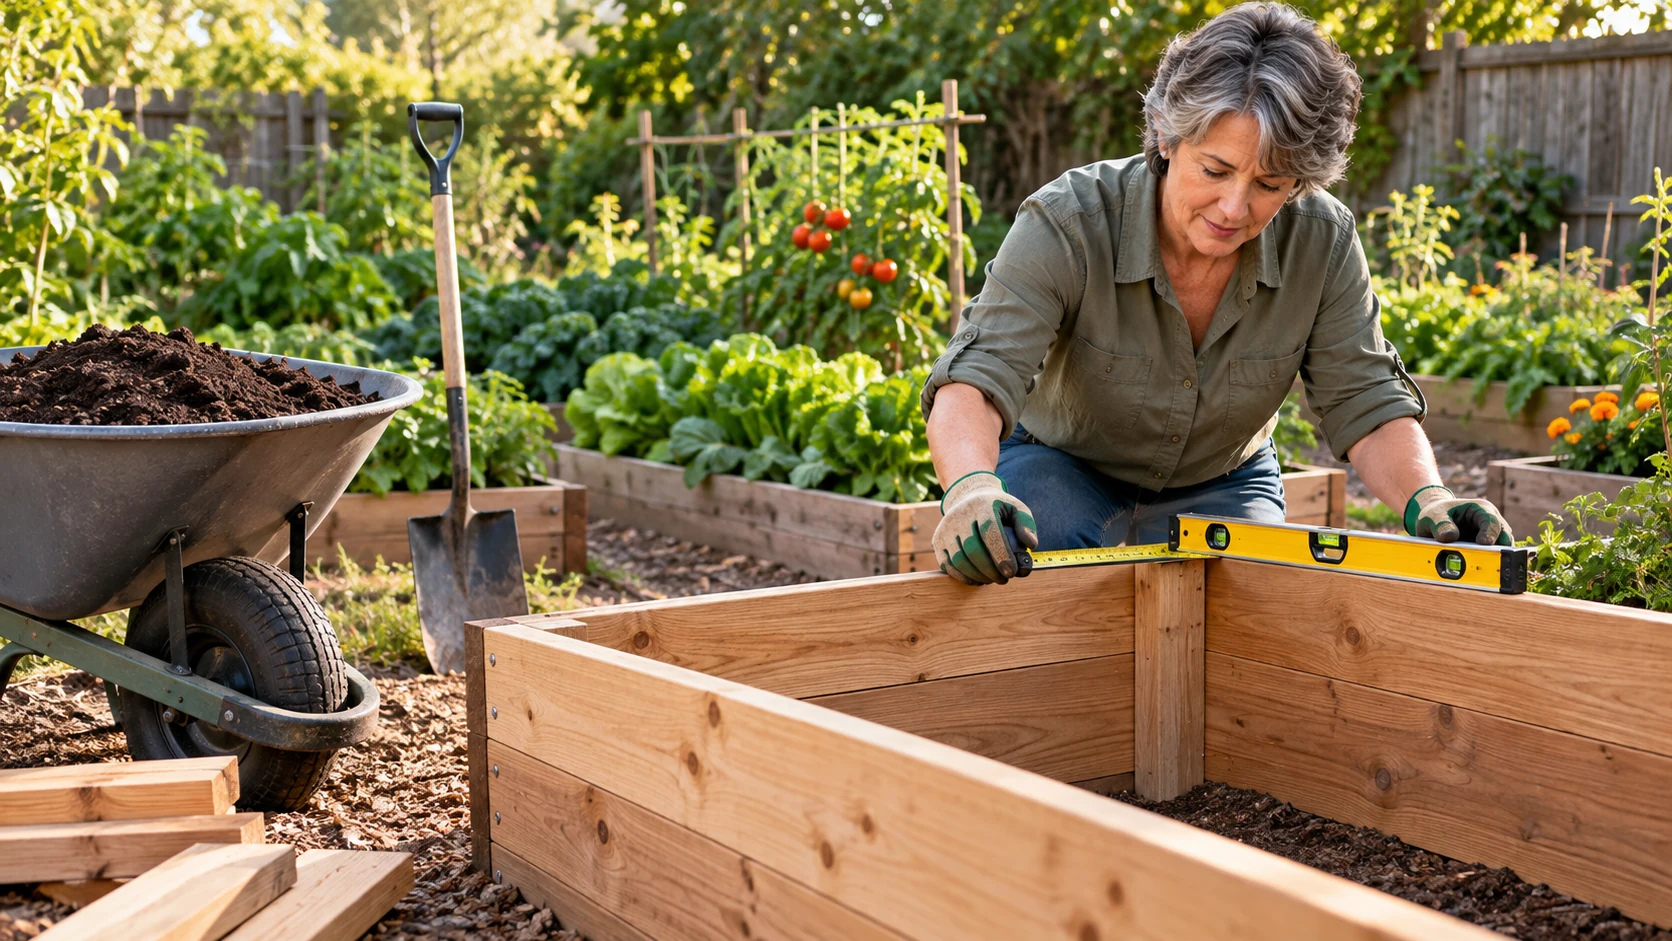
Dry-fit the frame on the site before driving the final screws. Measure both diagonals; when the diagonals match, a rectangular frame is square, and the boards will be easier to brace and fill evenly. Check level along both the long and short sides, then scrape down high ground or pack and compact appropriate base material under low points rather than forcing a twisted frame together.
- Mark the footprint. Use stakes and string, then confirm path clearances around every working side.
- Prepare the base. Remove large roots, rocks, and high spots; keep healthy soil open below the bed where deep rooting is desirable.
- Assemble the corners. Fasten the side and end boards into corner blocks or posts so the screws bite into solid face grain.
- Square the frame. Compare diagonal measurements and adjust before fully tightening all fasteners.
- Level the frame. Check every side and corner because soil and irrigation water will expose any major slope immediately.
- Brace long walls. Install mid-side stakes or another approved brace before adding soil.
- Add pest protection only if needed. Hardware cloth can deter burrowing animals, but the bed should still drain freely.
- Fill in stages. Add soil evenly around the frame instead of dumping all the load against one wall.
Keep the soil out of the bed until you are satisfied with the structure. Once filled, even a modest bed becomes heavy enough that moving or re-squaring it is an unpleasant job. This is also the best point to decide where a drip line, trellis socket, irrigation manifold, or season-extension hoop support will attach so you do not drill blindly into a finished bed later.
How much soil does a raised bed need?
Calculate soil from the inside planting dimensions: inside length x inside width x fill depth. A bed with 4 feet by 8 feet of planting area filled to 12 inches needs about 32 cubic feet of mix, which is about 1.19 cubic yards before allowing for the exact inside dimensions and any settling after watering. If the bed is only 8 inches deep, the same footprint needs about 21.3 cubic feet, so a few inches of depth can change the soil order substantially.
Bulk suppliers often sell by the cubic yard while bagged products are sold by cubic feet or liters, which makes accidental under-ordering common. Measure the real inside dimensions after the frame is assembled and use the actual intended fill depth rather than the board’s nominal height. If you are building more than one bed, calculate each bed and then total them instead of assuming every frame has exactly the same dimensions.
Raised Bed Build Studio
Use the interactive experience below to calculate soil volume, compare the bed width with common reach guidance, estimate soil and compost quantities, and flag structural or site conditions that deserve attention before you fill the frame. It also creates a one-page A4 build sheet that keeps the dimensions, fill order, and checks together for the garden center or worksite. The calculations are geometric estimates, so local lumber dimensions, soil bulk density, settlement, and supplier bag sizes still need to be verified before purchase.
Raised Bed Build Studio
Size the bed for reach, calculate the fill, and catch frame or site problems before the soil makes them expensive to fix.
Enter the bed you actually plan to build
Use inside planting dimensions for the most accurate soil-volume estimate.
Your build check
Ready for dimensions.
A 4 ft bed is a common two-sided width when the center is comfortably reachable.
Twelve inches gives a useful raised root zone for many vegetables.
On healthy soil, preserve drainage and loosen the surface where practical.
Next actions
Compare local fill before ordering
No provider data is invented. Use the location above to open a live search.
Search near your city, ZIP/postcode, or neighborhood.
Bulk topsoil / screened loam, finished compost, or landscape-material supplier.
Compare blend contents, minimum order, delivery fee, screened particle size, compost source, and whether the quoted volume is cubic yards or bags.
Estimates are for planning, not structural engineering or a soil test. Lumber dimensions, local treatment standards, bulk-mix composition, settlement, drainage, and supplier bag sizes vary.
What to fill the bed with
A raised bed does not need to be filled with pure compost or potting mix. Penn State raised-bed soil guidance recommends a starting ratio of about 70% soil to 30% compost, while University of Minnesota Extension describes a broader range from roughly two-thirds to one-half topsoil with the balance made up by plant-based compost. The shared principle is more important than the exact number: build a mineral-soil-based root zone with enough stable organic matter to improve structure, not a giant container of lightweight potting substrate.
Too much compost can create its own problems because compost can dry rapidly, become difficult to re-wet when excessively dry, and supply more nutrients than the crop needs. High-phosphorus manure or manure-based compost should not be added automatically year after year, especially without a soil test. If you are unsure what your bulk supplier is selling, ask whether the mix is screened topsoil, compost, sand, bark fines, manure, or a proprietary raised-bed blend and compare that answer with the basic soil types for beginners guide.
Before filling a bed that sits on healthy native soil, loosen the surface so roots, water, and soil organisms can move between the raised layer and the ground below. This is particularly useful when the frame itself is not deep enough to provide the full rooting volume for larger vegetables. If the native soil is contaminated or the bed sits on an unsuitable hard surface, use a different bottom strategy rather than mixing that underlying material into the clean fill.
Prepare the bottom for the surface you actually have
Do not treat a liner as a substitute for drainage. A healthy ground-contact bed normally benefits from an open connection with the soil below, while a hard-surface bed needs deliberate outlets so excess irrigation cannot sit around roots. If burrowing animals are the problem, hardware cloth is a targeted barrier; if contamination is the problem, follow the separation and clean-fill approach recommended for that site instead of improvising with a thin decorative fabric.
| Surface under the bed | Before filling | Main risk to manage |
|---|---|---|
| Healthy garden soil | Remove aggressive perennial weeds and loosen the surface where practical. | Compaction at the interface between new fill and native soil. |
| Lawn | Suppress or remove turf, then keep the base able to drain into the soil below. | Persistent grass and weeds growing up through the bed. |
| Pavement / hardscape | Confirm a safe drainage route and use enough soil depth for the crops. | Heat, faster drying, and water trapped at the base. |
| Suspected contaminated soil | Test as appropriate and isolate clean imported fill from the questionable ground. | Bringing contaminated soil or dust into the food-growing root zone. |
Planting and watering after the build
Water the filled bed before planting so the mix settles and reveals low spots. Top up after the first thorough wetting if the soil surface drops noticeably, but keep the finished level below the top edge so mulch and irrigation water stay inside the frame. Once planted, check moisture with the soil itself rather than watering on a fixed schedule because raised beds can dry faster in hot, windy, or paved locations.
Drip tubing or a soaker system can reduce the time spent hand watering and keeps most irrigation close to the root zone. Mulch can also reduce surface evaporation and soften temperature swings, but do not pile it directly against vegetable stems. For the day-to-day method, see how to water plants correctly, especially if the bed contains a mix of shallow-rooted greens and larger fruiting crops.
Plan crop spacing before you overfill the bed with seedlings. A raised frame does not change the mature size of a tomato, squash vine, kale plant, or cabbage, and crowding can reduce airflow even when the soil is excellent. If you want a more systematic spacing approach for small beds, the square-foot gardening guide can help you organize the planting surface without stepping into the soil.
Common raised-bed mistakes that are easier to prevent than fix
- Making the bed too wide. If you have to kneel in the soil to reach the center, the bed is already defeating one of its main advantages.
- Filling before leveling and bracing. Soil hides small frame problems until the side bows or irrigation runs to one corner.
- Using unknown reclaimed lumber. Old treatment chemicals, paint, or industrial contamination may be impossible to identify confidently.
- Buying only compost or potting mix. A soil-forward blend is usually more stable and appropriate for a permanent raised bed.
- Ignoring the water source. Raised beds can need more frequent watering, especially when tall, exposed, or placed on hot hardscape.
- Forgetting path width. A bed can be perfectly sized yet still be awkward if a wheelbarrow cannot pass or the gardener cannot turn comfortably.
- Building tall walls without stronger structure. Soil pressure rises with depth, so tall beds need more than a shallow-bed fastening pattern.
The easiest way to avoid most of these failures is to treat the project as a small landscape structure, not just four boards around dirt. Measure the user’s reach, the site slope, the paths, the water source, and the soil volume before construction starts. If you are new to food gardening as well as carpentry, the vegetable gardening for novices guide can help you connect the bed build with what will actually grow there.
Raised garden bed FAQs
What is the best width for a raised vegetable bed?
About 4 feet is a common maximum when you can work from both long sides, because that keeps the center reachable without stepping into the soil. If you can reach only from one side, keep the bed closer to about 2.5 to 3 feet or whatever width your actual reach supports. Accessibility needs should override a generic dimension.
How deep should a raised garden bed be for vegetables?
Many vegetables need at least roughly 6 to 12 inches of usable rooting zone, and an 8- to 12-inch frame is common when the native soil below is also usable. Build deeper when the underlying ground is compacted, shallow, paved, contaminated, or when a higher working height is needed. Taller walls need stronger structural support because the soil load increases quickly.
How much soil is needed for a 4 x 8 raised bed that is 12 inches deep?
A true 4-by-8-foot inside area filled 12 inches deep holds 32 cubic feet, or about 1.19 cubic yards. Real frames have board thickness and may not be filled to the absolute top, so measure the assembled inside dimensions before placing the order. The interactive studio above can also split that volume into soil and compost quantities.
Can pressure-treated lumber be used for a vegetable raised bed?
Current U.S. residential pressure-treated lumber is different from older CCA-treated material, and Oregon State research on copper-azole-treated beds has not found concerning copper accumulation in the vegetables it tested. Some extension publications still prefer untreated rot-resistant wood for food gardens, so gardeners who want the simplest low-uncertainty choice can use untreated cedar, redwood, black locust, metal, masonry, or another garden-rated material. Do not use railroad ties, creosote-treated wood, or reclaimed lumber with unknown treatment.
Should I line the bottom of a raised bed?
On healthy soil, an open bottom usually gives roots and drainage the best connection to the ground below. Use hardware cloth when burrowing animals are a known problem, and use an appropriate barrier with clean imported soil when native-ground contamination is a concern. A liner should solve a defined problem rather than simply be added by default.
Do raised garden beds need drainage holes?
An open-bottom bed sitting on permeable soil normally drains through the soil below and does not need drilled bottom holes. A bed on pavement, a solid deck surface, or another impermeable base needs a deliberate drainage path so water cannot pool around the root zone. The correct solution depends on the base material and where the drained water can safely go.
Build for the gardener first
The strongest raised-bed design is not the tallest, most expensive, or most heavily amended one. It is the one you can reach comfortably, water reliably, keep structurally square, and refill or repair without dismantling the whole garden. Get the dimensions and soil volume right before construction, and the rest of the project becomes far more predictable.