
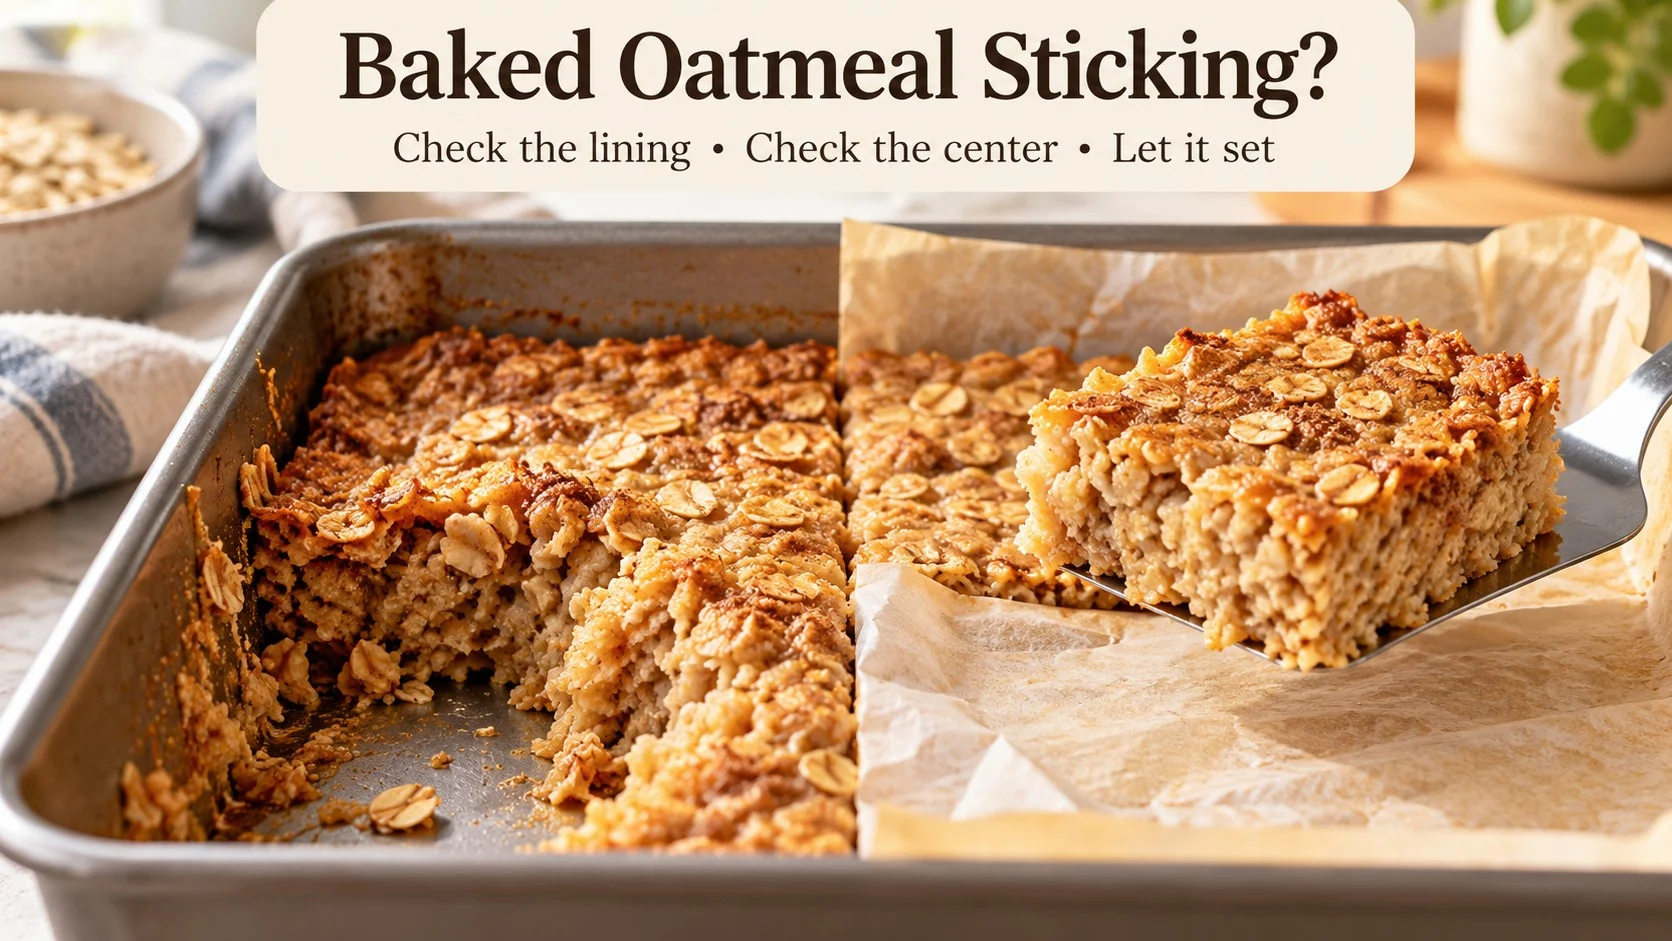
Baked oatmeal usually sticks because part of the dish has no effective release barrier, the middle has not finished cooking, or the serving is lifted before it can hold together. Check the center before scraping: a cooked square that clings to the base needs a different fix from a wet mixture that cannot support a slice. These checks are for stirred baked oatmeal with visible oat flakes, rather than blended baked oats.
Check the center before blaming the dish
Look at what stays behind when you lift a small serving. A thin, cooked layer attached to the bottom points toward the pan surface; a serving that smears, slumps, or breaks through the middle points toward structure. Both problems can happen in the same dish, so changing the grease alone may not solve a wet center.
Baked oatmeal is not always intended to cut like a breakfast bar. Some recipes deliberately make a soft, spoonable casserole, and that texture is not a failure. Use the recipe’s intended finish as your reference before trying to produce firmer squares by baking it longer.
- Firm serving, attached base: loosen the perimeter and slide a suitable spatula underneath.
- Loose or liquid middle: stop lifting and check cooking progress against the recipe.
- Cooked but fragile while hot: allow the serving to firm up before another release attempt.
- Soft casserole by design: serve with a spoon rather than forcing a square.
Why the base and corners grab
A quick spray across the center of a dish can leave the corners and upper sides nearly bare. Once the mixture reaches those areas, the serving has a place to anchor. Check the entire contact surface before filling the pan, especially where a parchment sheet stops or folds away from a corner.
Grease coverage matters more than a glossy pool
A pool of oil at the bottom does not tell you whether the sides are protected. Liquid fat can also migrate into the mixture during baking, leaving less of a distinct barrier at the contact surface. Quaker’s quick-bread release guidance identifies both missed corners and absorption of liquid oil as sticking causes; that is related-batter guidance, not an oatmeal-specific comparison trial.
Use the greasing method specified by the recipe and cookware maker, then inspect coverage rather than assuming one fat works in every dish. If clean lifting is your priority, oven-safe parchment across the base provides a physical separation that additional fat cannot guarantee. Do not treat butter, shortening, and spray as a proven performance ranking for all baked oatmeal recipes.
Use a parchment sling for portions you want to lift
Cut oven-safe baking parchment to cover the base and rise above two opposite sides of the dish. Grease any exposed sides or corners according to the recipe, and keep the overhang clear of oven walls and heating elements. Once the bake is cooked and sufficiently cohesive, the paper gives you a way to lift it without dragging every serving across the bare base.
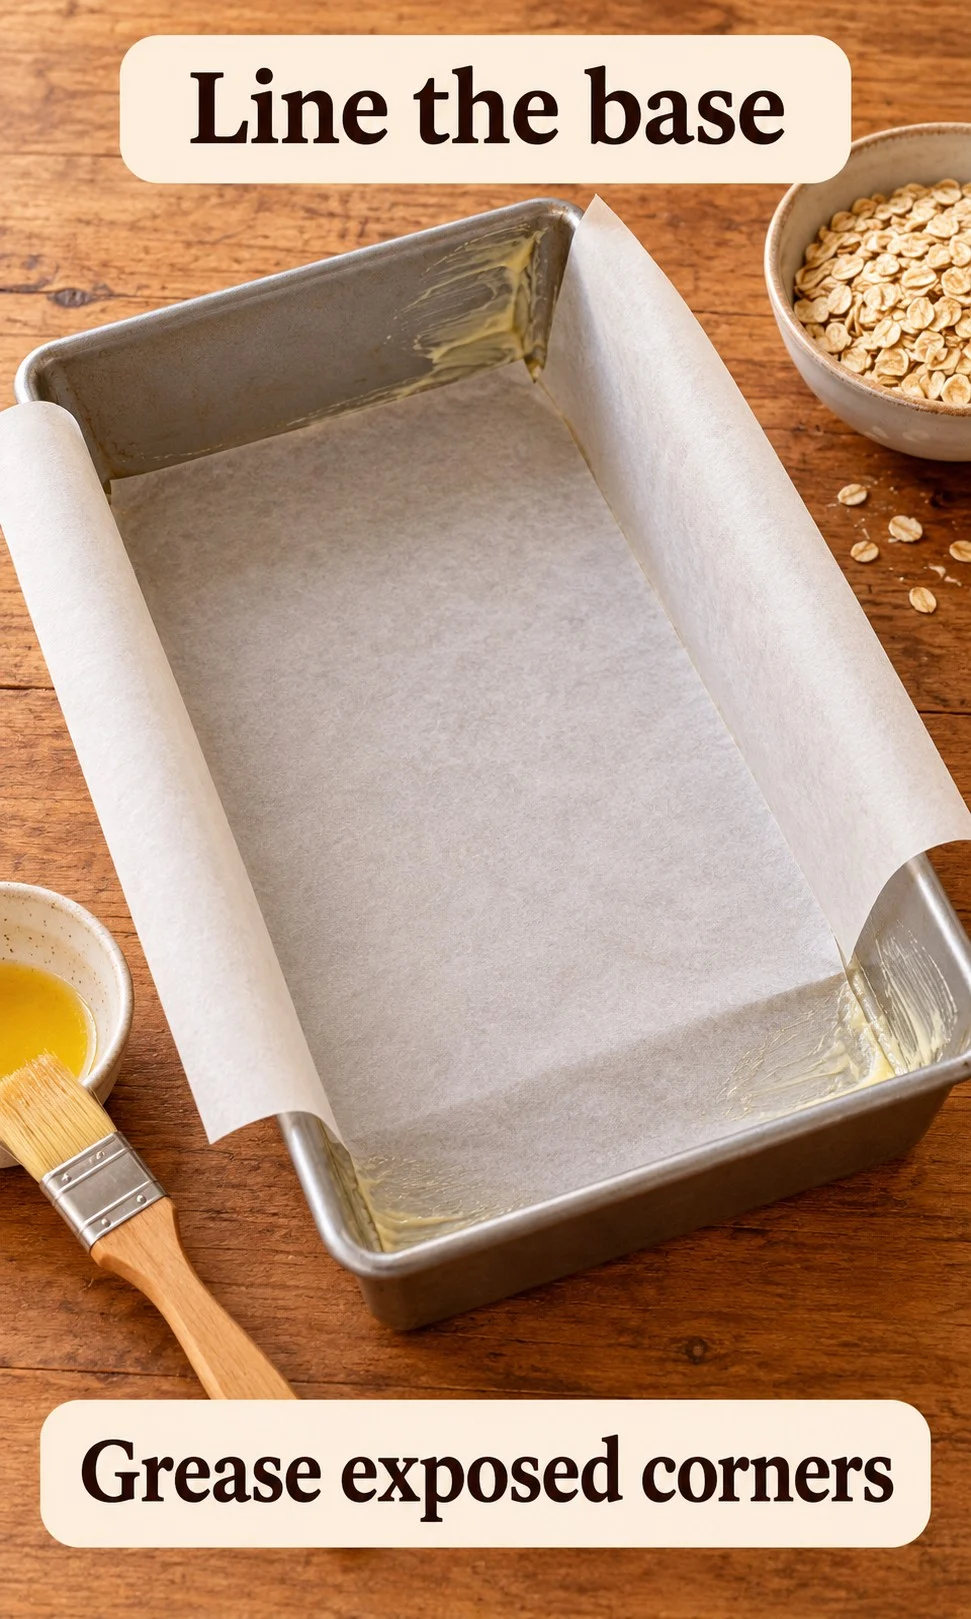
Parchment and foil perform different jobs here. Wholesome Yum’s baked oatmeal pan note recommends parchment for a metal pan and warns that foil can stick to this bake. Foil used loosely above a browning top is a separate use; do not confuse a protective tent with a release lining, and never substitute wax paper for oven-safe parchment.
What your dish changes
Changing the dish changes more than the surface touching the oats. Internal dimensions, fill depth, wall thickness, and color affect how the batch cooks, so a deeper replacement dish can leave the center behind even when the edges look finished. Keep the recipe’s pan size and preparation instructions as the starting point instead of applying a universal material-based time adjustment.
| Dish or lining | What to check |
|---|---|
| Glass or ceramic | Inspect bare corners and the center texture. Do not assume a brown perimeter means the batch is cooked through. Follow the maker’s thermal-shock precautions. |
| Plain metal | Consider an oven-safe parchment sling when you want intact portions. Match the recipe’s internal pan size. |
| Dark nonstick | Check the coating’s condition and recipe guidance. Use utensils safe for the surface; do not scrape it with a knife. |
| Paper muffin liners | Expect some recipes to cling even with spray. A greased muffin pan may suit the recipe better. |
| Foil at the base | Do not assume it releases like parchment. Use the lining recommended for the specific recipe. |
A worn nonstick surface or baked-on residue can undermine an otherwise sensible preparation routine. Clean the dish using its care instructions before testing a different lining, and replace cookware with a damaged coating when the manufacturer advises it. The broader explanation of heat and texture in Food Basics helps separate what happens inside the bake from what happens at the pan surface.
Why oatmeal cups stick to paper liners
An oatmeal cup can cling to the liner even when its center is properly cooked. Sally’s baked oatmeal muffin-pan instructions specifically note that liners may still stick after spraying and suggest skipping them for that recipe. Follow a recipe written for cups rather than assuming the baking time and release method for a large casserole transfer unchanged.
A browned edge can hide an unset center
The outer portion receives heat before the middle catches up, especially in a thick batch. A wet center is therefore a cooking-progress question before it is a release question. If your dish is deeper than specified, or you added more fruit or liquid, return to the original recipe amounts and pan dimensions before changing the next batch.
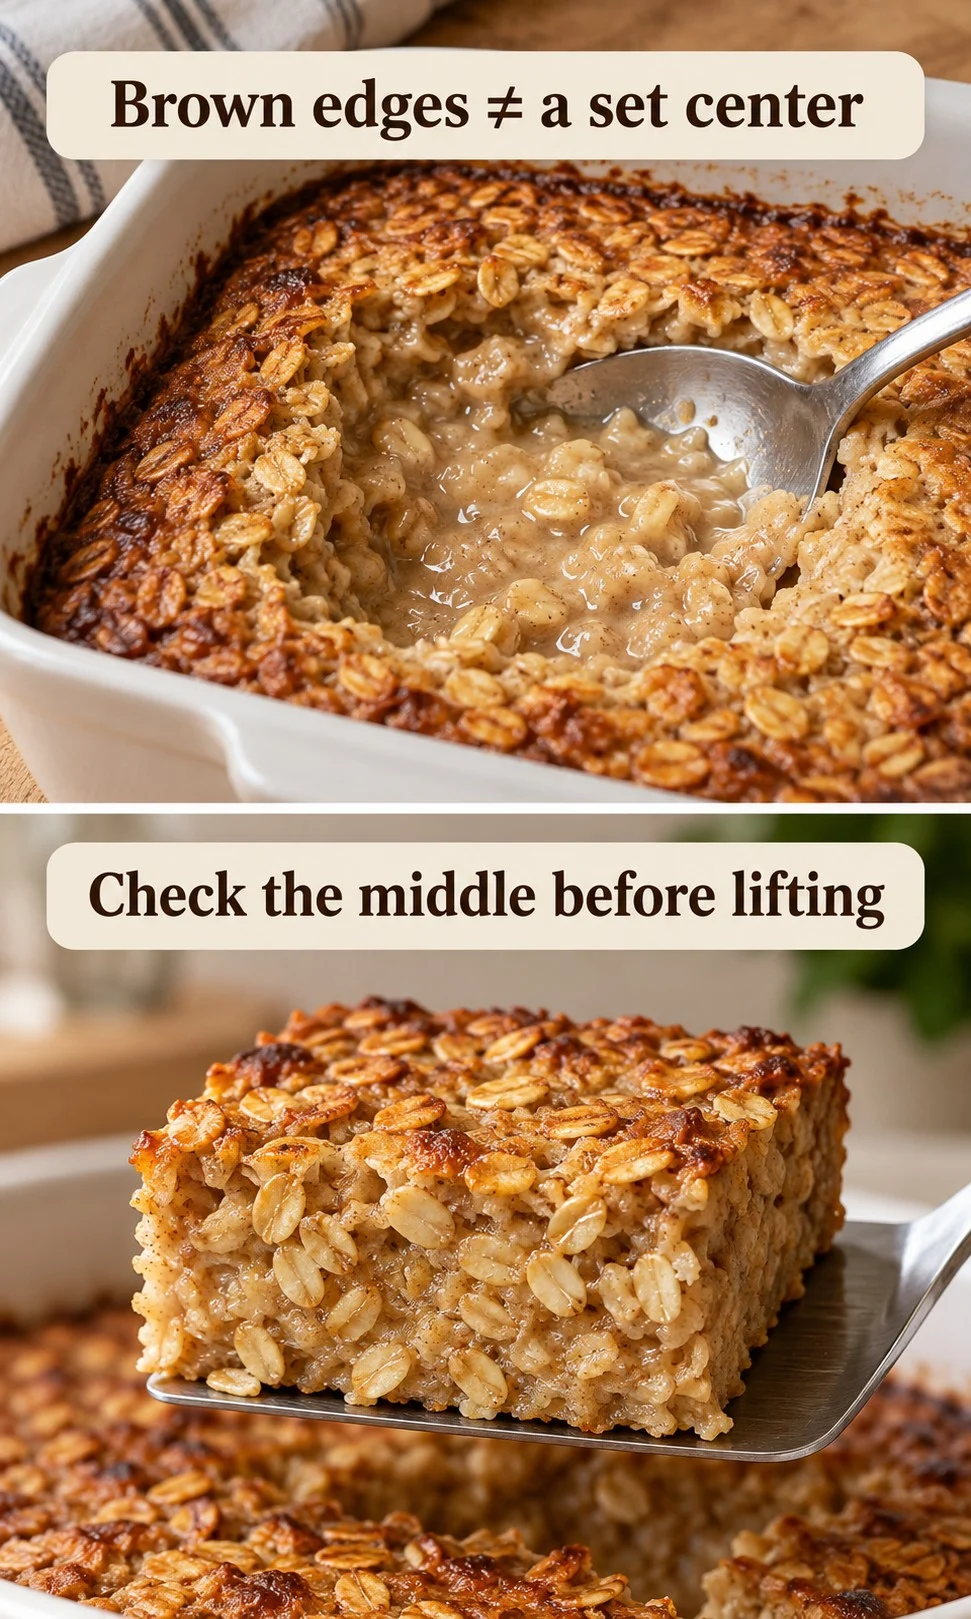
Cooling can help a cooked mixture become easier to handle, but it cannot finish cooking a raw center. For an egg-containing bake, use the recipe’s doneness directions and an appropriate food thermometer; egg dishes should reach 160°F (71°C). A firm-looking surface alone does not prove food safety, and an undercooked batch should not be served as porridge merely because it will not slice.
If the middle is still undercooked and the food has been handled safely, continue cooking according to the recipe, checking rather than guessing a fixed extra time. Where the recipe permits, a loose foil tent can protect a rapidly browning top while the center cooks. Protect glass and ceramic from sudden temperature changes, and do not return a chilled dish to a hot oven unless the maker allows it.
Check oat type and additions before changing the binder
A rolled-oat recipe depends on the size and hydration behavior of those flakes. Quick oats, steel-cut oats, and blended oat batter should not be treated as interchangeable release experiments; use instructions written for the oats you have. Changing the oat type, egg replacement, fruit load, and dish together makes it difficult to identify which change caused the problem.
Extra frozen fruit or undrained fruit can introduce moisture that the recipe did not allow for. Keep additions within the stated amounts, and follow its instructions on thawing rather than applying a blanket rule to every berry bake. The distinction between surface browning and internal moisture also appears in how different cooking methods change texture.
Release the batch you have already baked
First establish that the batch is cooked and safe to handle. Then let a cooked but fragile serving firm up enough to support itself, using the recipe’s rest instructions as your starting point. There is no single cooling minute count that guarantees clean squares across different binders, depths, and fruit additions.
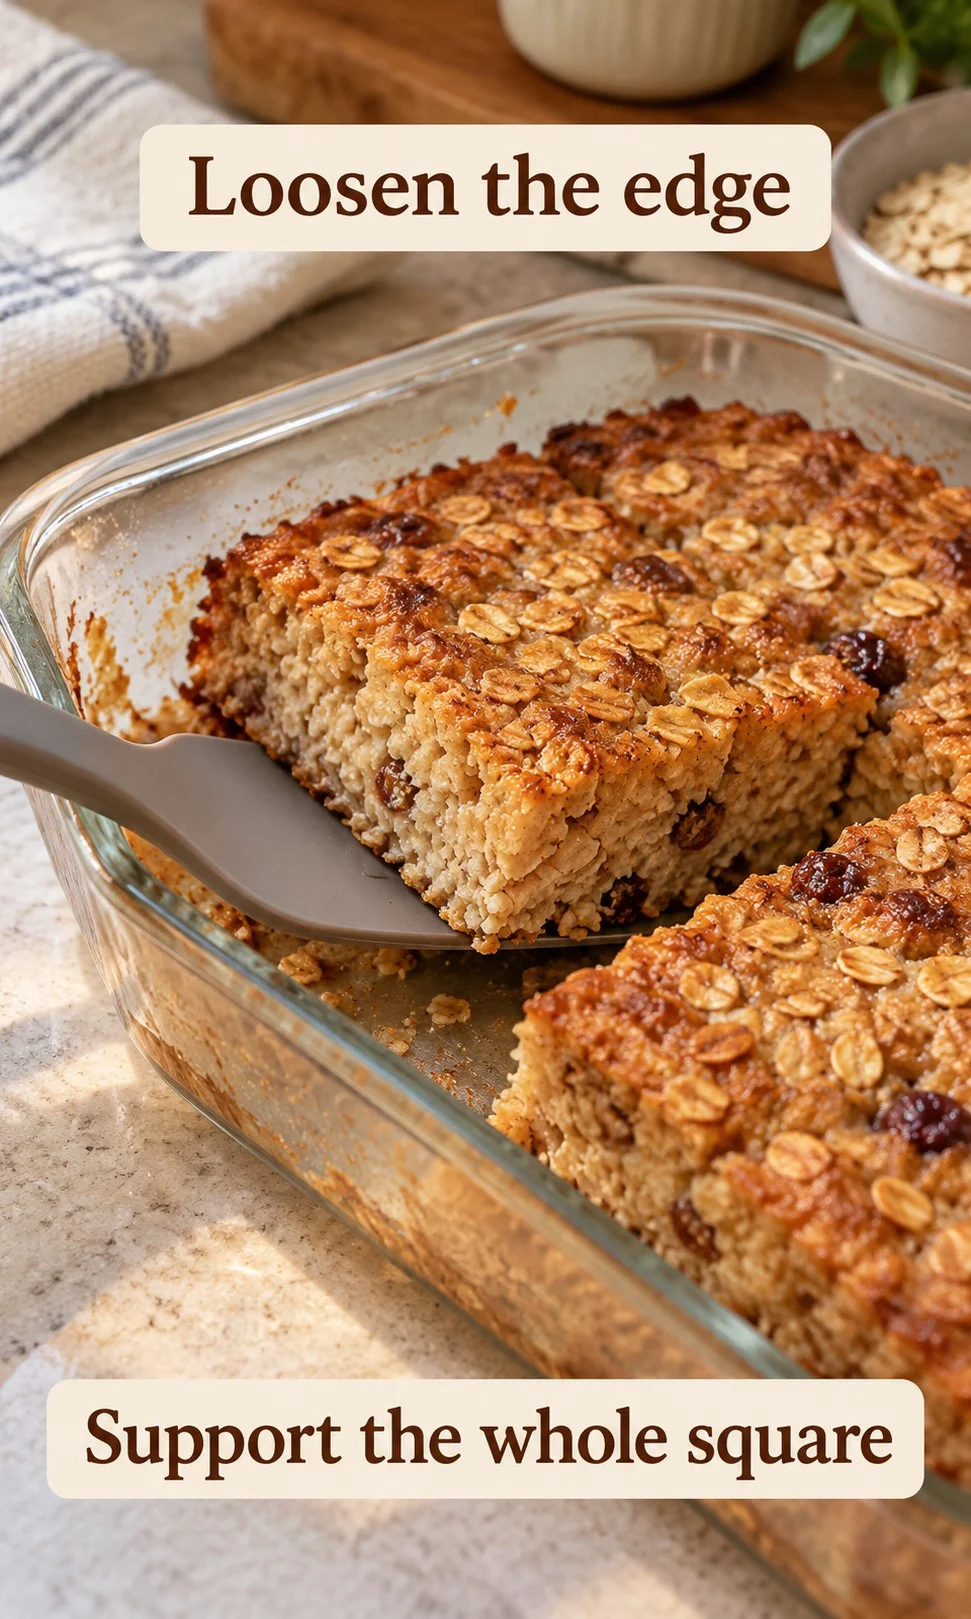
- Loosen the perimeter with a thin utensil suitable for the dish surface.
- Cut a manageable serving and slide a broad spatula flat underneath it.
- Lift from below rather than pulling a corner upward.
- If a cooked serving still tears, stop scraping and serve it with a spoon.
- For the next batch, change the lining first while holding the recipe and dish constant.
Get a release plan for your batch
Choose the center texture, cooking stage, dish, and lining in Oatmeal Release Studio below. It separates an unsafe or unfinished batch from a cooked bake that needs gentler handling, then gives you one useful change to try next. The result is practical troubleshooting guidance, not a diagnosis of your recipe or confirmation that the food is safe.
Run a fair comparison on your next batch
To find out whether lining solves your particular problem, use the same established recipe in two matching dishes with equal fill depth. Grease one as directed and add an oven-safe parchment sling to the other, keeping the ingredients and oven conditions as consistent as possible. A comparison between different dish materials and different linings changes two variables, so it cannot isolate the effect of either.
- Record the recipe, oat type, internal dish dimensions, lining, and fruit amount.
- Check each batch for doneness independently; equal clock time does not guarantee equal cooking.
- Photograph the base residue and serving integrity at comparable cooling stages.
- Note missed corners, hot spots, or any other difference before deciding what helped.
If you also want to compare pan materials, run that comparison separately with the same lining method. Treat a result from one kitchen as an observation for that recipe, not a universal ranking of cookware. The images here are generated illustrations of the checks, not photographs of a completed side-by-side kitchen test.
Refrigerate leftovers without waiting for perfect squares
A clean release is less important than timely refrigeration. Follow USDA leftover handling guidance: refrigerate perishable leftovers within two hours, or one hour when the surrounding temperature is above 90°F (32°C), and keep the refrigerator at 40°F (4°C) or below. Divide a large batch into shallow containers; you do not need to leave it on the counter until completely cold.
Use refrigerated leftovers within three to four days, and reheat leftovers to 165°F (74°C). If the relevant room-temperature limit has been exceeded, discard the batch rather than trying to rescue it by rebaking. Condensation may affect the next serving’s texture, but visible moisture and smell cannot establish that stored food is safe.
Frequently asked questions
Should I grease the dish if I use parchment?
Check the recipe and grease exposed contact surfaces as directed. A base sheet does not protect every side or corner. Keep parchment within its stated oven-temperature limit and away from heating elements.
Does a glass dish always make baked oatmeal stick?
No. Preparation, recipe structure, fill depth, and the cooking stage all matter. A lined metal pan may be convenient for lifting, but that does not prove glass is unsuitable.
Can I cut baked oatmeal while it is warm?
You can serve a cooked bake warm, but it may hold a square less neatly than it does after resting. Support the portion underneath, or serve it with a spoon if the recipe is designed to stay soft. Do not use resting time as a substitute for cooking an unset center.
Why does the middle stick while the edge looks dry?
A deeper batch or recipe changes can leave the center behind while the perimeter browns. Check cooking progress before blaming the lining. Next time, match the recipe’s pan dimensions and ingredient amounts.
Will more spray fix sticking the next day?
Spraying the top of a cooked batch does not restore a barrier underneath it. Release a safely stored portion gently from below instead. Before the next bake, clean the pan and check that the initial coating reaches the corners.
Make the next change count
If the bake is cooked and cohesive, improve the contact barrier and the way you support the serving. If it is unset, check the recipe, depth, and cooking progress before trying a different fat. Change one variable at a time so the next batch tells you what actually helped.