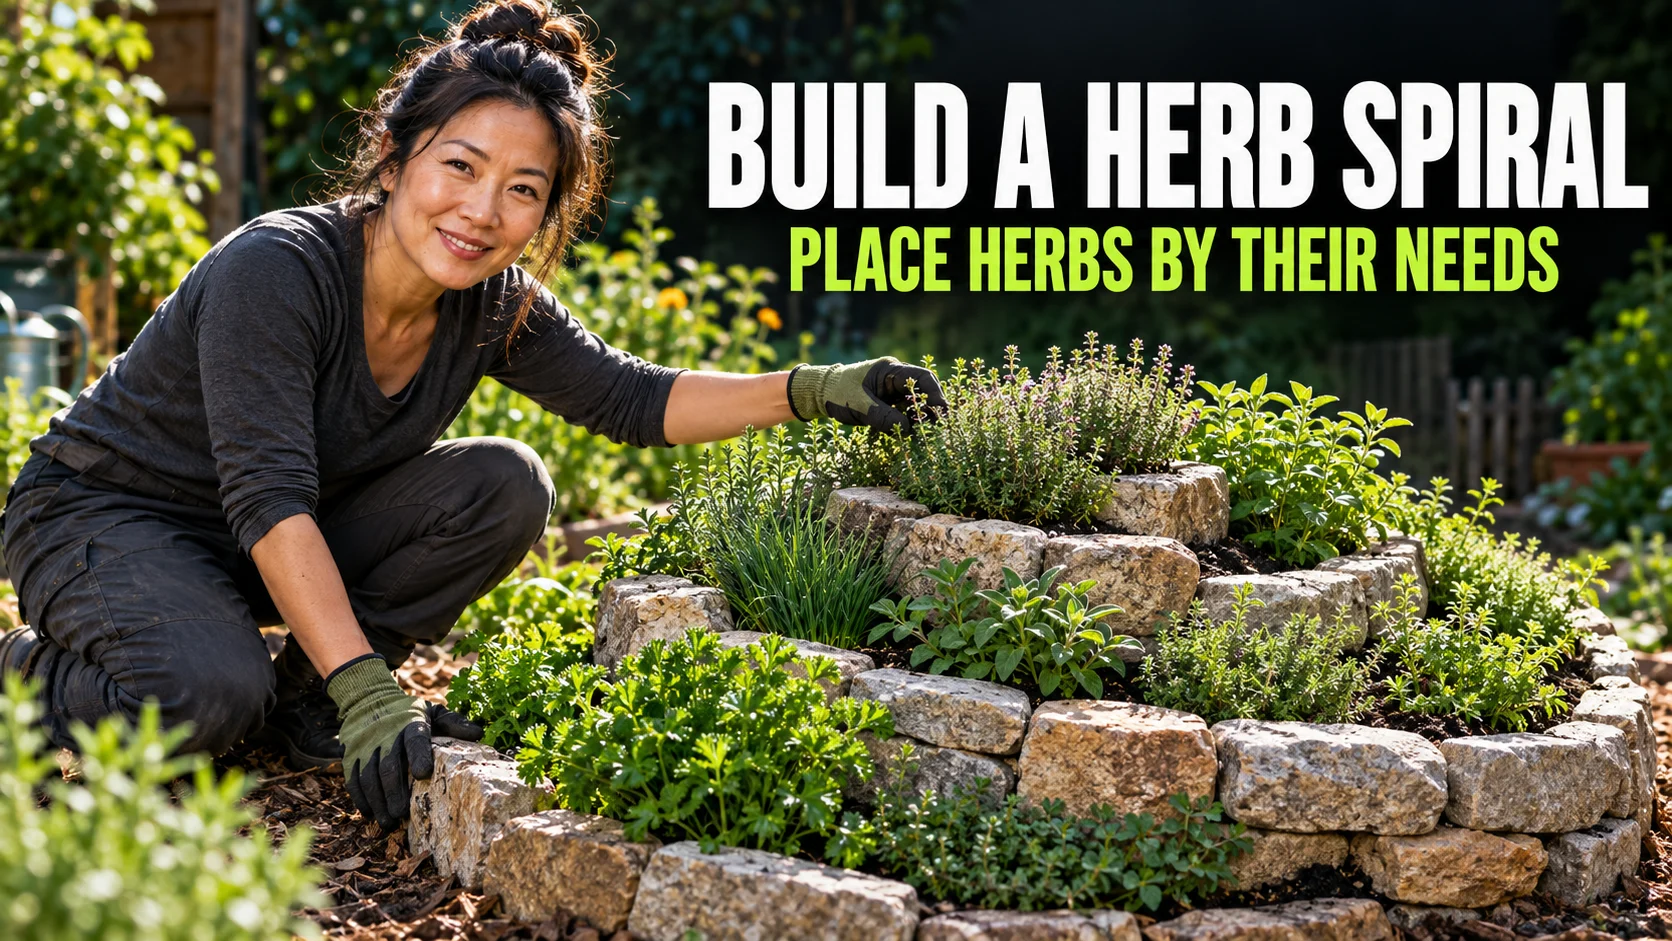

Build a DIY herb spiral by setting a low, stable stone or brick wall on firm ground, filling its rising planting channel with suitable soil, and placing herbs according to the light and moisture each position actually receives. Use the raised, freer-draining area for small thyme or oregano plants and the lower, more evenly moist area for parsley or basil. Check drainage and comfortable reach before buying materials, because the spiral shape cannot rescue a waterlogged or inaccessible site.
Check the site before choosing a spiral
An herb spiral is a raised bed that curls upward toward a central planting area. Its shape can provide different depths, exposures and growing conditions within one backyard feature. Maryland Extension’s herb spiral example shows how shade from a nearby building can influence placement as much as height does.
Choose this project when you want a permanent focal point and can comfortably reach the herbs from outside the bed. Separate pots are easier to move, replace and water individually, while a straight raised bed can offer better access. The spiral is an option for organising herbs, rather than a requirement for growing them successfully.
Watch the proposed position through a clear day and again after substantial rain. A sunny morning does not reveal afternoon shade from a fence, and a dry surface can hide slowly draining soil below. Keep the structure clear of drainage routes, buried services, building foundations and access paths.
Give most sun-loving culinary herbs a position with roughly six or more hours of direct light, adjusting for local heat and the individual plant. In very hot conditions, basil and parsley may benefit from afternoon shelter while thyme needs a bright, airy position. Check the actual shadows instead of assigning every plant to a compass direction.
| Site condition | Best next move |
|---|---|
| Sunny, firm ground; water clears after rain | Proceed with a low spiral and check reach. |
| Persistent puddles or runoff crossing the site | Relocate or resolve the drainage problem first. |
| Mostly shade | Use shade-tolerant herbs in pots; reconsider the sunny spiral layout. |
| Narrow space or restricted reach | Choose separate containers or a narrower raised bed. |
A practical starter size and shopping checklist
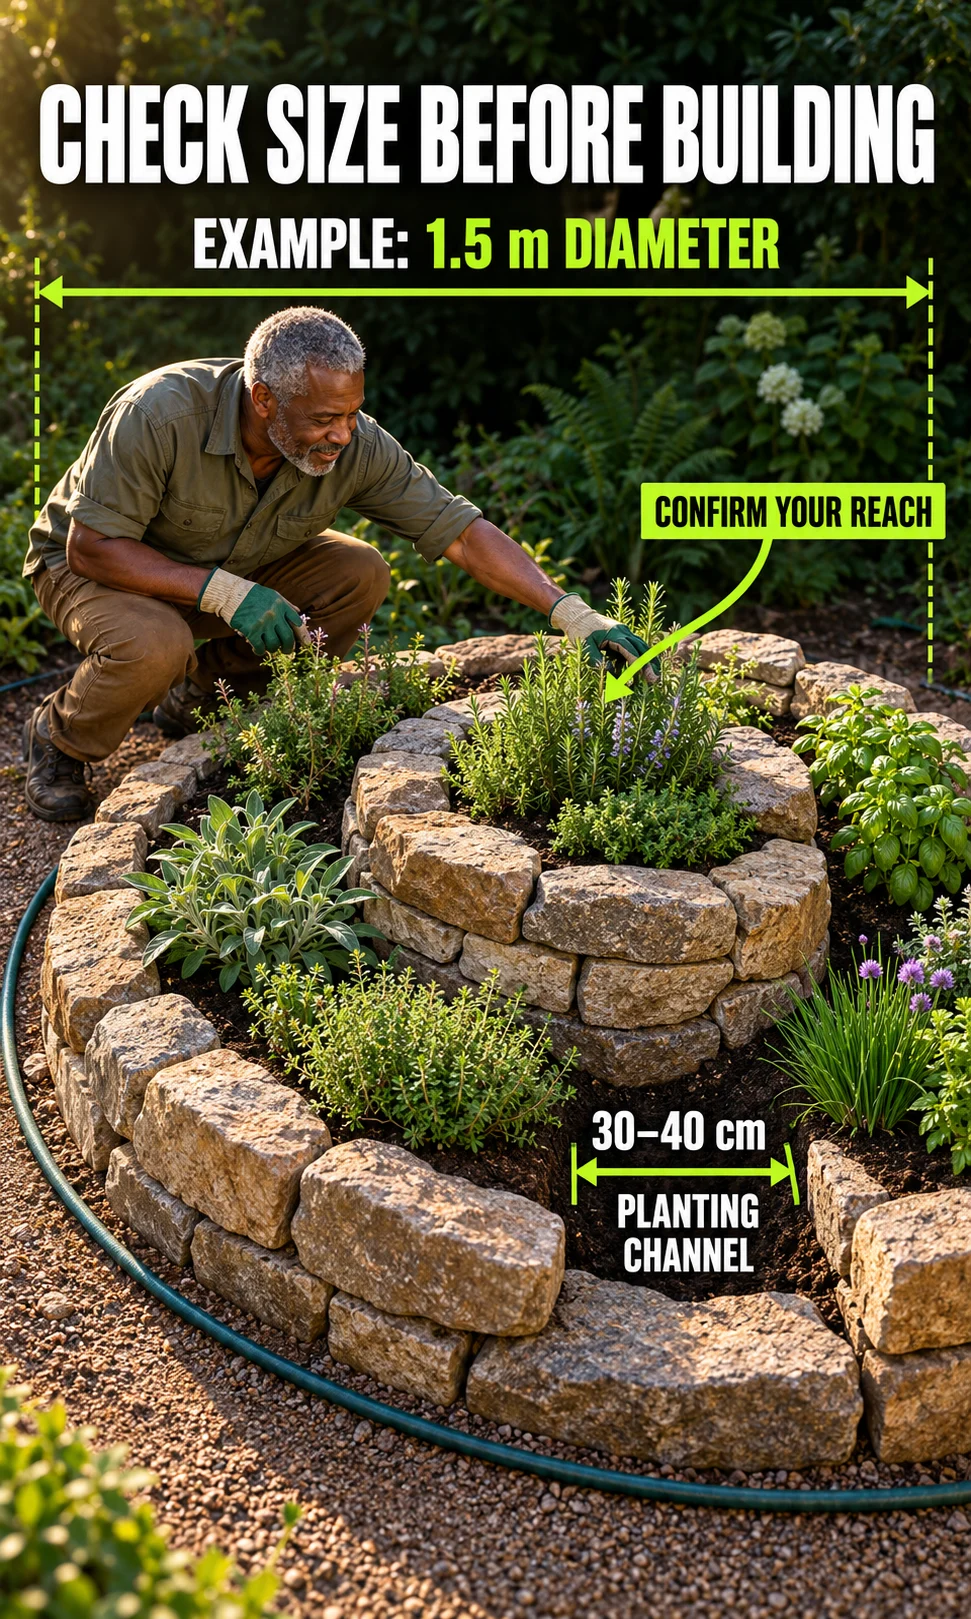
For a first build, use an outside diameter of about 1.5 m (5 ft) and a centre height of roughly 45 cm (18 in) as a modest design example. Aim for usable planting channels around 30–40 cm (12–16 in) wide after accounting for the wall thickness. These dimensions are starting choices, not structural specifications or a promise that every herb will fit.
Mark the outside edge and practise reaching toward the centre from several positions. A 1.5 m circle puts its centre about 75 cm away before the wall, plants and height complicate access. Reduce the diameter, keep the centre low or change the design if you need to lean on the masonry to harvest.
- Wall material: sound, broad stones or outdoor-rated masonry units suited to the proposed wall; avoid unknown contaminated salvage.
- Growing medium: clean screened loamy topsoil with modest mature compost, or an appropriate raised-bed blend.
- Plants: start with four to six herbs you cook with; check cultivar size before shopping.
- Site preparation: string or a hose, tape measure, spade, hand trowel, level, gloves and sturdy footwear.
- Optional: plain uncoated cardboard beneath planting areas, suitable hardware cloth where burrowing pests justify it, plant labels and individual drip emitters.
Dry-lay the full spiral before estimating the masonry order. Measure the total wall length, divide by the average face length of your units and multiply by the number of courses in each height section. Add a supplier-agreed allowance for breakage and adjustment; different stones make a universal brick count unreliable.
Estimate soil from the actual planting footprint, excluding the walls and any permanent solid core. For an initial check, planting area multiplied by average soil depth gives a rough volume, then allow for settlement and the supplier’s delivery increment. A 1.5 m outside circle covers about 1.77 m², but that entire area is not plantable soil.
Budget separately for delivered wall units, soil, plants and any site work, since transport can change the price substantially. The build may take a weekend or several short sessions once materials are on site. Do not rush heavy lifting, base preparation or a wall that moves when pressed.
How to build a DIY herb spiral, step by step
1. Mark a continuous planting channel
Lay a hose or string in a loose spiral, starting at the low outside entrance and finishing at the centre. Place one course of wall units along that line, leaving enough soil width between adjacent turns. Walk around it and check that the channel does not pinch into unusable pockets.
2. Prepare firm ground and the wall footing
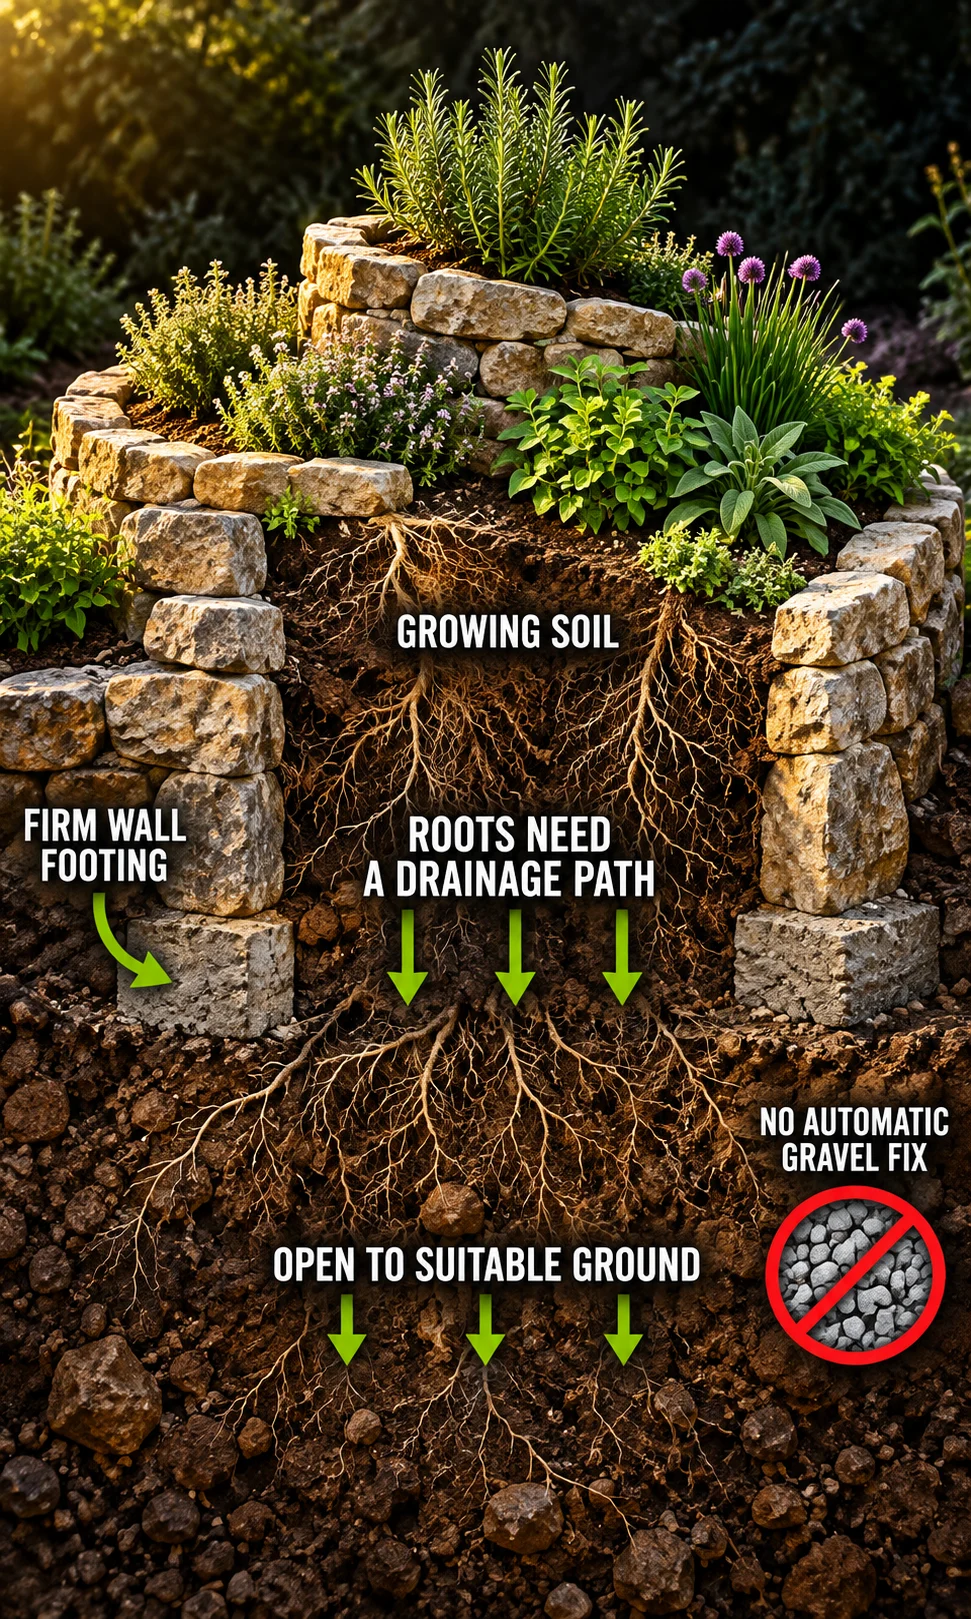
Remove turf, persistent weeds and loose organic debris beneath the wall footprint. Set the first course on a firm, level base appropriate to the masonry system and local ground conditions. Cardboard can suppress grass under planting soil, but decomposing cardboard should not be the load-bearing footing beneath a retaining wall.
Keep the planting area open to suitable underlying ground rather than sealing it with plastic. Where compacted ground prevents infiltration, address that condition or choose another site. A gravel-filled hole without an outlet can still collect water beneath the planting bed.
3. Raise the wall gradually toward the centre
Build the outside turn low and increase the courses gradually as the wall curls inward. Stagger joints, use units with dependable bearing surfaces and follow the supplier’s retaining-wall guidance for base preparation, setback and drainage. Test stability repeatedly instead of relying on soil to prop up wobbling stones.
- Keep the centre broad enough for a real root zone.
- Avoid narrow towers, unsupported overhangs and loosely stacked round rocks.
- Fill and settle soil progressively so you can see where the wall shifts.
- Treat cracks, bulging or rocking units as reasons to stop and rebuild.
- Use qualified help where height, slope, public access or local requirements call for a designed retaining structure.
4. Fill with growing soil, without a blanket gravel layer
Fill the planting channel with a suitable soil blend that can drain into the site below. Blend modest amounts of mature compost into the leafy-herb areas and use a freer-draining raised-bed mix where dry-loving herbs will sit. Avoid thick layers of fresh wood, unfinished compost or debris that will decompose and leave sudden voids.
Gravel has a role in some masonry footings and designed drainage systems, but it is not an automatic drainage cure beneath roots. Illinois Extension explains how soil above a gravel layer can retain water in containers; an open-ground spiral still depends on the surrounding soil and a real path for excess water. Do not use a container tip as proof that a gravel blanket will fix a wet backyard.
Adding a little sand to sticky clay is also an unreliable shortcut. Maryland Extension advises against using sand to amend clay for herb-bed drainage. Select a suitable supplied blend or improve the site properly, rather than improvising a supposedly universal soil recipe.
5. Water gently, allow settlement and recheck
Moisten the fill in manageable stages without stamping it into a dense mass. Leave the surface below the retaining edge so watering does not immediately carry soil over the wall. After it settles, top up low spots and check that the masonry still feels secure.
Compare the upper, middle and lower soil after watering and after rain. The lower area may stay moist longer, but shade, wind, soil texture and wall exposure can reverse your expectation. Label the positions by what you observe before assigning the plants.
6. Arrange pots first, then plant
Place the nursery pots on the soil and check their mature spread before digging. Put the herbs you harvest often within easy reach and keep taller plants from shading smaller ones. Plant at the appropriate nursery depth, water around each root ball and leave breathing space between plants.
Herb spiral plant placement chart
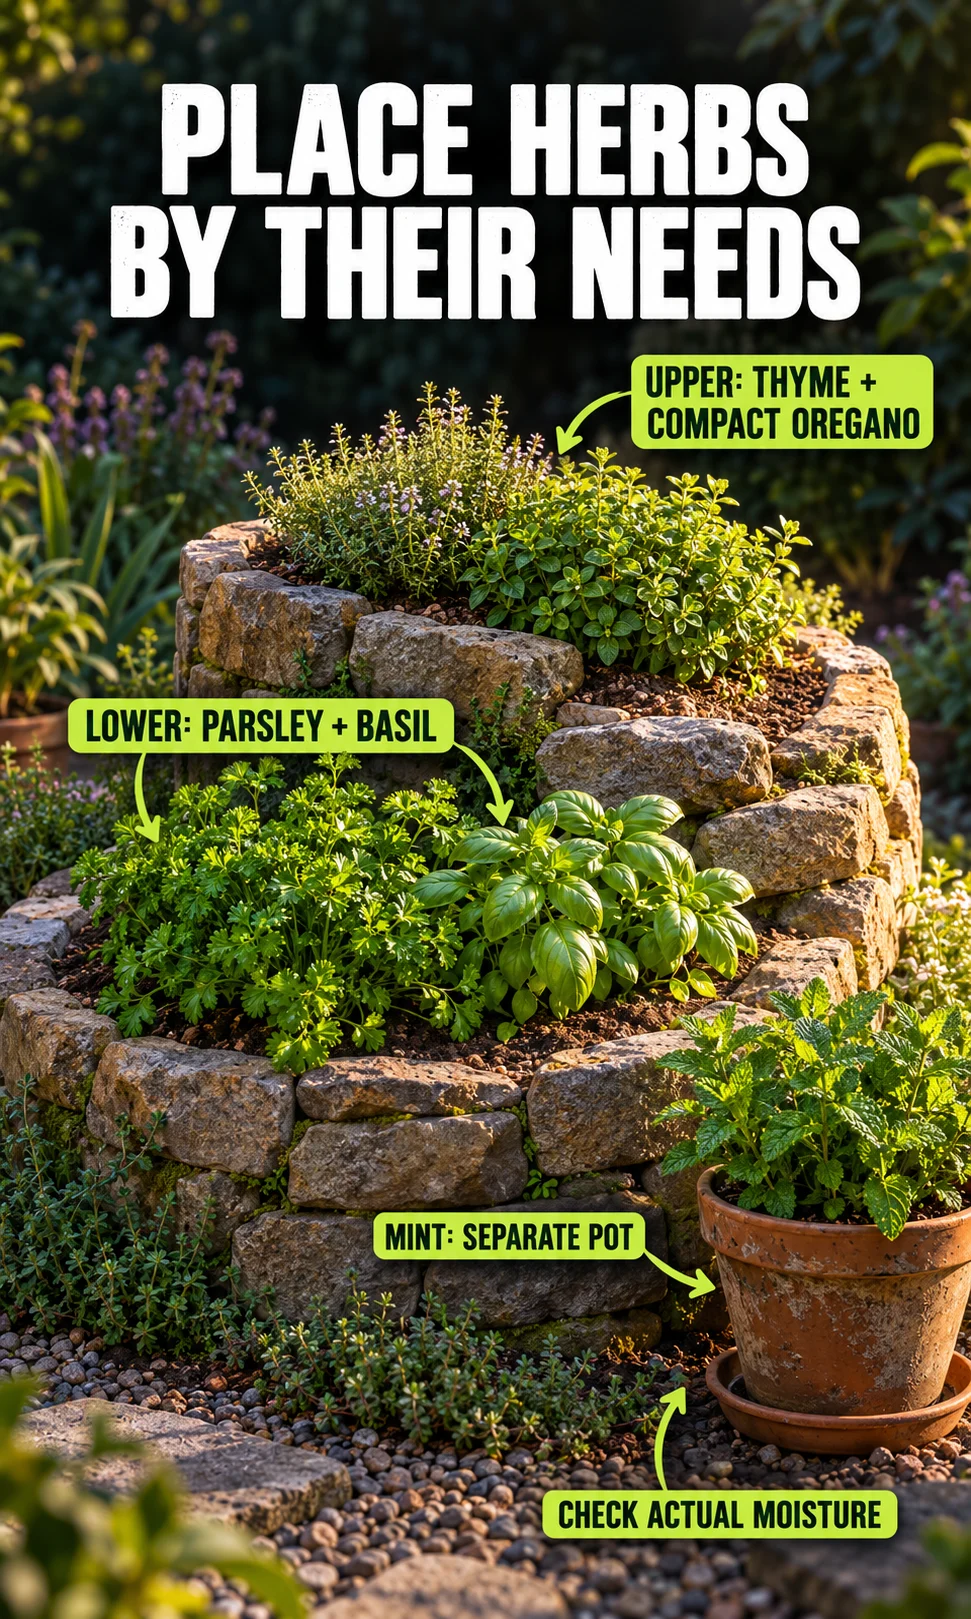
Use this chart as a starting layout, then adjust it to the conditions you measured. Thyme and oregano usually suit an upper sunny position, while parsley and basil need a more evenly moist root zone. Leave out a plant that does not suit the available space instead of squeezing it into a nominal zone.
| Position | Suitable starter herbs | Placement check |
|---|---|---|
| Upper, sunny, freer-draining | Thyme; compact oregano | Allow drying between waterings once established; avoid wet crowns. |
| Middle, bright, accessible | Chives; marjoram | Give enough root width and airflow; check seasonal hardiness. |
| Lower, evenly moist, draining | Parsley; basil | Moist soil, with no stagnant water; shelter from severe afternoon heat where needed. |
| Cooler seasonal pocket | Cilantro | Choose the locally suitable cool season; shade alone cannot prevent bolting. |
| Separate pot outside the spiral | Mint; large rosemary; spreading lemon balm | Use drainage holes; inspect spreading plants and allow space for mature shrubs. |
For a restrained first season, try one thyme, one compact oregano, one chive clump, one parsley and one basil plant if their mature sizes fit. Put mint in its own movable pot nearby. This leaves room to learn which positions dry quickest before adding more plants.
Buy spacing from the plant label’s mature spread rather than the nursery pot’s current diameter. A compact thyme may need only a modest pocket, while an ordinary rosemary or lavender can outgrow the centre and shade much of the bed. The RHS rosemary guide is useful when deciding whether a separate shrub position makes more sense.
Keep mint out of the shared soil, even at the lower end. A buried pot can still allow escape through drainage holes or stems crossing its rim, so an above-ground container is easier to inspect. Check spreading oregano and lemon balm as well instead of assuming only mint needs management.
Herbs that grow well together: match care needs first
Compatible neighbours share light, root-zone moisture and room to grow. Thyme and compact oregano can share a freer-draining area, while basil and parsley can share an evenly moist section if neither crowds the other. RHS guidance on growing herbs helps distinguish growing requirements from a decorative arrangement.
Avoid putting water-loving watercress into the same ordinary soil pocket as dry-loving thyme. Do not depend on fragrant leaves to control mosquitoes or guarantee protection from pests. Use compatibility to simplify care, with flowering herbs as a possible resource for visiting insects rather than a replacement for pest management.
Check your backyard with Herb Spiral Studio
Enter your available space, light, drainage and preferred herbs to get a practical starting arrangement. The result flags unsuitable sites and plants that need separate pots, with footprint and reach notes. Measure the finished channel and check plant labels before using the report as your shopping list.
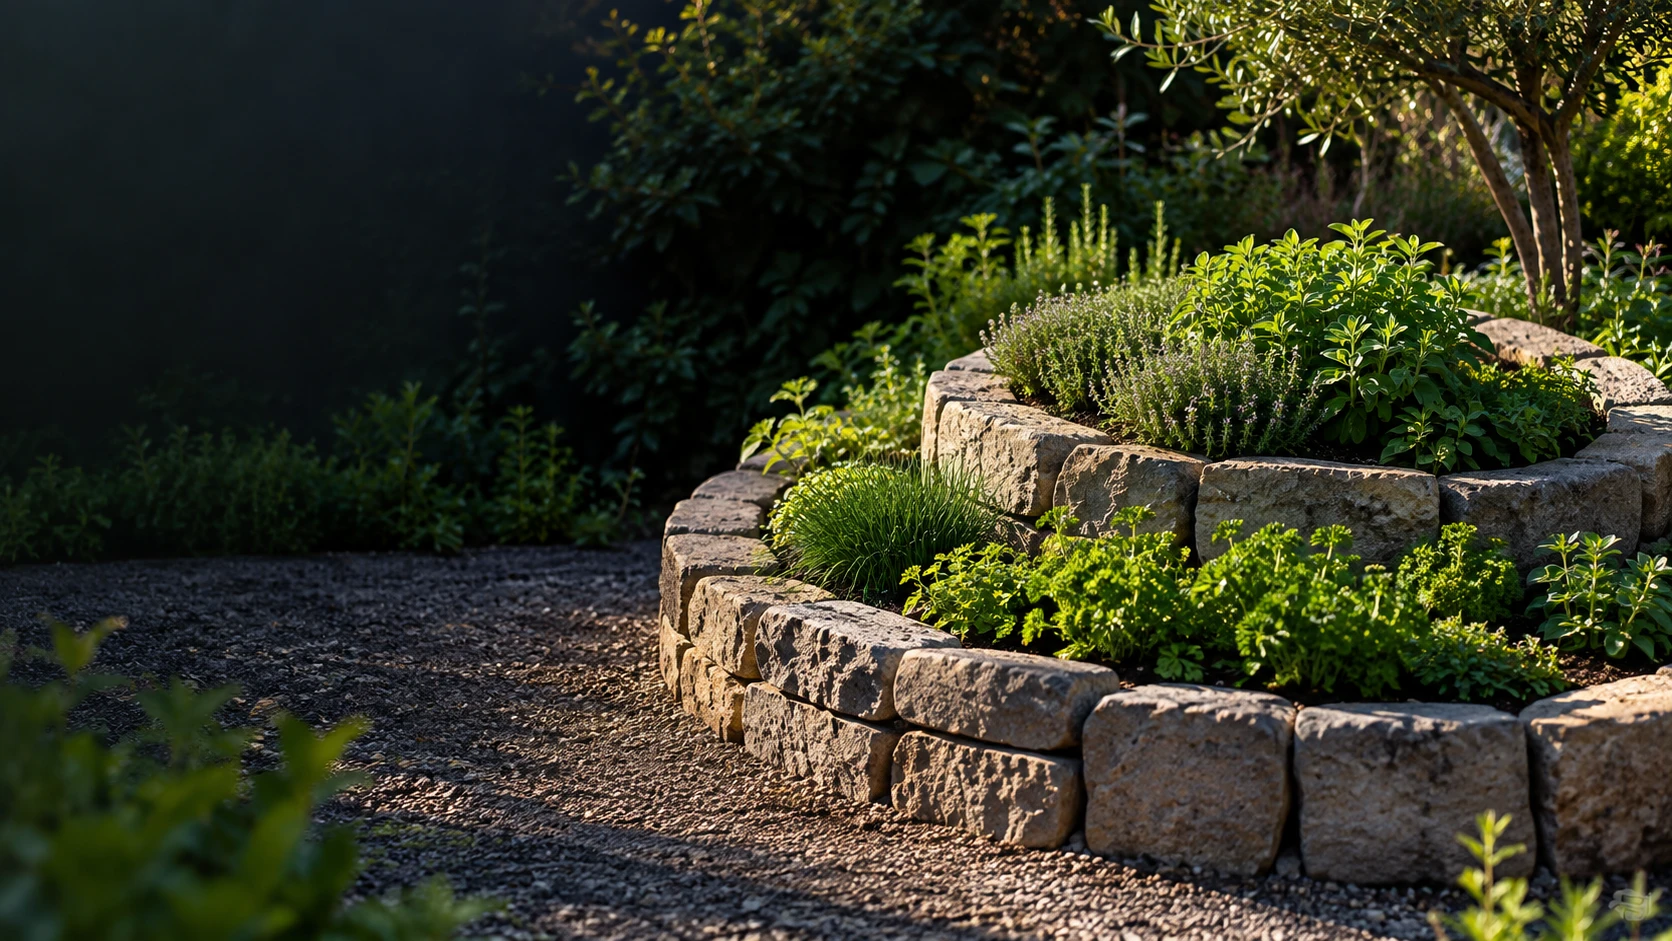
A manageable backyard start
Herb Spiral Studio
Check the site. Place herbs by their needs. Keep the first build modest.
This herb spiral check uses your site observations to suggest a starting arrangement. It does not calculate wall strength, guarantee plant survival or replace local construction advice. Measure the planting channel and confirm each cultivar’s mature size.
Care from planting to the first harvest
Water newly planted herbs directly around their root balls while they establish. Later, check each section independently and soak the area that needs it, instead of expecting water poured at the top to reach every plant below. Individual drip emitters can support this approach when their output is checked rather than assumed.
- After rain: feel below the surface in several zones before watering again.
- During hot, windy weather: inspect upper pockets and separate pots more often.
- Mulch: keep it clear of stems and crowns; avoid trapping moisture against dry-loving herbs.
- Feed: respond to plant condition and soil needs; routine heavy feeding is unnecessary.
- Weed and inspect: remove seedlings and check wall movement before roots or soil shifts conceal it.
Harvest lightly once the plants are established and actively making new growth. For basil, cut above a pair of leaves to encourage branching, as described in Minnesota Extension’s basil guidance. Avoid stripping a small plant bare or cutting woody herbs back indiscriminately into old leafless stems.
Plan seasonal replacements rather than expecting every herb to remain productive year-round. Tender herbs need protection from frost, and cilantro may produce usable leaves mainly during the cooler part of your local season. The RHS container-herb guide is a useful reference when movable pots make seasonal care easier.
Common herb spiral problems and what to check
| Problem | Check first | Practical response |
|---|---|---|
| Upper plants wilt | Moisture beside and beneath the root ball | Water that pocket; check exposure and rooting width. |
| Lower plants yellow or decline | Saturated soil, roots and trapped runoff | Stop routine watering; resolve drainage or relocate plants. |
| Soil drops sharply | Loose fill or decomposing material | Inspect the wall; replenish stable soil after correcting the cause. |
| Plants crowd or shade one another | Cultivar spread and height | Move larger herbs out; reduce plant count. |
| Wall leans or stones rock | Footing, bearing and soil pressure | Keep people away; rebuild or obtain qualified advice. |
A dry-looking top layer is not enough evidence that the lower roots need water. Use your fingers or a trowel at several positions to compare what lies beneath, then adjust the relevant section. The site’s guide to how to water plants correctly offers a broader explanation of this check.
If the fill itself is difficult to judge, review soil types for beginners before adding more amendments. When you want the finished spiral to connect visually with the surrounding beds, consider landscape edging ideas for modern garden beds. Keep decorative edging separate from the structural decisions that retain the spiral’s soil.
Questions about building an herb spiral
How big should a beginner herb spiral be?
An outside diameter around 1.5 m can be a starting example, but it must pass your reach check and provide useful soil width after the walls are laid out. Keep the centre modest rather than copying a tall display. Reduce the size or choose another bed shape if harvesting requires leaning on the stones.
Do I need gravel beneath an herb spiral?
A blanket gravel layer is not required for the planting soil. Some wall systems need a specified aggregate footing or drainage arrangement, which serves a different purpose. Persistent site waterlogging must be resolved rather than hidden beneath more material.
Which herbs go at the top and bottom?
Try thyme and compact oregano in an upper sunny, freer-draining area, and parsley or basil in a lower area that stays evenly moist while still draining. Check those conditions after watering because the zones vary by site. Large rosemary plants and mint are often easier to manage outside a small starter spiral.
Can I make the spiral on a patio?
A patio build needs a suitable contained-bed design, reliable drainage and confirmation that the surface can support the loaded weight. Do not assume an open-ground design can simply be transferred onto paving or a balcony. Separate pots are a simpler choice when those conditions are uncertain.
Does an herb spiral use less water?
It can help you organise watering around different plant needs, but it does not guarantee lower water use. Raised exposed pockets can dry quickly, especially in heat or wind. Check each root zone and water it appropriately.
Does the spiral need to turn clockwise?
Either direction can work in a small garden. Set the curve according to access, sunlight and the space you have. Its turning direction does not determine how you should water or place herbs.
Choose the smallest spiral you can care for well
Start with a sound base, a comfortable reach and a short list of herbs you use regularly. Keep the wall low, leave room for mature plants and confirm the moisture pattern before filling every available pocket. If the site cannot offer dependable drainage or access, separate pots will still give you a useful backyard herb garden.