
To landscape a front yard on a budget, keep useful plants and paths, tidy the edges, and improve one measured planting bed before expanding. Your costs depend on bed size, local prices, and whether drainage or construction work is needed. Start with a clear route to the door, plants matched to the site, and enough money left to water them through establishment.
Start with the entrance, not a shopping list
Stand at the street and look toward your front door. Notice what makes the entrance difficult to see or use: overgrown branches, a ragged bed edge, scattered pots, or bare soil. Choose one of those problems to fix first, rather than buying a mixture of plants and hoping they form a design.
A budget front-yard makeover works best when the existing layout is serviceable. Retaining a sound walkway and healthy, correctly sized shrubs saves both materials and removal work. A cracked entrance path, moving retaining wall, or recurring water problem needs its own assessment before new planting hides it.
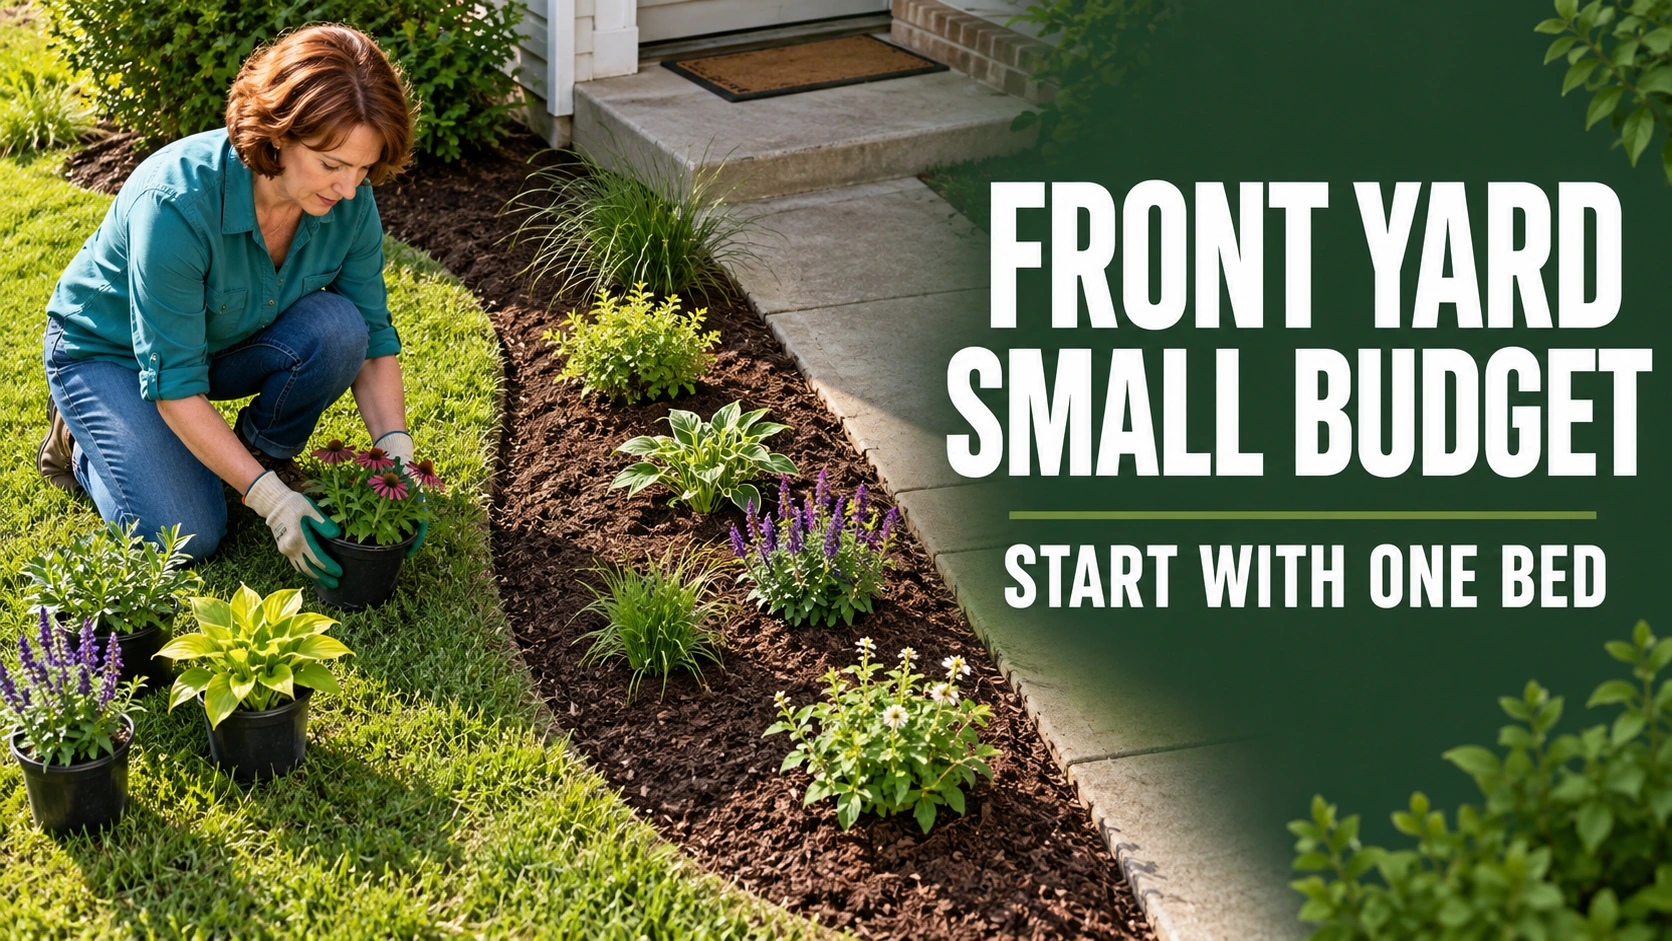
Choose the smallest area that can look intentional on its own. A bed beside the entrance often achieves more than thinly spreading the same spending across the whole frontage. Repeat a few compatible plants, make the boundary clear, and leave other areas for a later phase.
- Keep: healthy plants that fit their space, useful shade, and a sound existing path.
- Improve: weeds, untidy edges, bare bed surfaces, and clutter around the door.
- Check first: standing water, slope movement, buried services, and plants blocking sightlines.
- Defer: new paving, water features, decorative lighting, and extra beds until the first bed is affordable.
Measure the yard and check what plants can survive
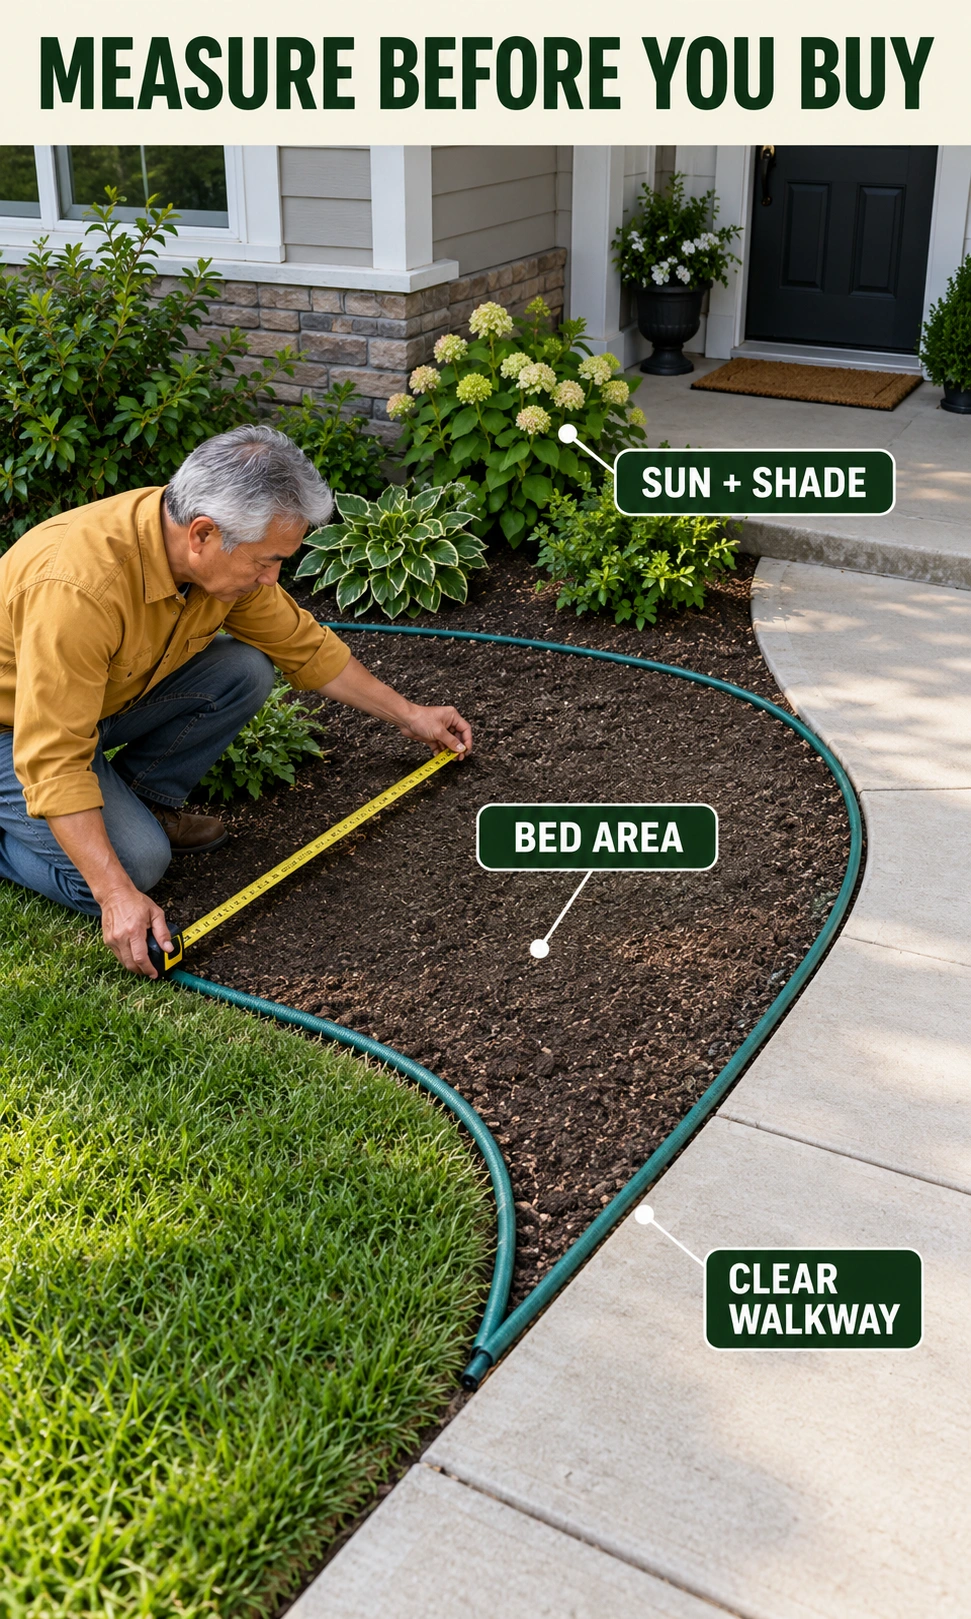
Measure the proposed bed separately from the lawn, driveway, and path. For a rough rectangular bed, multiply length by width; split curved beds into smaller shapes and add their areas. Record the exposed edge length as well, because edging is purchased by length while mulch is purchased by volume.
Watch the bed in the morning, around midday, and in the afternoon on a representative clear day. Full sun commonly means at least six hours of direct light, but reflected heat beside a wall can make a sunny bed harsher than the same exposure elsewhere. Write down summer heat, winter cold, wind, and any roof overhang that keeps rain off the soil.
Look at the soil after ordinary rain and again when nearby ground has started drying. Persistent puddles, erosion channels, or water flowing toward the house change the project from a planting refresh to a drainage question. Avoid raising soil against siding, covering vents or weep holes, or changing the existing drainage route to make the bed appear level.
Check property boundaries, street sightlines, easements, local planting restrictions, and any landlord or homeowners association requirements. In the United States, use your state’s 811 service before digging and follow its waiting and clearance instructions. Ask which private services need separate locating, including irrigation and outbuilding supplies; elsewhere, use the local equivalent.
Do the free and inexpensive work first
Remove litter, redundant ornaments, and weeds before deciding which plants to replace. Cut a clean bed edge with a spade only after buried-service checks, or tidy the existing border if digging is unnecessary. Prune for access and plant health, using the correct timing for the species rather than cutting every shrub into the same shape.
Sweep the path and clean small areas gently before renting equipment. Pressure washing can damage soft stone, pointing, wood, and some exterior finishes, so it is not a required makeover step. A clear, clean route and a defined bed often improve the frontage enough to let you postpone decorative purchases.
Free arborist wood chips can reduce spending if a suitable local supply is available. Confirm delivery access, load size, contents, and any transport charge before accepting a pile that is much larger than your bed. Use suitable chips as a surface mulch; do not bury them in the planting soil or assume every free load is clean and ready to use.
Prepare one bed before buying the full plant list
Mark the boundary with a hose and check the view from the street, door, and driveway. Keep the entrance route usable for the people who need it, including someone carrying bags or using a mobility aid. If the bed only looks good when plants lean over the path, make the bed smaller or choose narrower plants.
Remove sod and persistent weeds without damaging established tree roots. Hand removal can suit a small area, while smothering a larger lawn patch takes longer and requires follow-up for regrowth. Do not begin a whole-lawn conversion unless you can also fund the planting, surface coverage, and establishment care that follow it.
Use a soil test when pH or nutrients may limit your planting choices. Compost can help suitable beds, but it does not repair a drainage outlet or justify adding fertilizer everywhere. For trees and shrubs, avoid creating a richly amended isolated planting pocket; follow appropriate planting guidance for the stock and soil you have.
Basic equipment for a small front-yard bed
| Equipment | Budget approach | When to add it |
|---|---|---|
| Gloves, spade, hand fork, rake | Use what you own; borrow sound equipment | Basic weeding, edging, and planting |
| Tape, hose, buckets or tarp | Borrow; measure before ordering | Mark boundaries and move small loads |
| Watering hose or can | Keep an existing working setup | Required before new plants arrive |
| Wheelbarrow or hire equipment | Price hire, delivery, and transport together | Only if load size or site access warrants it |
Choose plants by mature size and shared care needs
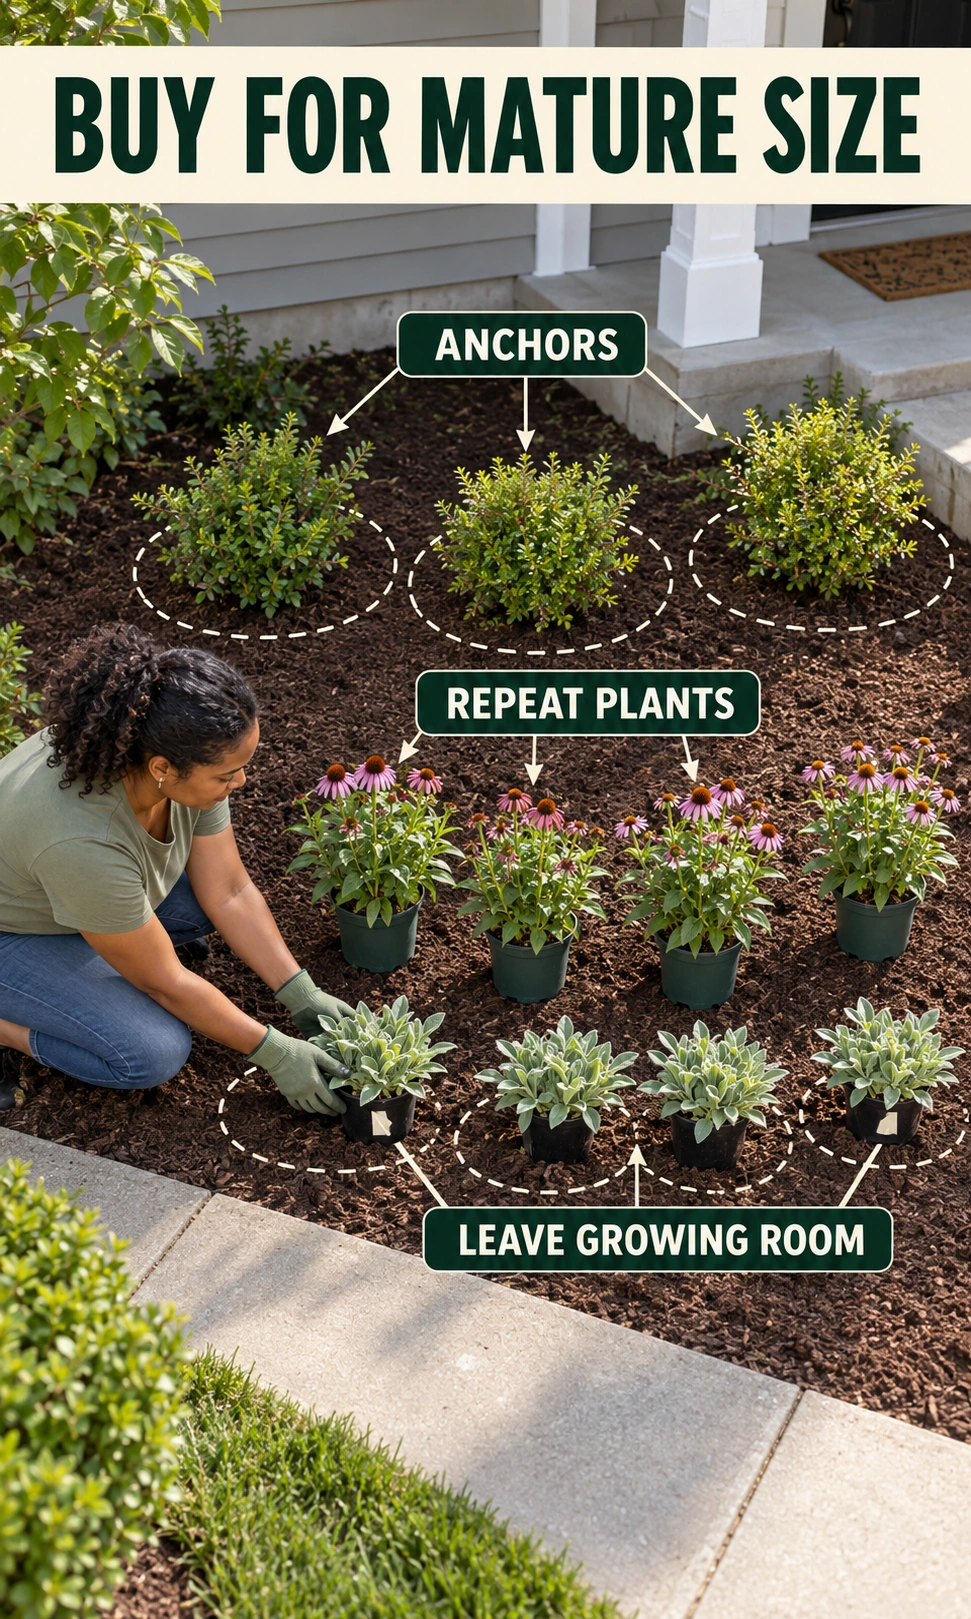
Build a small planting group from an anchor, a repeated middle layer, and a lower edge. That is a design method, not a requirement to put three rows into every bed. A narrow strip may work better with one repeated plant than with shrubs forced against the house.
Read mature width and height on the exact cultivar label before setting out pots. A shrub expected to reach four feet across needs roughly two feet from its center just to accommodate half its spread, plus any required access clearance. Allow additional room where you must reach windows, meters, drainage outlets, or exterior finishes.
Groups of three or five can help repeated planting look deliberate, but they are not a horticultural rule. Start with the space each plant needs, then choose the number that fits without overcrowding. Smaller nursery plants cost less in many situations, although the saving comes with a longer wait for fullness and continued weed management.
- Sunny, temperate bed: choose a locally suitable compact anchor and repeat woodland sage or threadleaf tickseed in well-drained soil.
- Warm, sunny bed: consider locally suitable dwarf yaupon and pink muhly, allowing room for their mature spread.
- Part-shade bed: combine compatible shade perennials with one suitably sized shrub where soil moisture and summer heat allow.
- Low-cost sourcing: buy healthy small plants, use correctly identified pest-free divisions, or grow seed where a slower result is acceptable.
Native plants can support local wildlife and reduce some inputs when they match the site. A plant native to one continent, state, or habitat is not automatically suitable for every front yard. Ask a regional nursery or extension service about locally appropriate species, pests, and invasive plants before buying discounted stock.
A starter plant shortlist, with limits
The following examples are for suitable temperate or warm parts of the United States, rather than a universal planting prescription. USDA zones describe winter cold tolerance and do not capture humidity, heat, soil, or rainfall. Outside that system, choose local equivalents with similar roles and confirm their mature dimensions before using the layout.
Sun-loving plant candidates
| Sun-bed candidate | Approximate mature height × width | USDA zones / care filter |
|---|---|---|
| Woodland sage, Salvia nemorosa | 1.5–3 ft × 0.5–2 ft | 4–8; sun; good drainage |
| Threadleaf tickseed, commonly sold as Coreopsis verticillata | About 2–3 ft × 1.5–3 ft | 3–9; sun; spreading habit varies |
| Purple coneflower, Echinacea purpurea | 3–4 ft × 1–2 ft | 3–8; sun; avoid waterlogged roots |
| Pink muhly, Muhlenbergia capillaris | 2–3 ft × about 2.5–3 ft | 5–9; sun; allow arching growth |
Use these candidates as a filter, not a shopping order. A compact sage cultivar may suit a small border, while taller coneflowers can obstruct the view from a low window. In hot, dry regions, start with a local reference such as Austin’s native and adapted plant guide, then match the species to your actual soil and water supply.
Shade plants and structural shrubs
| Shade or structure candidate | Approximate mature height × width | USDA zones / care filter |
|---|---|---|
| American alumroot, Heuchera americana | 1–3 ft including flowers × 1–1.5 ft | 4–9; part shade; good drainage |
| Hosta, selected cultivar | Dwarf to very large; read label | 3–9 broadly; shade; deer/slugs can be costly |
| Dwarf yaupon, Ilex vomitoria ‘Dwarf’ | 3–5 ft × 3–6 ft | 7–9; sun/part shade; evergreen |
| Oakleaf hydrangea, Hydrangea quercifolia | 4–8 ft × 4–10 ft | 5–9; often part shade; too big for many strips |
Hostas and hydrangeas can share a bed where their specific light and moisture requirements align. Hostas die back seasonally, can suffer slug damage, and are attractive to deer, so they are not a reliable year-round structure. Identify the hydrangea species before pruning: cutting old-wood bloomers at the wrong time can remove the next flower display.
Plant, water, then finish the surface
Arrange the nursery pots and walk through the entrance once more before planting. Follow the appropriate root-ball and planting-depth guidance for each plant, keeping shrub root flares visible and perennial crowns at their correct level. Water the root zone after planting, and check both the original root ball and surrounding soil during establishment.
Apply about two to three inches of suitable organic mulch where appropriate, keeping it clear of stems and tree trunks. Measure the existing layer before topping up, because repeatedly adding a full layer can bury crowns. Near buildings in fire-prone areas or where local termite guidance applies, follow the relevant separation and material requirements.
For a 120-square-foot bed, a three-inch layer is 30 cubic feet of mulch: 120 × 3 ÷ 12. That equals fifteen two-cubic-foot bags before adjustment for existing mulch, uncovered areas, or uneven surfaces. For metric measurements, multiply square metres by depth in metres to obtain cubic metres; the mulching guidance explains why depth and stem clearance matter.
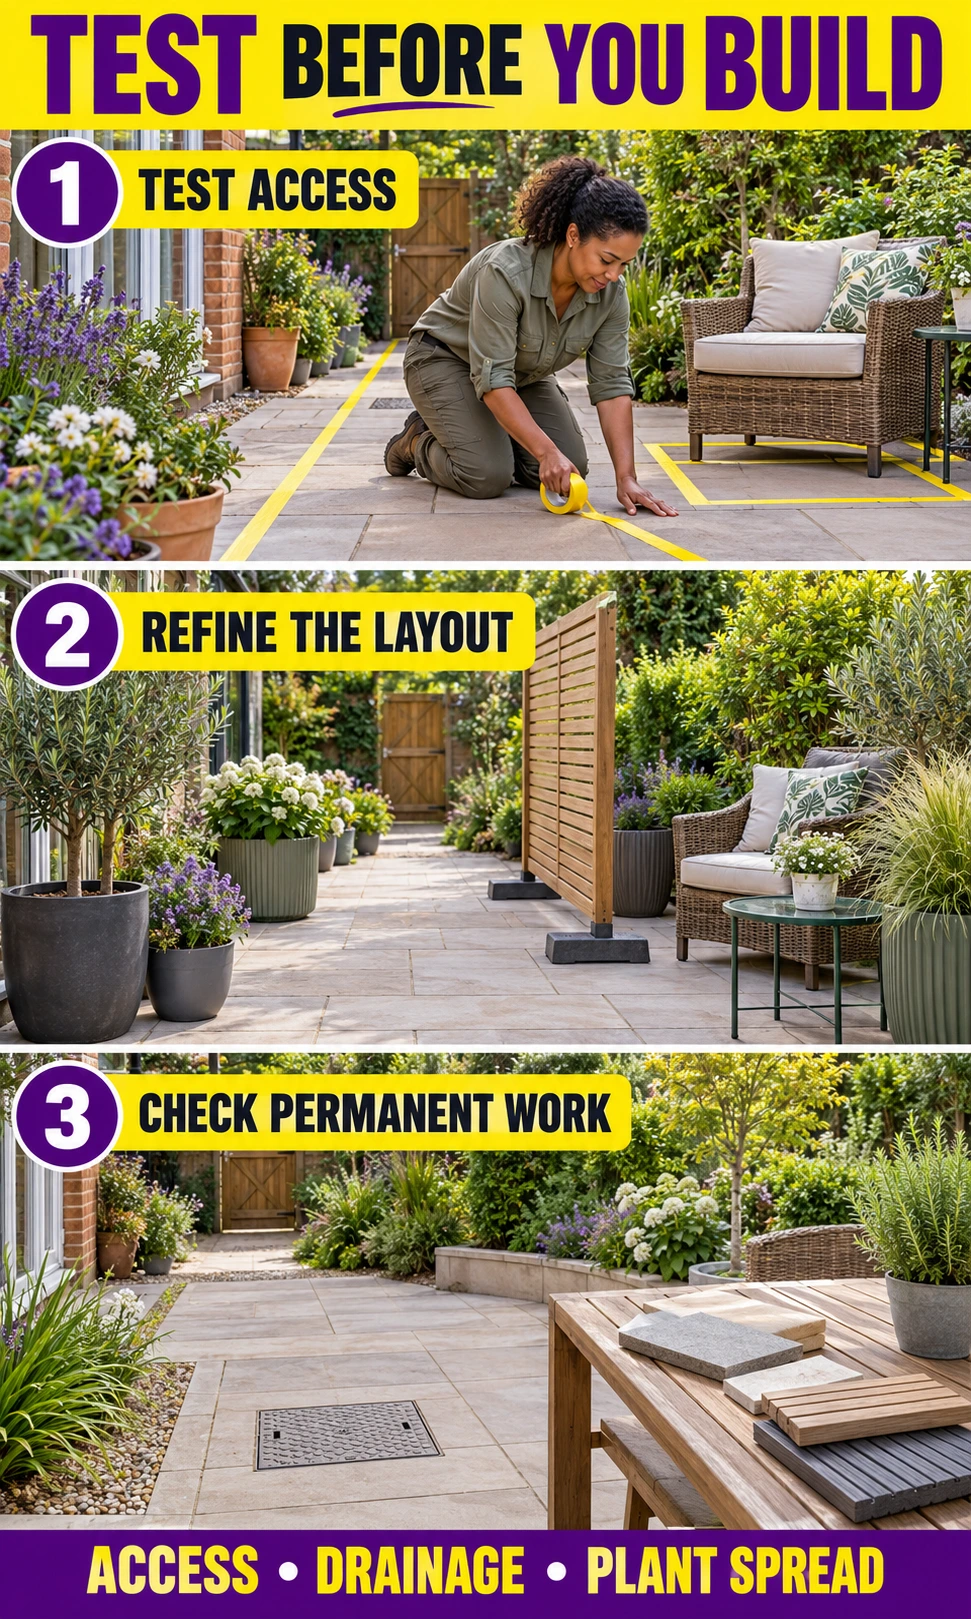
A working hose is enough to begin if you can reliably reach every plant. Add a suitable soaker hose or drip setup where it makes regular watering easier, with filtration, pressure control, and backflow protection as required locally. Drought tolerance after establishment does not mean a newly planted bed can be left dry.
Keep sound existing paving and postpone a new path unless access genuinely needs one. Loose gravel and separated stepping stones can be awkward for wheels, heels, and mobility aids, while new paving needs a suitable base and drainage. Compare border materials in modern garden edging ideas before paying for a finish your bed does not need.
Three transparent DIY budget examples
These are worked shopping scenarios using assumed US-dollar unit prices, not current retailer quotes or nationwide cost averages. They exclude paid labor, structural drainage work, retaining walls, and new paving; the reserve is a chosen allowance rather than a tax estimate. Replace each price with a local quote, including tax, delivery, and disposal, before committing to the project.
Weekend refresh: a $90 example
| Weekend refresh: existing 60 sq ft bed | Assumed calculation | Amount |
|---|---|---|
| Mulch top-up: 2 inches needed | 5 × 2 cu ft bags at $5 | $25 |
| Three small replacement plants | 3 × $10 | $30 |
| Green-waste transport/disposal | Allowance | $15 |
| Subtotal | Borrowed equipment; existing hose | $70 |
| Unspent reserve | Chosen allowance | $20 |
| Total budget held | Materials + reserve | $90 |
A $300–$600 target can suit a modest bed when the path is retained, hand work is manageable, and plants are bought small. The example below allocates money to a 120-square-foot bed, rather than an entire property. An existing healthy shrub can replace a purchased anchor, freeing money for delivery or watering supplies.
Starter bed: a $523.25 example
| 120 sq ft starter bed | Assumed calculation | Amount |
|---|---|---|
| Small shrubs and perennials | 3 × $25 + 12 × $10 | $195 |
| Mulch at 3 inches | 15 × 2 cu ft bags at $5 | $75 |
| Soil test / soil improvement | Allowance, use only as needed | $40 |
| Simple edging | 30 ft × $2 | $60 |
| Watering supplies | Allowance | $35 |
| Transport, disposal, small supplies | Allowance | $50 |
| Subtotal + 15% reserve | $455 + $68.25 | $523.25 |
A larger allowance can fund two phases without requiring you to spend everything at once. In this 240-square-foot example, the plant budget deliberately includes more substantial anchors while retaining existing paving. Check mature spacing first: spending more on plants does not mean the same bed should hold more of them.
Phased project: a $1,545.60 example
| 240 sq ft phased project | Assumed calculation | Amount |
|---|---|---|
| Shrubs and perennials | 5 × $50 + 24 × $12 | $538 |
| Mulch at 3 inches | 30 × 2 cu ft bags at $5 | $150 |
| Testing / soil improvement | Allowance | $90 |
| Edging | 60 ft × $4 | $240 |
| Watering setup | Allowance | $120 |
| Transport, disposal, equipment | Allowance | $150 |
| Subtotal + 20% reserve | $1,288 + $257.60 | $1,545.60 |
Check your own bed before spending
Use Front Yard Budget Studio to enter your measured bed area, planned purchases, and local prices. It calculates mulch quantity and separates the current phase from optional edging or watering upgrades. It also flags unresolved drainage, slope, and utility checks before presenting a shopping sequence.
Front Yard Budget Studio
Price the first bed. Compare your phases. Keep growing room.
Estimate mulch and planned purchases using your own prices. Example values are assumed USD amounts, not live quotes. This checks a small planting refresh; it does not assess drainage, retaining walls, or plant suitability.
One-page report opens in a new window. Your entries stay in this page; local search sends the search terms to Google only when you click its link.
A realistic weekend and establishment schedule
The schedule below is a task sequence for a small bed with manageable soil and access, not a guarantee of completion time. Allow extra time for utility responses, soil testing, sod removal, transport, and difficult roots. Delay planting during extreme heat, frozen ground, or saturated conditions rather than forcing the job into a chosen weekend.
Weekend and establishment schedule
| Stage | Work | Finish condition |
|---|---|---|
| Before the weekend | Measure, locate services, check rules, price materials | Bed scope and access are clear |
| First work session | Clear weeds and prepare the boundary | No unresolved water or root problem |
| Next work session | Set out plants, plant, water, mulch | Correct spacing and a usable entrance |
| First weeks | Check root-ball moisture, weeds, and movement | Plants receive care suited to weather |
| After establishment | Inspect, selectively prune, top up only as needed | Manageable growth and clear access |
In a temperate climate, use spring to assess new growth and weeds, summer to monitor moisture, and autumn to review spacing and mulch. In winter, keep the entrance clear and protect plants where their climate and species require it. In tropical or dry climates, organize the same checks around wet and dry periods instead of importing a four-season calendar.
A small established bed may need less than an hour of routine work in many weeks, but that is a design target rather than a promise. Establishment, drought, leaf fall, and vigorous weeds can require much more attention. If maintenance stays high, reduce unsuitable plant choices or excess bed area before adding automated equipment.
Mistakes that make a cheap project expensive
Buying a discounted plant that outgrows its space can create years of pruning and eventual removal costs. Filling every gap with annuals can also turn a one-time makeover into a recurring shopping bill. Use a few seasonal accents if you enjoy them, while leaving the main framework to suitable long-lived plants.
- Ignoring drainage: mulch and compost cannot repair a failed outlet or unstable slope.
- Planting too close: include mature spread and service access, not only today’s pot size.
- Overbuying mulch: measure the area and existing depth before ordering.
- Skipping establishment: reserve water, time, and money for new roots.
- Starting too large: finish one bed before removing the next area of lawn.
Stop the planting refresh if you uncover major roots, suspect a service conflict, or need a retaining structure. A steep or eroding frontage needs a site-specific approach rather than simply thicker mulch; see hillside garden design for that separate decision. Keep those works outside a small-bed budget until the relevant assessment and costs are clear.
Front-yard landscaping questions
What is the cheapest way to landscape a front yard?
Keep useful plants and sound paving, then weed, tidy edges, and refresh only the mulch that is needed. These jobs avoid the cost of rebuilding the layout. Buy replacement plants after measuring the bed and checking growing conditions.
How can I make a front yard look nice on a tight budget?
Focus on the route to the door and one clearly defined bed. Repeat a small number of compatible plants instead of scattering unrelated purchases across the frontage. Leave growing room so the improvement stays manageable as plants mature.
How much does DIY front-yard landscaping cost?
Cost depends on quantities, local prices, access, and the work included. The worked examples here hold $90 for an existing-bed refresh, $523.25 for a starter bed, and $1,545.60 for a larger phased project. They are assumed-price scenarios, so replace every price and allowance with local figures.
What are the best low-maintenance front-yard plants?
The best choices fit your climate, light, soil, and available mature space. Locally suitable shrubs and repeated perennials can reduce replacement and pruning work. New plants still need establishment care, including species-appropriate watering.
Can I landscape my front yard without experience?
A small, nonstructural planting refresh can be a reasonable beginner project after the required site checks. Start with measuring, weeding, and plants you can reliably care for. Get suitable help for unstable slopes, retaining work, service conflicts, or drainage near the building.
How long does a front-yard makeover take?
A prepared small bed may be installed over a weekend, while testing, service locating, sod removal, and delivery can extend the schedule. Growing into a fuller planting takes longer than installation. Set a care schedule before buying plants rather than treating the finished surface as the end of the job.
Your first-bed action checklist
Photograph the entrance, measure one bed, and identify the plants worth keeping. Price the materials and establishment care before adding decorative features. Finish that smaller project, watch how it grows, and use what you learn to decide whether a second phase is worthwhile.
- Measure the bed and exposed edge.
- Check light, drainage, rules, and buried services.
- Choose plants by mature size and shared care needs.
- Confirm local prices, delivery, tax, and a reserve.
- Prepare, plant, water, mulch, then monitor establishment.