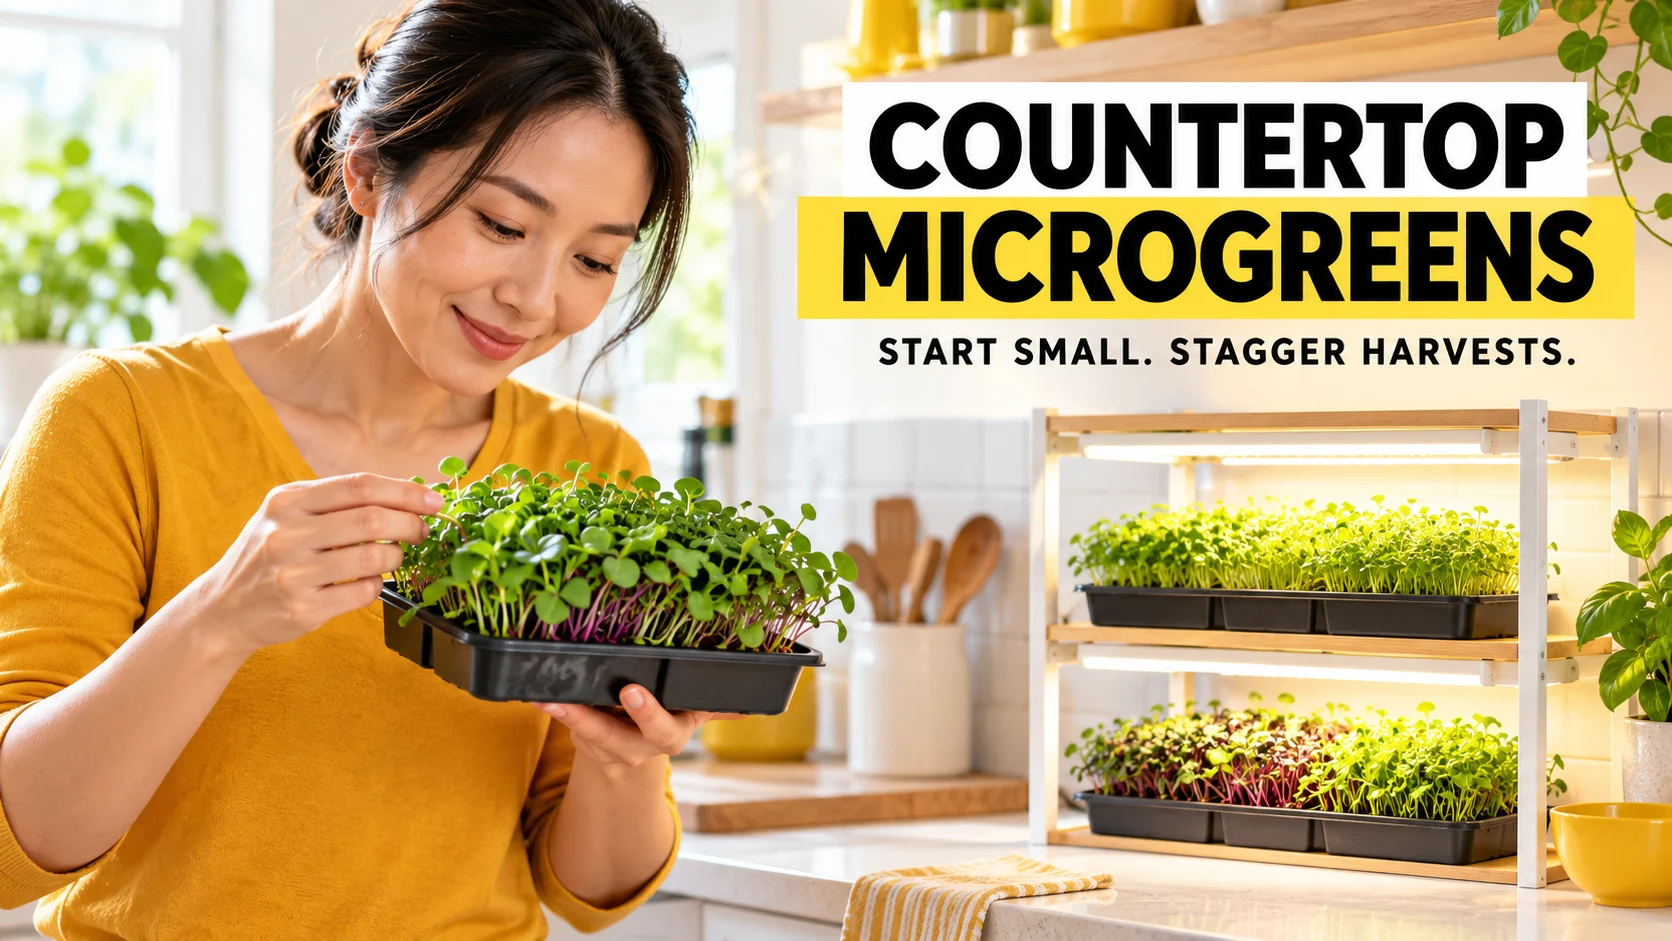

A countertop microgreens system can provide small, repeated harvests in an apartment when you match the tray size, light and sowing interval to your space. Start with one successful tray, then stagger new batches instead of sowing everything together. A station smaller than 2 square feet is possible, but its complete footprint and number of usable tray positions determine how often you can harvest.
Start with one tray, then build a rotation
The simplest starting point is a shallow growing tray with drainage holes, a watertight catch tray, suitable seeds and fresh growing medium. Add a freestanding light if your window cannot support compact growth. Keeping this first setup portable makes watering, cleaning and changing the light position easier in a rental.
Microgreens are young edible seedlings cut above the growing medium. They suit people who want a small fresh addition to sandwiches, eggs or grain bowls without maintaining a mature vegetable plant. A countertop station should be sized around the amount you actually eat; surplus that deteriorates in the refrigerator adds work without improving the system.
Begin with one crop and one seed lot so you can identify what changes between batches. Record when you sow, how much seed you use and when the crop is ready. Those observations become more useful than a universal promise of a harvest every seven days.
A regular harvest schedule depends on overlapping crops. If your crop takes 12 days from sowing to harvest and you sow every seven days, two batches must fit at the same time. Sowing every four days raises that requirement to three positions, even though each individual tray remains small.
| Your aim | Practical starting arrangement | Main constraint |
|---|---|---|
| Learn the process | One tray pair, one crop | Expect gaps between harvests |
| Harvest roughly weekly | Two positions for a 12-day crop | Both batches need suitable growing conditions |
| Sow every four days | Three positions for a 12-day crop | More daily checks and cleaning |
| Save counter area | Two usable shelf levels | Each level needs light, headroom and airflow |
Rotation examples assume a 12-day crop cycle. Count every living batch, including germination.
Measure the station, not just the tray
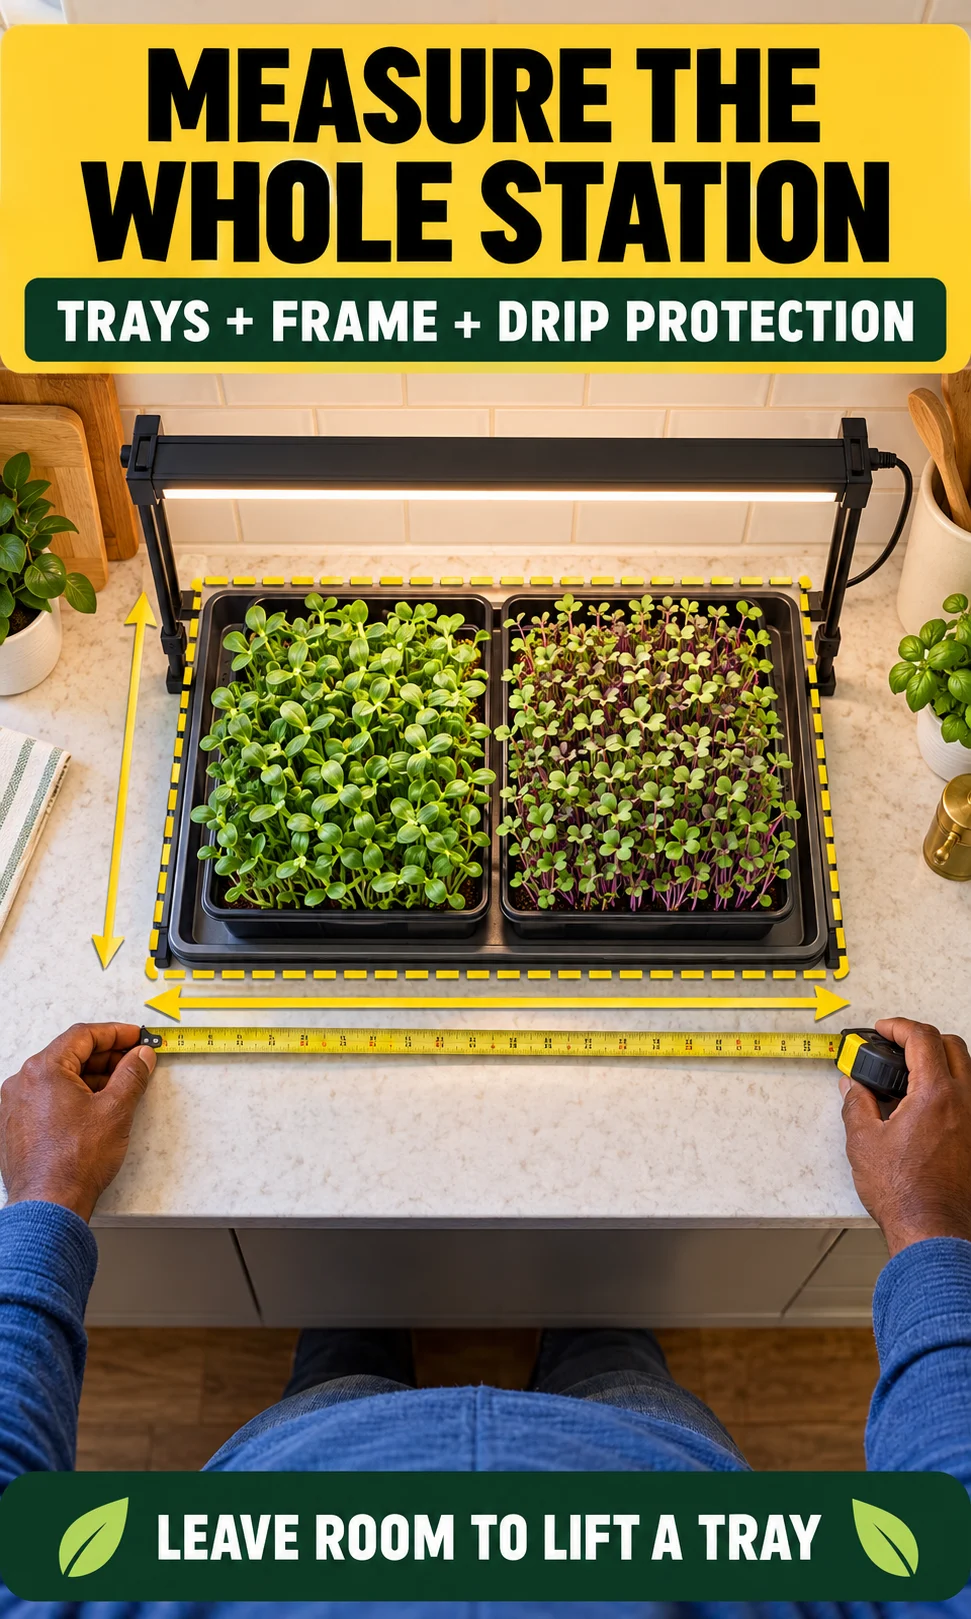
Calculate footprint in square feet by multiplying the station width and depth in inches, then dividing by 144. An outer footprint of 12 × 20 inches occupies about 1.67 square feet, while 12 × 24 inches occupies exactly 2 square feet. Tray names such as “1020” describe a format; measure the actual rim, catch tray and frame before claiming the station fits.
Use a cardboard template to test the position before buying equipment. Include anything that projects beyond the tray, such as a light stand, drip protection or a power lead. Check that you can remove a full tray without moving the kettle, blocking a cabinet door or working beneath a hot appliance.
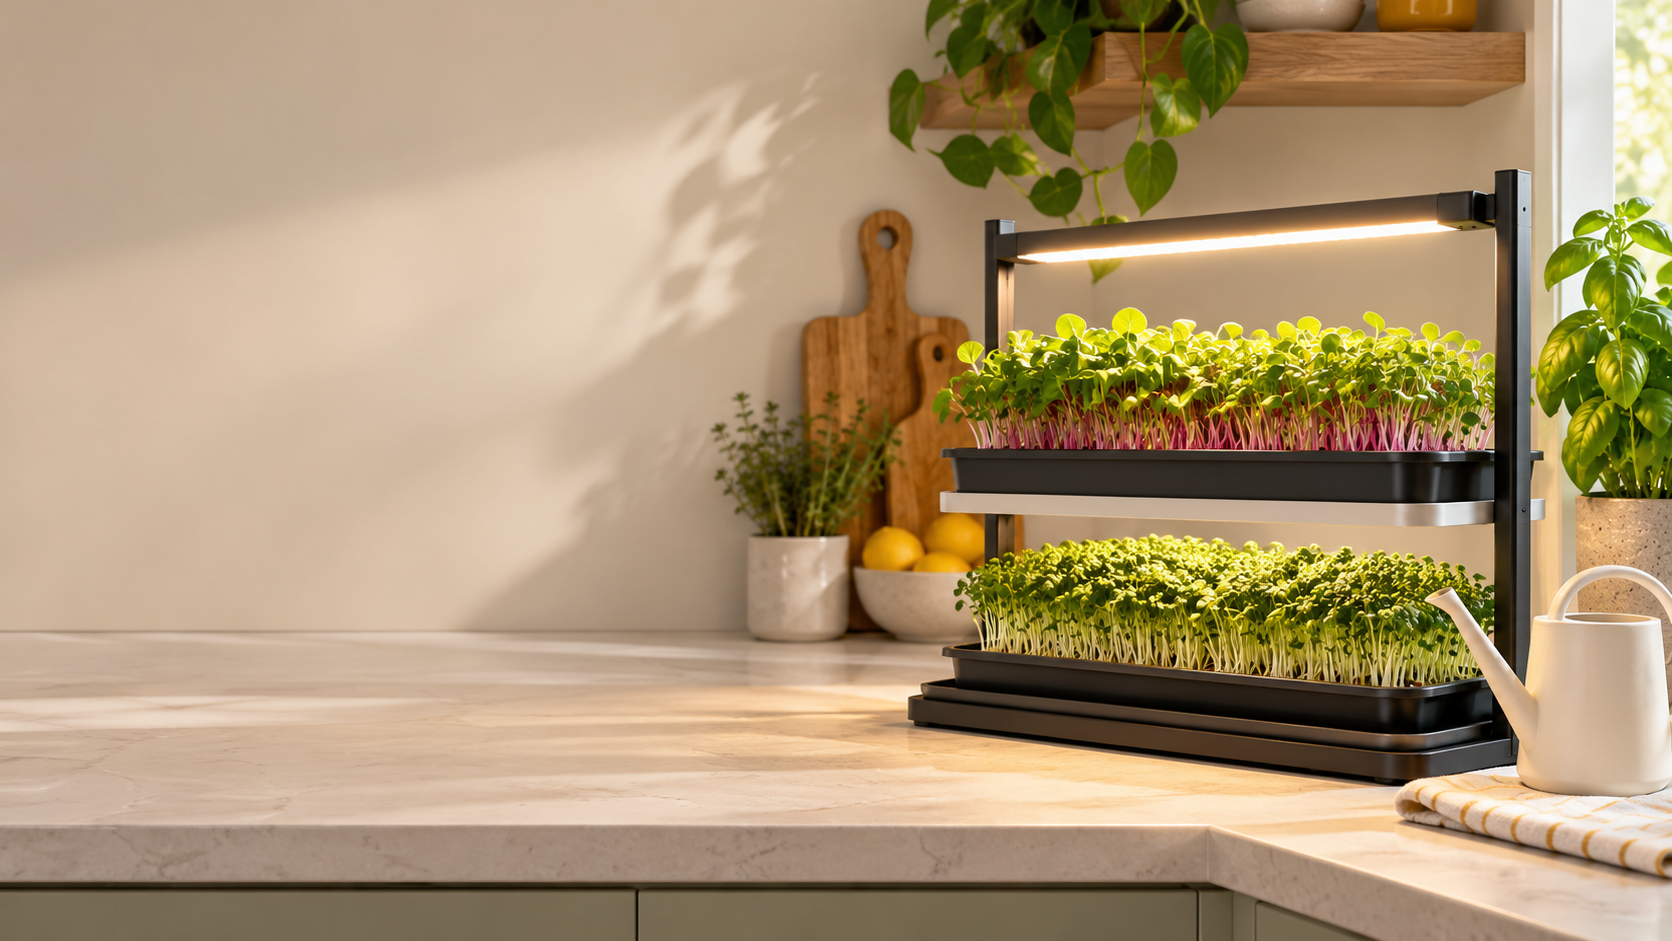
A shelf saves footprint only when every occupied level remains usable. A light above the top shelf cannot illuminate a crop hidden by the shelf beneath it. Open shelving is usually easier to inspect than an enclosed humid cabinet, and a stable freestanding frame avoids drilling into rented walls.
Choose a washable surface away from raw-food preparation, steam and direct splashing. Keep plugs and electrical connections outside the watering area and use equipment appropriate for the environment. For broader decisions about where a growing station belongs in a flat, use the apartment gardening guide.
Choose supplies you can clean and measure
Buy enough tray pairs for the rotation you intend to run, plus a cover if your crop instructions call for one. A catch tray beneath a perforated growing tray provides a controlled place for bottom watering. Avoid making a sealed glass jar your first microgreens container, because drainage and access are harder to manage.
A fresh seed-starting mix is a straightforward option, while coconut coir or purpose-made mats can simplify handling. Coir still sheds particles and mats still need moisture checks, so neither creates a completely mess-free system. Place a washable tray beneath the station and handle loose medium in a separate container.
Choose untreated seed explicitly sold for edible microgreens production. Do not substitute ornamental seed, chemically treated garden seed or arbitrary beans from a cupboard. Seed suitability and germination quality matter more than buying the largest bag immediately.
- Required: a perforated growing tray, matching watertight tray, suitable seed, fresh medium and clean water.
- For controlled lighting: a securely mounted fixture and timer; confirm the fixture covers your entire crop area.
- For repeatability: a small scale, removable batch labels and a simple harvest record.
- For maintenance: clean scissors, a washable work surface and appropriate tray-cleaning supplies.
- Optional: gentle air circulation where the room is still; avoid blasting seedlings dry.
Build a budget from local quotes
Price the complete station rather than comparing a seed packet with a shop-bought punnet. Include tray pairs, lighting, mounting hardware and the first supply of medium. Shipping and replacement trays can change the total substantially, so a universal “under $80” promise is not a reliable buying guide.
Separate reusable equipment from the cost of each crop. Enter current prices from suppliers you can actually purchase from, keeping every entry in the same currency. Begin with enough seed for a few trials and expand after you know which crop your household enjoys.
| Budget line | What to include | How to compare |
|---|---|---|
| Reusable setup | Tray pairs, fixture, timer, support | Total delivered cost |
| Seed per batch | Seed weight used × price per gram | Use the same crop and bag size |
| Medium per batch | Fresh mix, coir or mat | Include discarded portions |
| Electricity | Total light watts × hours × days ÷ 1,000 | Multiply kWh by your tariff |
| Other running costs | Cleaning, fans and replacements | Add separately; do not hide them |
Use current local quotes in one currency. Keep reusable setup costs separate from running costs.
Select a crop before choosing the sowing interval
Radish and broccoli are sensible first trials because they offer a relatively short learning cycle. Sunflower and pea shoots introduce larger seeds and presoak steps, so add them after your tray handling is dependable. Basil and cilantro can occupy positions longer, changing how many trays you need for the same sowing rhythm.
The following harvest windows are reference estimates from Utah State University’s crop guide. They describe that guide’s growing conditions, rather than a guarantee for every apartment. Use them to choose a first trial, then replace the estimate with your own observed sowing-to-harvest time.
| Crop | Reference harvest window | First-trial consideration |
|---|---|---|
| Broccoli | 8–12 days | Mild flavor; compare different seed densities |
| Radish | 8–12 days | Sharper flavor; check that you enjoy eating it |
| Pea shoots | 8–10 days | Larger seed with a presoak step |
| Sunflower | 9–10 days | Presoak and seed-hull handling |
| Basil | 12–16 days | Longer position occupancy |
| Cilantro | 21–28 days | Poor match for a first fast rotation |
Reference estimates vary with cultivar and growing conditions. Use your observed cycle for scheduling.
Grow your first batch step by step
1. Clean the tray and moisten the medium
Wash away old roots and medium before preparing a new crop. Where you use a sanitizer, choose one suitable for the tray’s intended use and follow its label, including contact time and rinsing requirements. Clean water, equipment and handling remain essential because a tidy-looking crop does not establish microbiological safety.
Pre-moisten the medium so it is evenly damp, then spread a level layer in the growing tray. Dry pockets create uneven emergence, while saturated pockets make moisture control harder. Nest it in the catch tray and check that water stays within the station when you lift or tilt it.
2. Weigh and spread the seed
Use the supplier’s crop-specific rate and the actual growing area. To scale a published rate, multiply its seed weight by your tray’s growing area divided by the reference area. For example, a hypothetical 20-gram rate for 200 square inches becomes 10 grams for 100 square inches; that calculation scales a rate but does not establish the correct starting density for every crop.
Spread seed evenly instead of pouring a thick ridge into the center. Keep crops with different growth rates in separate trays so harvest decisions stay clear. Microgreens seeding guidance explains why density varies with crop and growing conditions; reduce crowding when your first trial produces tangled or weak growth.
3. Follow the crop’s germination instructions
Small seeds and large seeds do not all need the same soaking treatment. Follow the seed instructions for presoak duration, covering and any weighted germination step. Keep the surface moist enough for establishment and inspect the tray daily rather than leaving it covered for an arbitrary fixed period.
Move established seedlings into suitable light when the crop instructions and their growth stage indicate readiness. A long blackout can produce excessive elongation, especially if the plants then move into weak light. Remove unnecessary covers once they have served their germination purpose, particularly in a humid room.
4. Provide light that covers the whole crop
A bright window may work, but test it with one batch before committing to a rotation. For a controlled indoor setup, a timer around 16 hours daily is a reasonable starting point from indoor microgreens growing guidance. Follow the fixture’s distance guidance because a universal number of inches cannot describe every LED.
Wattage tells you electrical consumption, not whether every seedling receives enough usable light. Inspect the center and edges for compact growth and adjust fixture coverage accordingly. Keep the supports stable and leave enough clearance to remove a tray without touching a hot lamp.
5. Water the medium and inspect the crop
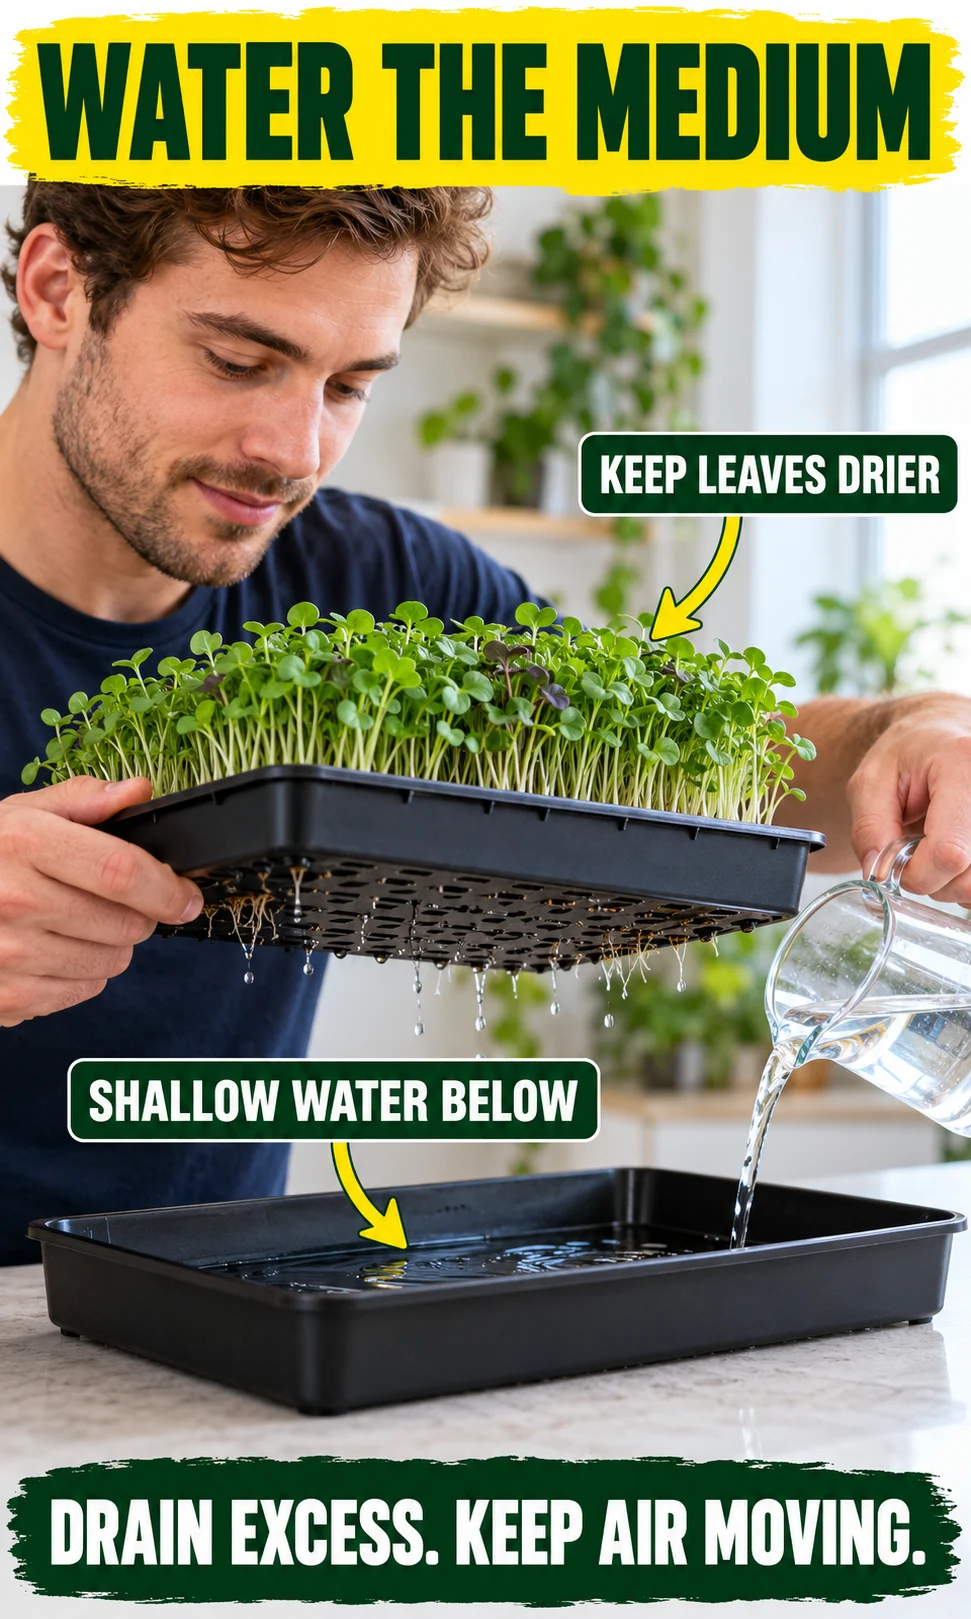
During establishment, gentle surface watering can help keep seeds moist without moving them. Once roots are established, bottom watering makes it easier to wet the medium while leaving the canopy drier. Add water below, allow absorption, then remove excess rather than maintaining a deep permanent reservoir.
Lift the tray and check its weight alongside the condition of the medium. A clock-based watering rule misses differences in room heat, crop size and air movement. If the surface appears dry while the lower layer is wet, investigate the moisture distribution before adding more; the dry-surface, wet-root-zone explanation develops that distinction.
Set up staggered harvests without running out of positions
Use the complete sowing-to-harvest cycle when counting batches, including germination. Required positions equal the cycle length divided by the sowing interval, rounded upward. A 12-day cycle with seven days between sowings needs two positions; a 12-day cycle with four days between sowings needs three.
This simple count assumes you harvest and clean a position before reusing it on the same day. Add a spare position or lengthen the interval if cleaning, slow crops or delayed harvesting regularly overlap. A covered germination tray still occupies physical space, even while it does not need the same light as the older batch.
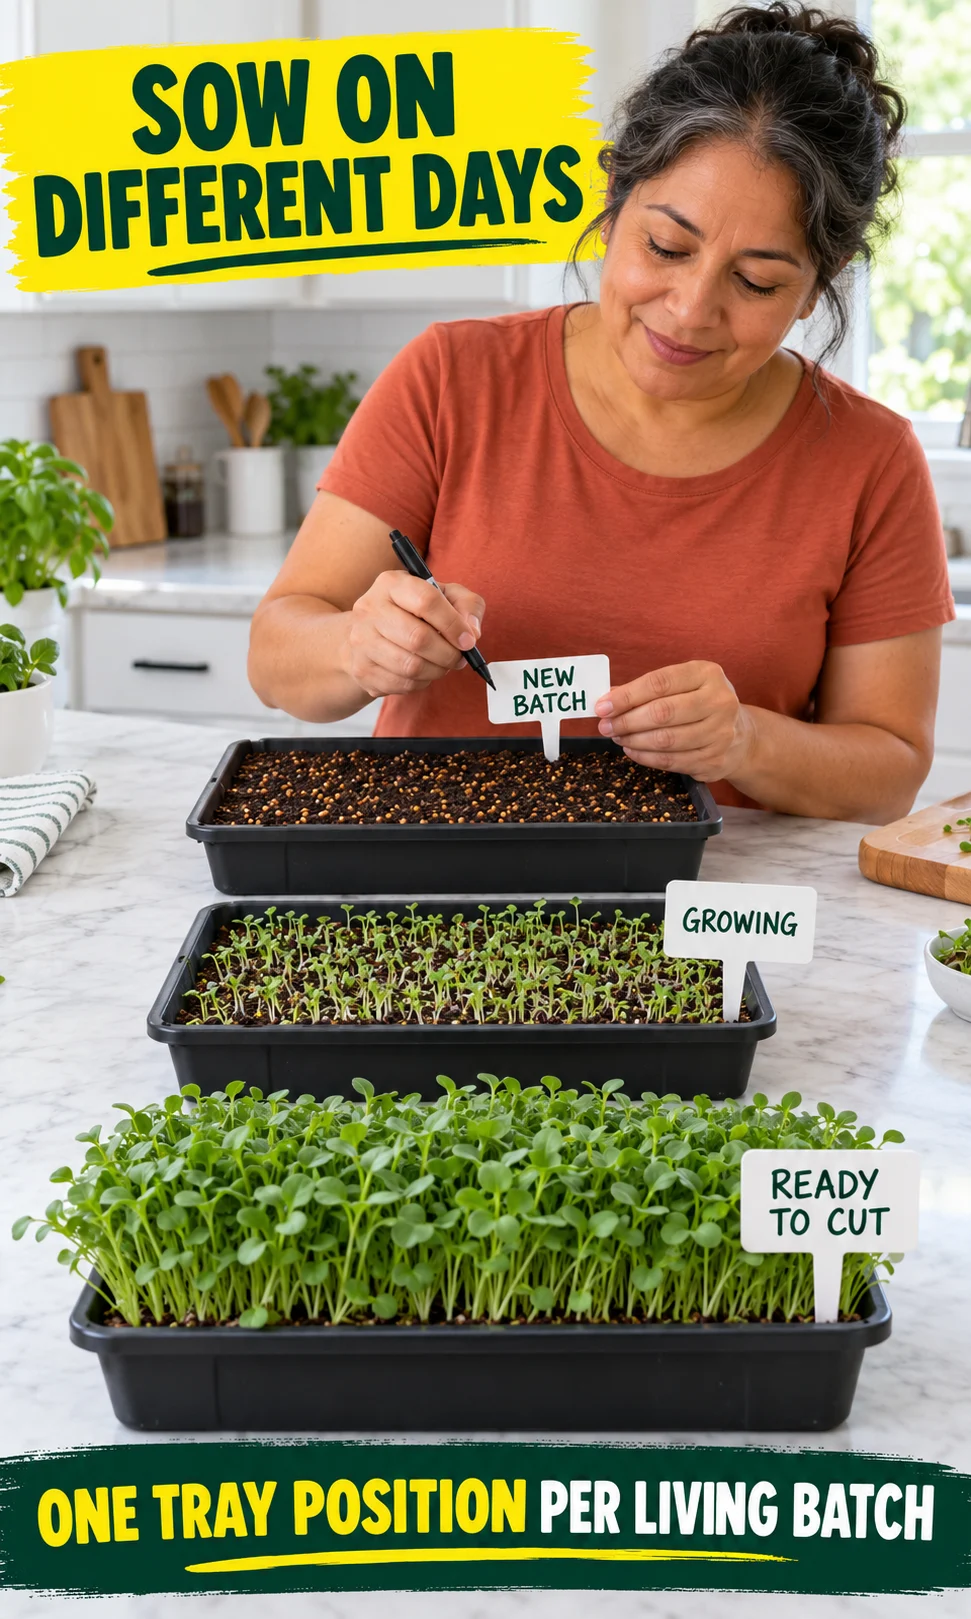
For a first rotation, sow Batch A on day 0, Batch B on day 7 and the next batch on day 14. With a 12-day cycle, the first two harvest checks fall around days 12 and 19. The schedule becomes useful after the initial wait, and the actual crop determines whether each predicted harvest day is appropriate.
- Label each batch: crop, seed weight, sowing date and tray size.
- Protect the overlap: count germinating trays as well as green trays.
- Use an observed cycle: revise the schedule if your crop consistently takes longer.
- Leave a recovery margin: pause sowing if a failed batch or cleaning delay removes a position.
Check your space and rotation
Use Countertop Harvest Studio to compare clear growing dimensions with the outside dimensions of your tray pairs. Enter your observed or provisional crop cycle and your intended sowing interval. Its report identifies capacity conflicts and estimates light electricity use without pretending to predict food yield.
Countertop Harvest Studio
Check tray fit, staggered sowings and light running costs before you expand.
Fit • Rotation • A4 reportUse the clear growing area inside your frame and the outer dimensions of each tray-and-catch-tray pair. This compares simple rectangular layouts; it does not verify light coverage, stability, food safety or yield.
Troubleshoot before adding more trays
Increasing production multiplies the conditions already present in the first tray. Correct an uneven light pattern, persistent wetness or difficult cleaning process before adding another level. A failed small trial is cheaper and easier to understand than several overlapping crops with different problems.
Separate a suspect tray from your healthy crops and avoid transferring water or dirty equipment between them. Do not treat a spray or a rinse as proof that a deteriorating crop is safe to eat. Microgreens food-safety guidance emphasizes water quality and clean production practices throughout the process.
| What you see | What to check | Next action |
|---|---|---|
| Long, weak stems | Light coverage and time under cover | Improve light; revise the next germination cycle |
| Persistent wetness or condensation | Catch-tray water and closed covers | Drain excess and improve air movement |
| Seedlings collapsing or slimy tissue | Crop deterioration and shared equipment | Discard the affected batch; clean before restarting |
| Uneven emergence | Seed spread, moisture and germination quality | Change one factor in the next trial |
| Gnats around the station | Wet medium and nearby pots | Inspect the source; avoid unapproved sprays on food crops |
Discard deteriorating or questionable food crops. Clean the equipment before restarting.
If a tray looks questionable and you cannot establish what is growing on it, discard it rather than trying to rescue a small food crop. A photograph or a disappearance of fuzz after watering cannot certify safety. Record the conditions and change one likely cause in the next batch so the troubleshooting remains useful.
Harvest once, clean and start again
Cut with clean scissors above the medium so roots and loose particles stay in the tray. Plan on one microgreens harvest per sowing; dependable repeated supply comes from fresh batches. Baby greens grown for later cutting are a different production system, so do not build this rotation around promised regrowth.
Refrigerate harvested greens promptly in a clean container, keeping them separate from raw meat and dirty gardening equipment. Wash under running water before eating and do not use soap or household disinfectants on the greens. The FDA’s produce-handling guidance recommends refrigeration at 40°F, about 4°C, or below.
Treat shelf life as a quality window, not a promise of safety. Purdue’s storage guidance gives about five to seven days for refrigerated microgreens under its recommended conditions. Harvest close to when you will eat them, and discard greens that develop spoilage rather than relying on the date alone.
Measure yield and savings with a 30-day record
Weigh the usable harvest after removing hulls and unwanted material. Record discarded batches and uneaten greens as well as successful harvests. Compare cost per usable gram with the same type of shop-bought product; a tray’s total cut weight can overstate the food you actually consume.
For an illustrative calculation, a 20-watt light running 16 hours daily for 30 days uses 9.6 kWh. At an example tariff of 0.20 currency units per kWh, that costs 1.92 in the same currency. Add fan use and other equipment separately, and replace the example tariff with your bill’s current rate.
Keep reusable setup cost separate when comparing monthly running costs. If your homemade greens cost more than your usual purchase, the station may still be worthwhile for freshness or enjoyment, but it is not yet delivering a saving. Buy another shelf only after your harvest records show that the additional output would be used.
| Record for every batch | Why it matters |
|---|---|
| Crop, sowing date and harvest date | Establishes your actual cycle length |
| Seed weight and medium cost | Makes repeat batches comparable |
| Usable harvest weight | Measures food output rather than appearance |
| Waste and failed batches | Prevents an inflated savings calculation |
| What you changed | Shows whether the adjustment helped |
Record waste and failed crops alongside successful harvests to avoid overstating savings.
Questions about apartment microgreens
Can I grow microgreens without a grow light?
Yes, a sufficiently bright window can work for a small trial. Watch the whole tray for compact, even growth rather than assuming the brightest corner represents every seedling. If the crop stretches or leans strongly, improve light before expanding.
Can I grow microgreens in a studio apartment with no window?
Yes, a suitable artificial light can provide the crop’s light source. You still need ventilation, safe electrical placement, a washable watering area and space to handle trays. An enclosed cupboard should not be treated as suitable simply because a light fits inside it.
How many trays do I need for weekly harvests?
For a crop taking 12 days from sowing to harvest, sowing every seven days needs two growing positions. Each position normally has a perforated tray and a matching catch tray, so positions and individual plastic trays are different counts. Allow more capacity if the crop takes longer or cleaning delays reuse.
Will microgreens grow back after cutting?
Plan on one harvest from each sowing. Do not depend on a second cut to maintain the rotation, even if a particular crop produces a little new growth. Sow fresh batches and use a separate baby-greens system if repeated cutting is your main goal.
Is coconut coir essential?
No, suitable fresh seed-starting mix or purpose-made mats can also work. Coir is a handling choice rather than a guarantee of cleanliness or food safety. Choose a medium you can moisten evenly and replace between batches.
How much electricity does a small light use?
Multiply total light watts by daily hours and operating days, then divide by 1,000 to get kWh. A 20-watt light running 16 hours daily for 30 days uses 9.6 kWh. Multiply that by your tariff and add any fan or other equipment separately.
Are homegrown microgreens automatically safe to eat raw?
No, home growing does not eliminate contamination risks. Use suitable seed, clean water, clean equipment and careful produce handling, and discard deteriorating crops. People with specific medical reasons to avoid raw produce should follow their clinician’s advice.
Choose the smallest setup you can run consistently
A single well-managed tray is enough to establish whether you enjoy the crop and can maintain the routine. Move to two positions when you have a repeatable cycle and a use for the harvest. Add more capacity only when space, lighting and your eating habits support it, rather than treating a packed shelf as the goal.