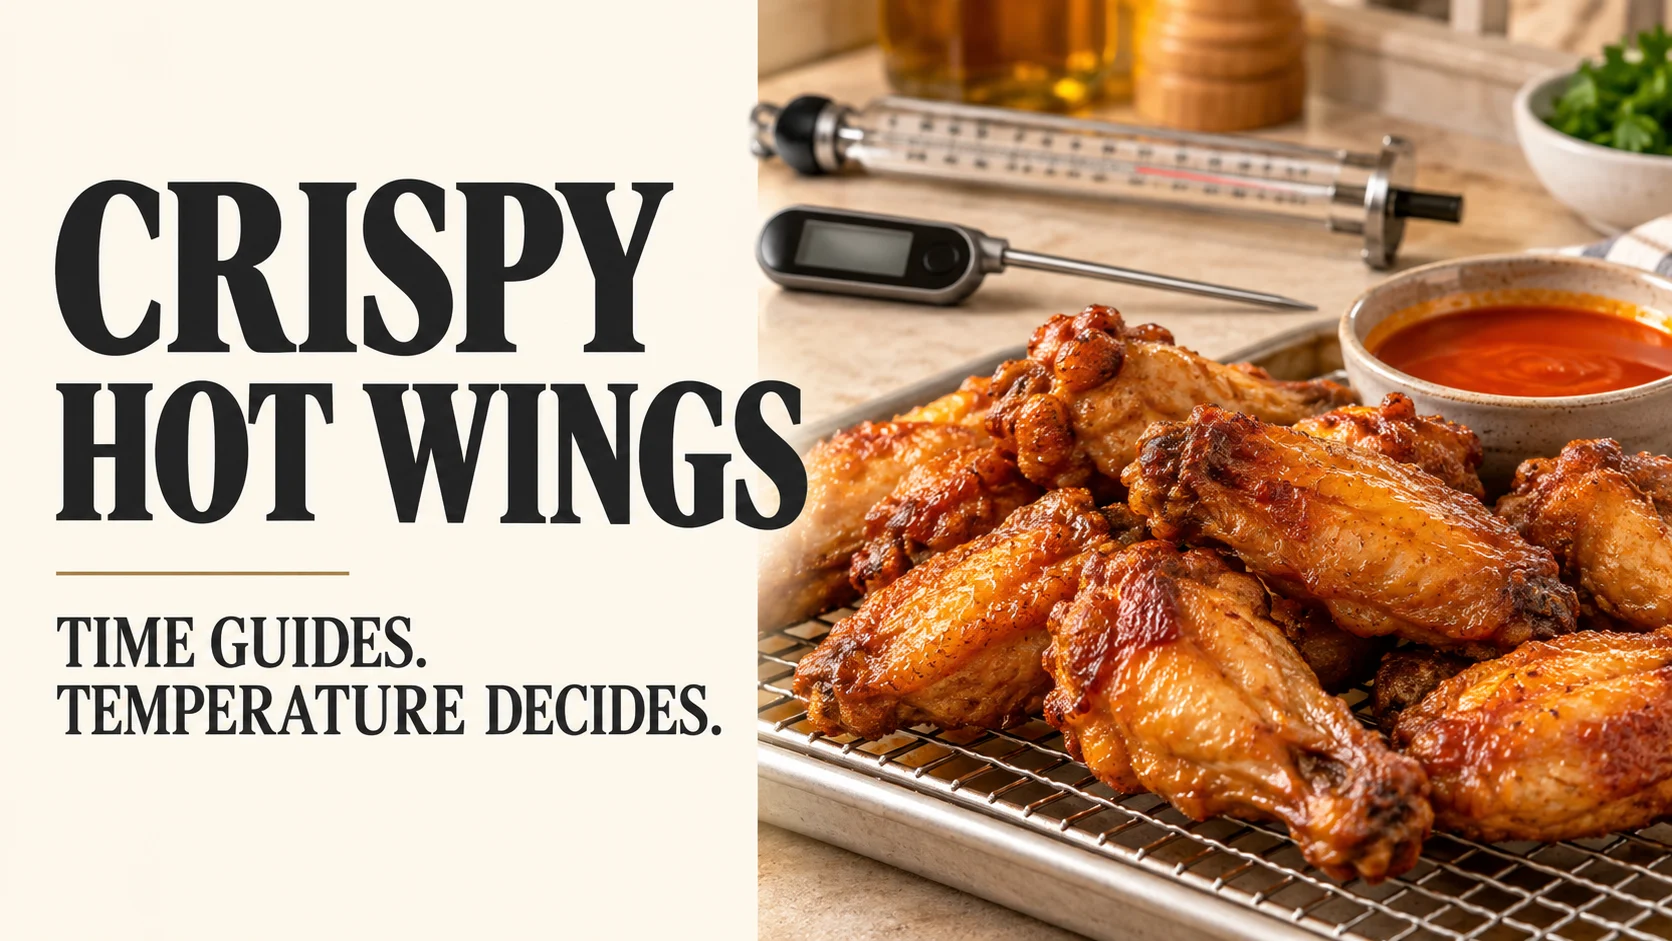
For thawed, unbreaded chicken wing sections, use 350°F (177°C) oil and allow roughly 8–12 minutes per small batch, checking the meat rather than trusting the clock. Every piece must reach at least 165°F (74°C) internally; large drumettes or slow oil-temperature recovery can take longer. Dry skin, room in the pot and sauce added just before serving do more for crispness than an exact minute count.
Start with the right wings and two temperature checks
This method is for bone-in flats and drumettes, not whole wings, boneless pieces or commercially breaded frozen products. Separate whole wings at their joints and save the tips for stock before weighing your recipe portion. Similar-sized sections are easier to finish together, but even one batch can contain pieces that cook at different speeds.
Measure the frying oil with a thermometer rated for hot oil, then check the chicken separately with an instant-read food thermometer. A fryer dial reports its setting rather than the temperature around a newly added batch. Floating wings, clear juices and golden skin cannot confirm that the meat is safe.
- Oil: start at 350°F (177°C) for the main cook and let it recover between batches.
- Meat: at least 165°F (74°C), measured in the thickest part away from bone.
- Surface: pat completely thawed wings dry and remove visible ice or pooled liquid.
- Finish: drain on a wire rack, then toss only the serving you need.
How long to fry wings at 350°F and 375°F
A time range helps you organize dinner; it cannot certify doneness. Begin checking a representative large piece around eight minutes, and check several pieces before removing a mixed batch. If the centre is below the minimum, keep cooking and measure again, even if the skin already looks finished.
At 375°F (191°C), the outside can brown faster without guaranteeing a proportionate reduction in cooking time. Large pieces are less forgiving at that setting, so 350°F is the simpler starting point for frying from raw. ThermoWorks’ wing-temperature guidance likewise favors 350°F to balance the exterior and interior.
Use the following ranges for planning thawed wing sections in small batches. They are approximate working windows, not size-specific test results or promises from a particular fryer. Start with one small batch and use its measured result to guide the rest of your session.
Swipe horizontally to compare on smaller screens.
| Method | Oil temperature | Planning window and endpoint |
|---|---|---|
| Single fry from raw | 350°F / 177°C | Roughly 8–12 minutes; longer if needed. Check from about 8 minutes and reach at least 165°F / 74°C. |
| Single fry from raw | 375°F / 191°C | Allow roughly 8–12 minutes rather than assuming a fixed time saving. Watch browning closely; the meat still needs 165°F / 74°C. |
| Optional second fry, immediately after a short rest | 375°F / 191°C | About 2–4 minutes for texture after the first cook has reached 165°F / 74°C. Stop when crisp; this is not a raw-chicken cooking window. |
| Refrigerated cooked wings | 375°F / 191°C finish, if frying | No fixed 2–4-minute promise. Reheated leftovers must reach 165°F / 74°C; use an oven if the exterior browns too quickly. |
165°F is the safety minimum; 175°F is a texture choice
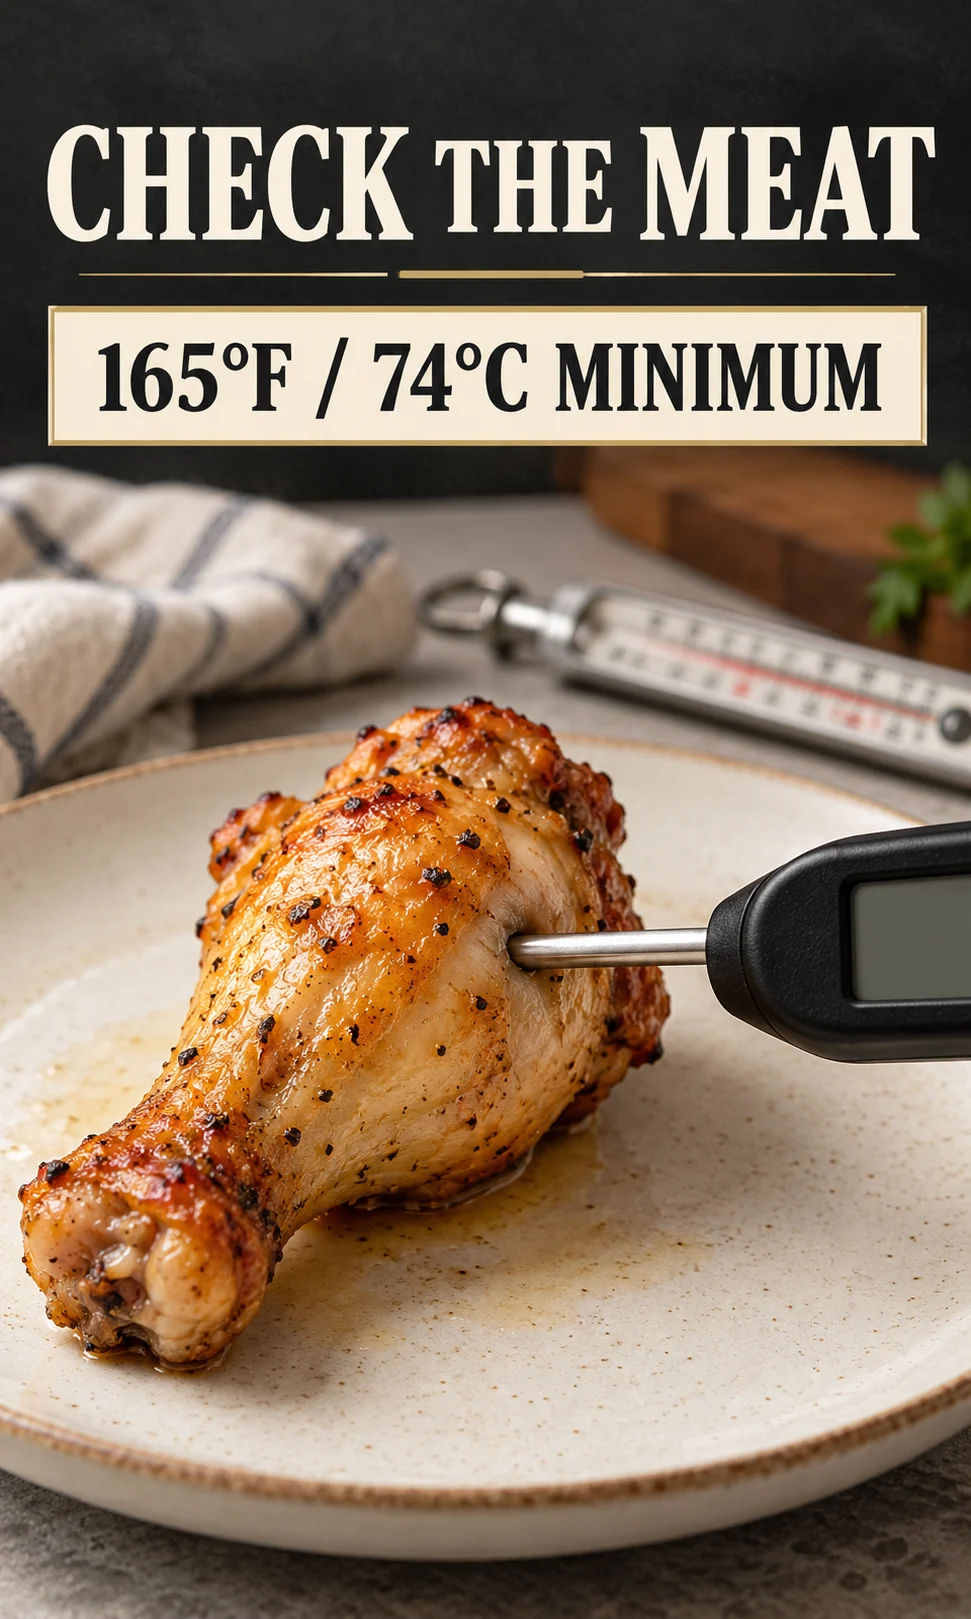
The USDA poultry safety minimum is 165°F (74°C). Insert the probe into the thickest meat without touching bone, taking care with thin flats. Check more than one piece, especially the largest drumettes, and clean the probe after testing undercooked chicken.
Some cooks prefer wings around 175°F (79°C) because the meat and connective tissue can feel more tender. That is a culinary preference, not a replacement safety threshold or a requirement for every wing. If the skin is already sufficiently browned at 165°F, additional frying may trade juiciness for texture rather than improve both.
Lift a wing from the oil onto a clean heatproof plate before probing it. Testing while it is submerged can produce a misleading reading and exposes your hands to hot oil. Return an undercooked piece promptly, then clean the plate and probe before they touch ready-to-eat food.
Oil temperature controls the pace at which the skin loses moisture and browns, while the centre heats more slowly. A newly added batch takes energy from the oil, and a weak burner may need time to restore it. That is why the starting temperature, temperature during cooking and measured meat endpoint all belong in the same decision.
Set up the pot before heating the oil
Choose a stable, deep, heavy pot and a neutral refined oil labeled suitable for frying. Canola, vegetable blends and refined peanut oil are practical options; account for allergies and shared equipment before choosing peanut oil. There is no universal winner based on a smoke-point number alone because refinement, oil age and manufacturer specifications differ.
Follow a countertop fryer’s fill marks and instructions. For a stovetop pot, leave generous headroom and keep the oil level below halfway before adding wings; choose a smaller batch rather than adding more oil to an already crowded pot. Keep the thermometer tip in the oil without resting it on the bottom, and use dry tongs or a spider strainer.
- Keep the pot attended and children away from the cooking area.
- Lower dry wings gently; never drop a wet or icy handful into hot oil.
- If the oil smokes, stop adding food, turn off the heat and let it cool.
- Keep a suitable lid nearby. Never put water on an oil fire or move a burning pot; evacuate and call emergency services if it is not safely controllable.
How to fry unbreaded hot wings, step by step
Unbreaded wings get their crust from the skin itself. Flour or starch can produce a different, coated style, but neither is needed for this recipe. Put most of the seasoning into the finishing sauce so loose spices do not accumulate and burn in the pot.
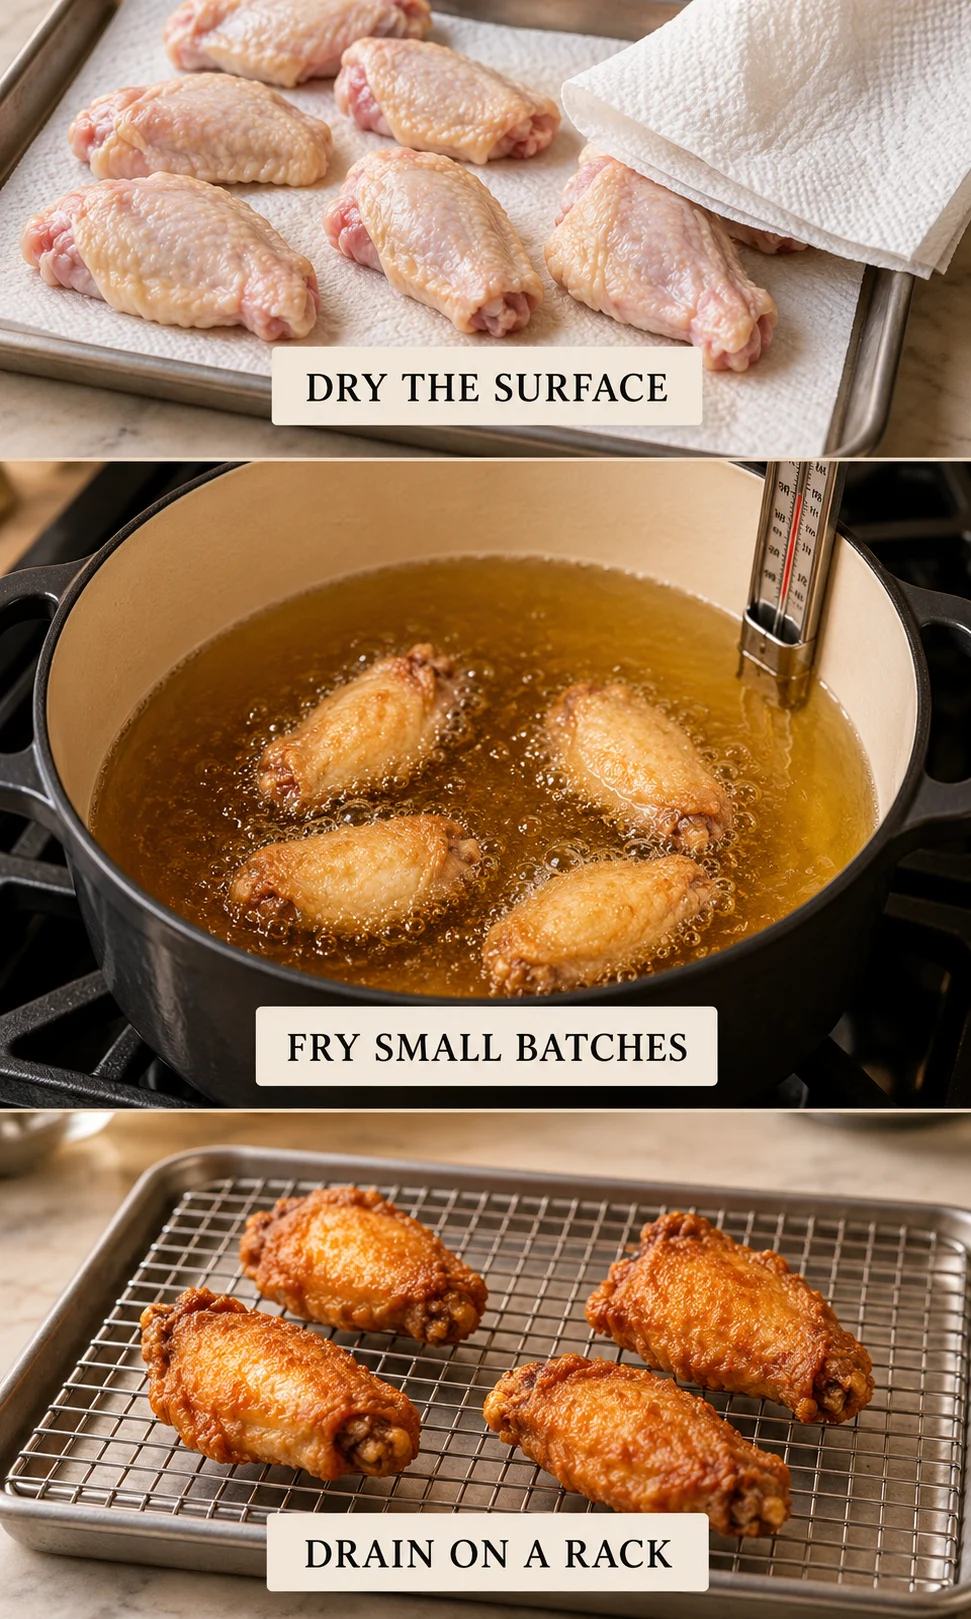
- Thaw and dry: thaw in the refrigerator, then blot the sections thoroughly with paper towels. Do not wash raw chicken. Keep other uncooked batches refrigerated.
- Heat: bring the oil to 350°F (177°C), checking with the oil thermometer. Set a clean draining rack over a rimmed tray before adding food.
- Add a small batch: begin with about four to six sections if the pot comfortably accommodates them. This is a trial batch, not a universal capacity; reduce it if the wings crowd or the temperature stays low.
- Monitor: adjust the burner gradually as the temperature changes. Separate pieces gently if they stick, and begin checking the largest section around eight minutes.
- Verify and drain: cook every section to at least 165°F (74°C). Transfer to the clean rack in one layer, using utensils that have not touched raw chicken.
- Recover and repeat: allow the oil to return to its target before starting another batch. Toss the cooked serving in warm sauce and serve.
The first batch tells you more about your equipment than an internet chart can. If adding six wings causes a sustained temperature drop, use fewer next time instead of turning the burner to maximum and forgetting it. Smaller batches are slower to load but usually easier to manage consistently.
A simple double-fry option for extra crispness
For a straightforward home version, complete the 350°F cook to at least 165°F internally first. Rest the wings on a rack for five to ten minutes while bringing the oil to 375°F (191°C), then fry briefly again, usually about two to four minutes, until the skin is crisp. This separates cooking-through from the final texture step without asking you to store partly cooked chicken.
A longer low-temperature confit method is a different recipe, with different timing and results. Serious Eats’ tested double-fry method uses that approach; the shorter sequence here is an editorial adaptation, not a claim to reproduce its results. Skip the second fry when the first batch already has the crust you want.
Keep the crunch by saucing at the last moment
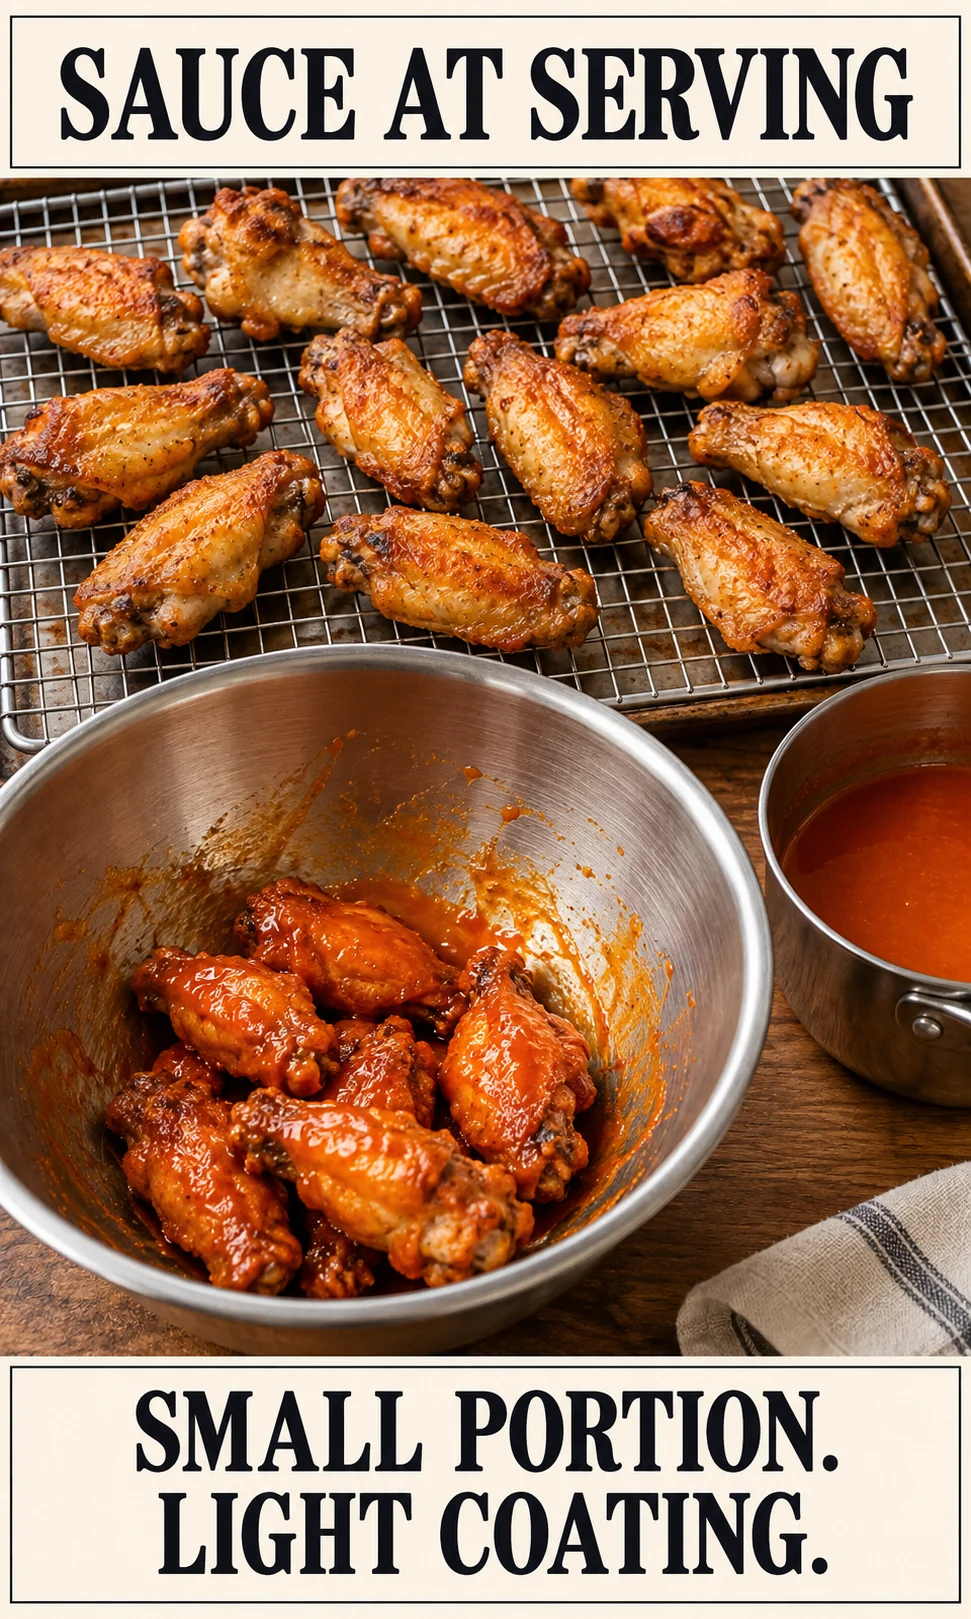
Use warm sauce rather than a cold, watery pool, and add it gradually in a clean mixing bowl. Toss briefly until a thin film coats the skin, then move the wings onto a serving plate. Sauce brings moisture back to the crust, so even well-fried wings soften as they sit.
For a party, keep unsauced cooked wings in one layer on a rack and finish small servings as guests eat. An oven set around 200°F (93°C) can hold them briefly, but check that the food remains at least 140°F (60°C); the oven setting alone does not establish a safe holding temperature. Avoid covered bowls, deep piles and long holding periods because trapped steam damages the crust.
If different guests want different heat levels, separate portions before saucing rather than drowning the whole batch in extra butter or water. Offer sauce on the side for anyone prioritizing crispness. For portion planning, use how many hot wings you need for a party as the separate guest-count guide.
Crisp Wing Studio: choose your sequence and next check
Choose the condition of your wings and the finish you want, then enter measured oil and meat temperatures if you have them. The Studio gives a practical next step and a printable frying brief; it cannot measure your food or establish doneness from elapsed time. Blank temperature fields remain unverified rather than being treated as safe readings.
Crisp Wing Studio
Choose your frying sequence and the next check for a crisp serving.
Thaw · Fry · Check · SauceFor unbreaded, bone-in wing sections. Enter thermometer readings to get a next step; elapsed time cannot establish doneness.
Measure before serving
Use 350°F / 177°C for the main cook. Every section must reach at least 165°F / 74°C internally; times vary.
This guide cannot measure your food. Never fry icy or wet wings. Keep hot oil attended and follow your equipment’s fill limits.
Why fried wings turn greasy, pale or soggy
Look for the cause before changing the recipe. A wing can have a dark exterior and still be undercooked, or be safely cooked with skin that needs a better finish. Oil readings, meat readings and the point at which texture deteriorated help distinguish those problems.
Swipe horizontally to compare on smaller screens.
| Problem | Likely cause to check | Next action |
|---|---|---|
| Pale, greasy skin | Large batch, sustained low oil temperature or insufficient drying | Reduce the next batch and restore the oil target. Verify meat temperature before finishing. |
| Dark outside, undercooked centre | Too much heat for the piece size | Reduce to about 350°F and keep cooking to 165°F internally. Do not serve based on colour. |
| Good crust becomes soggy | Excess sauce, a covered container or piled wings | Drain on a rack, hold in one layer and sauce only at serving. |
| Violent splattering | Surface water or ice; too little pot headroom | Stop adding food. Let the situation settle safely; thaw and dry the remaining wings. |
| Smoke or unpleasant oil smell | Overheating or deteriorated oil | Stop heating. Once completely cool, discard unsuitable oil and clean the pot. |
Buffalo-style fried hot wings recipe
Yield: four appetizer servings from 2 lb (about 900 g) of separated wing sections. Prep: about 15 minutes after thawing. Cooking: plan roughly 30–50 minutes for multiple batches, including oil recovery; batch count and equipment determine the total.
- 2 lb (about 900 g) thawed chicken flats and drumettes
- Neutral refined frying oil, enough for your equipment while respecting safe fill limits
- ½ cup (120 ml) cayenne-style hot sauce
- ¼ cup (57 g) unsalted butter
- Celery and your preferred dip, optional
- Pat wings thoroughly dry and prepare a clean wire rack over a rimmed tray.
- Heat the oil to 350°F (177°C). Fry small batches for roughly 8–12 minutes, checking several pieces and continuing until all reach at least 165°F (74°C).
- Drain on the rack and let the oil recover between batches. For an optional crisping finish, rest fully cooked wings five to ten minutes, then fry at 375°F (191°C) for about two to four minutes.
- Melt the butter gently in a separate saucepan and stir in the hot sauce. Keep it warm without vigorous boiling.
- Add sauce a little at a time to the portion you will serve, toss briefly and serve immediately.
The sauce contains dairy, and bottled hot sauces and dips may have additional allergens. Its salt level and heat vary, so taste the sauce before adding extra seasoning. Nutrition will also vary with wing size, sauce retained and oil absorption; this recipe does not provide an invented calorie estimate.
Make ahead safely, then finish in small batches
Cook the first stage fully to 165°F before refrigerating; do not save partly fried raw wings to finish another day. Place cooked portions into shallow containers and refrigerate promptly, within two hours or within one hour if the surrounding temperature is above 90°F (32°C), following FDA safe-handling guidance. Do not leave a large tray out until it reaches room temperature.
Keep the refrigerator at 40°F (4°C) or colder and use cooked wings within three to four days, or freeze them. Thaw frozen cooked wings in the refrigerator and dry away surface moisture before any frying finish. Reheat leftovers to 165°F (74°C), allowing more time than the short same-session crisping step if necessary.
For large groups, organize servings around batches rather than a weight ratio of wings to oil. Pot geometry, oil depth, burner power and food size all affect capacity, so pounds of oil do not establish a reliable batch limit. Never exceed a fryer’s instructions to meet a serving deadline.
When the oven or air fryer is the better choice
Deep frying offers direct control over the skin, but it requires attention to a pot of hot oil. An oven or air fryer may fit a busy kitchen better, especially when reheating already cooked wings or preparing several dishes at once. Those methods have their own times and loading limits; do not transfer the frying chart to them.
For that separate method, see making hot wings in the oven. For flavor and preparation variations, explore different ways to make hot wings. Keep this page as the frying reference so the cooking instructions stay consistent.
Frequently asked questions
How long do chicken wings take to fry at 375°F?
Allow roughly 8–12 minutes for thawed wing sections, but start checking around eight minutes and watch the exterior closely. Large pieces and slow oil recovery can take longer. Every piece must reach at least 165°F (74°C) internally, regardless of the clock.
Can I deep-fry frozen chicken wings?
For this home method, thaw wings completely in the refrigerator and pat them dry before frying. Ice and water can cause dangerous splattering or oil overflow. Commercial products with explicit fryer instructions are a separate case; follow their packaging and equipment requirements.
What is the best oil for frying wings?
Use a fresh, neutral refined oil that its manufacturer identifies as suitable for frying. Canola, vegetable blends and refined peanut oil are practical choices. Consider allergies, cost and the condition of the oil rather than assuming one option is always best.
Do hot wings need breading?
No. Unbreaded wings rely on their skin for the crust and can be tossed in Buffalo sauce after frying. A flour or starch coating creates a different style and needs its own recipe.
How do I know when fried wings are done?
Check the thickest meat away from bone with a food thermometer. The minimum is 165°F (74°C), and several pieces should be checked in a mixed batch. Colour, floating and elapsed time cannot replace that measurement.
Can I refrigerate wings between the two fries?
Yes, after the first cook has fully reached 165°F (74°C) and the wings have been chilled promptly. Refrigerate in shallow containers and use within three to four days or freeze. Reheated leftovers need to reach 165°F again, so a brief crisping fry may not be enough.
Choose the finish that fits your batch
Use a single 350°F fry when you want the simplest route, and add a brief 375°F finish when fully cooked wings need more crunch. Keep the meat-temperature check in both methods, drain on a rack and sauce only when ready to eat. A batch that is safely cooked and served promptly matters more than matching an advertised exact time.