
Air-conditioning ducts carry cooled air through your home; sealing limits air leaks, while insulation slows unwanted heat transfer. After repair work, proper completion needs separate evidence for airtightness, insulation condition and room performance, because a tidy outer wrap cannot prove all three. Start by matching the contractor’s test results to the system and work actually completed.
What proves that duct sealing actually worked?
The strongest evidence is a clearly identified post-work leakage test compared with a valid baseline or the agreed project target. A photograph can show a repaired connection, but it cannot measure the air still escaping elsewhere. Equally, a lower leakage number does not establish that every room now receives enough air.
Treat handover as three separate questions: did the air path become tighter, was the insulation finished correctly, and did the original comfort problem improve? This keeps a successful sealing result from being used to dismiss a remaining airflow or moisture fault. It also avoids rejecting useful work simply because a different problem still needs attention.
If you have not yet identified damaged ducts or chosen a repair approach, use the duct inspection and sealing guide first. Here, the job is checking completed work and deciding what evidence is still missing, rather than repeating the installation procedure.
Keep the job scope in view. Sealing a few accessible connections, insulating a whole attic run and replacing a bedroom branch are different commissions. Ask the contractor to connect the evidence to the agreed scope, including any parts that were concealed or excluded; an unexplained whole-home claim is too broad for a limited repair.
- Sealing: an identified test result, its test conditions and the applicable target.
- Insulation: a product specification plus evidence of continuous coverage and a finished outer jacket.
- Comfort: the original room complaint revisited, with airflow or pressure measurements when needed.
Match the test before comparing the numbers
Use this check when you have two reports, two numbers in an invoice or a verbal claim that leakage fell. You need the reports or the tester’s explanation; there is no reason to reproduce them in a notebook. If the baseline is missing, a final result can still be assessed against a properly specified target, but the amount of improvement remains unknown.
- Match the equipment or system identifier. In a two-system home, an upstairs result cannot be compared with a downstairs result.
- Match the test type. Total duct leakage and leakage to outdoors measure different boundaries.
- Match test pressure, flow units and configuration, including whether the air handler was included and whether this was a rough-in or finished-system test.
- Ask the tester to explain any difference before calculating a reduction. Keep unlike results separate.
For example, a final whole-system result and an earlier branch-only result do not form a before-and-after pair, even when both are expressed in cubic feet per minute. The easier option is to ask one direct question: “Were these measurements taken on the same system, boundary and test setup?” Completion means having a supported answer, not merely possessing two numbers.

A leakage-to-outdoors test distinguishes leakage across the home’s air barrier from total leakage, which includes leaks into indoor spaces. A test reported as CFM25 gives the airflow needed to maintain a specified test pressure of 25 pascals. It is a controlled measurement, not a direct reading of the air lost during every normal cooling cycle.
Separate leakage improvement from a pass
Once the pair is comparable, subtract the after value from the before value. Divide that difference by the before value and multiply by 100 to express the reduction in the measured leakage. The arithmetic is useful for judging change; the separate target determines whether the specified work met its stated test goal.
Illustrative calculation: 180 CFM25 before and 60 CFM25 after means 120 CFM25 less measured leakage, a reduction of about 66.7%. It does not mean a 66.7% electricity saving, and it does not mean that 60 CFM25 passes the rules for this home. The test boundary, adopted requirements and project specification still matter.
- Confirm a positive baseline and a non-negative final reading in the same units.
- Calculate the change only after confirming comparability. A higher after value is an increase, not a saving.
- Compare the final result with the documented target using the same units and basis.
- If the target is missing, request it rather than borrowing a threshold from a different building, program or jurisdiction.
Do not convert a flow reading into “percent leakage” unless the report states the denominator and method. Percent of measured system airflow and flow normalized by floor area are different expressions. If the before reading is zero, percentage reduction is undefined; if both readings are zero, the reports show no measured change at their stated resolution, not a percentage improvement.

The distinction matters commercially as well as technically. A large percentage reduction from a very leaky starting point can leave a meaningful fault behind. Conversely, a modest reduction can be reasonable when the starting value was already low and the project chiefly corrected insulation. Evaluate the specified outcome rather than the most impressive percentage on the invoice.
After the repair
Duct Handover Check
Compare compatible leakage readings and identify the evidence still needed.
No savings forecast or compliance certificate.
Find the right local help
For unresolved testing or airflow, look for an HVAC contractor or independent home-performance tester. For wet material, ask for moisture-source assessment as well.
Search opens Google and shares only the area you enter. Results are not endorsements.
Compare three candidates
Ask about diagnostic scope, local credentials, availability, fee and callback terms. Enter only information each provider supplies.
Entries remain in this page’s memory and clear on reload. No account, storage or automatic analytics. If a carbon-monoxide alarm activates, leave the building and contact local emergency services.
What should a finished insulation job demonstrate?
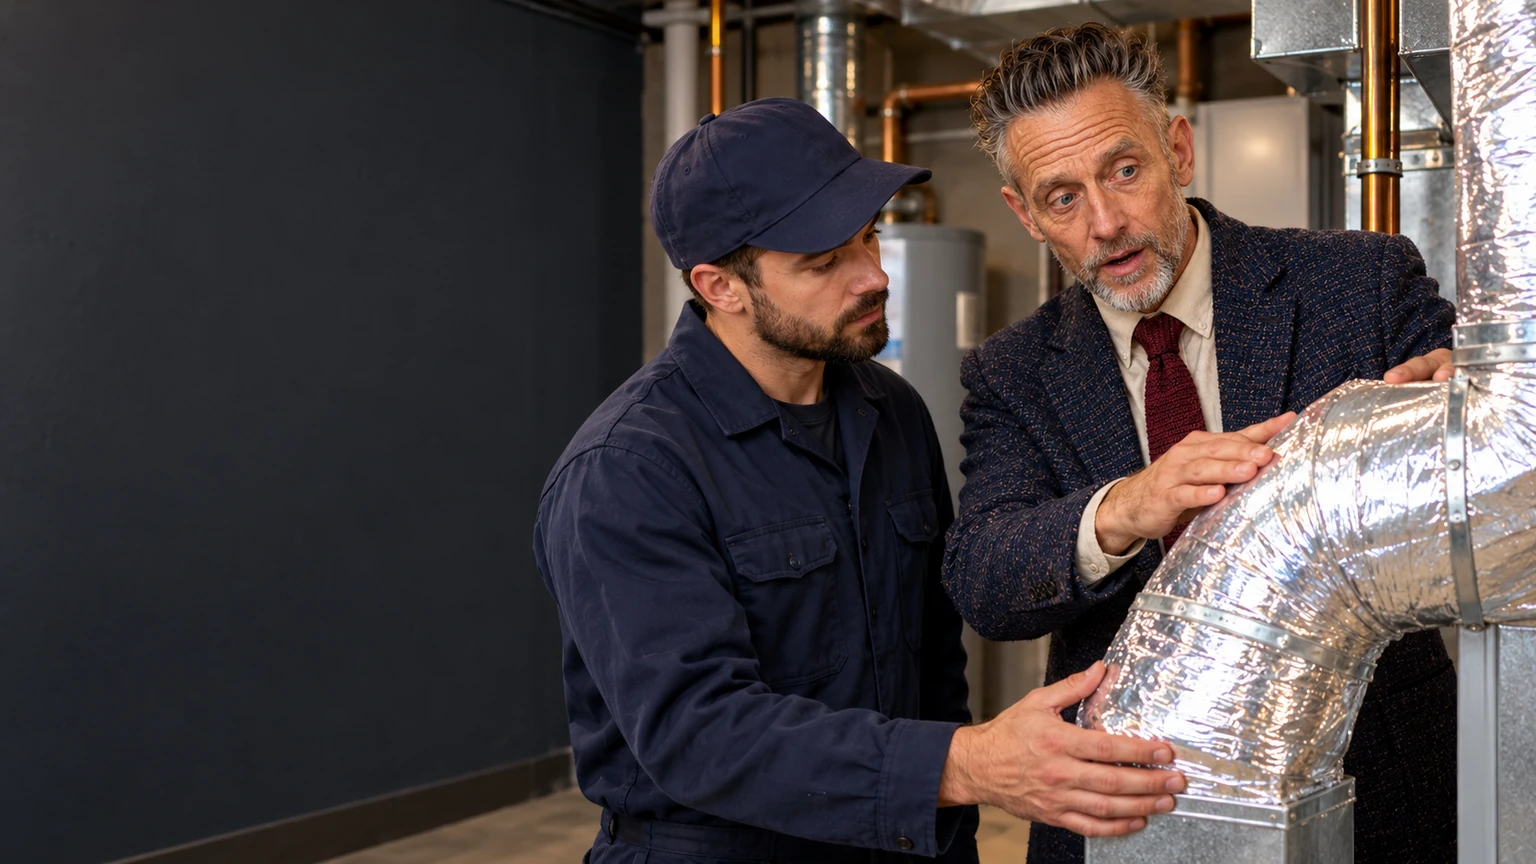
It should identify the installed product and show that its coverage and outer vapor-retarding layer remain continuous at joints, bends and fittings. A label gives a material rating; it does not prove that every part of the assembly was installed at the intended thickness. Compressed insulation, an exposed fitting or an open jacket seam can undermine a neatly wrapped straight run.
Ask for the specified insulation rating and the basis for choosing it for the duct location. Different local rules, assembly designs and product instructions can apply. Avoid treating one advertised R-value as a universal pass mark, or assuming that a silver surface tells you what insulation is beneath it.
Check the insulation handover at a fitting
This is a non-invasive handover check for ductwork visible from a dry, stable floor or a purpose-built safe access platform. Leave inaccessible runs to the installer’s inspection evidence. Do not climb onto ceiling framing, open equipment panels, disturb unidentified older insulation or peel back finished layers to create your own inspection window.
- Look along the completed run, then follow one visible elbow, branch or boot with your eyes. Check for exposed metal, interrupted coverage or visibly flattened sections.
- Follow the outside jacket around the fitting. Look for open seams or tears; do not puncture, squeeze or lift it.
- Compare the product specification with the quoted work. Ask the installer to identify the product when the installed label is not safely visible.
- Request correction or clarification for the exact unfinished area. A product label and an inspection answer different questions.
For example, a wrapped trunk with an exposed branch connection needs an explanation even if the trunk carries the specified label. If you cannot safely see the connection, ask the installer to show it during handover or provide its installation photograph. The checkpoint is continuous, correctly specified work or a clearly identified unresolved area, not an invasive DIY inspection.

The outer layer matters because moisture in surrounding air can reach a cold surface through an opening. The sealed and insulated flex-duct guidance explains the different jobs of the inner air duct, insulation and outer vapor barrier. Finishing the jacket cannot compensate for an unsealed inner connection; sealing the inner connection does not finish the insulation.
Respond to moisture after duct work
If you notice new droplets, a wet patch or staining after the work, treat it as a callback issue rather than covering it. Condensation is one possible cause, but water can also arrive from another source. A wet outer surface alone cannot establish where the water began or whether the insulation underneath is dry.
- Observe from a dry, safe position without touching the assembly. Identify whether moisture is on the duct jacket, a nearby pipe or the surrounding ceiling.
- Leave the jacket and wet insulation intact. Do not add tape over wet layers, puncture the duct or operate electrical equipment near water.
- Ask for an assessment of the source and affected material, including cold exposed surfaces, jacket continuity and nearby water paths.
- Where water is reaching electrical parts or the ceiling appears unstable, leave the area and seek urgent qualified help rather than continuing the inspection.
A small drip at one recently wrapped elbow is a more precise callback description than “the air conditioner leaks.” If access is unsafe, the easier version is to identify the affected room from below and arrange inspection. Completion means the cause and material condition have been addressed; a dry-looking outer surface on one visit is insufficient. For moisture in adjacent building materials, the separate guide to interpreting moisture-meter readings explains why the meter scale and material matter.

Why can a sealed duct system still leave a room warm?
Sealing changes leakage, but room comfort also depends on delivered airflow, the return route, equipment operation and the room’s heat load. A sealed branch can still be restricted or poorly sized. Before paying for another round of sealing, identify whether the remaining complaint changes with normal room use or operating conditions.
On a narrow screen, swipe horizontally to compare all columns.
| Evidence after the work | What it can establish | What is still unresolved |
|---|---|---|
| Comparable leakage result improves | Measured airtightness improved under the test conditions | Room airflow, insulation quality and energy savings |
| Room feels better only with its door open | The door state is relevant to the symptom | Whether the return path needs modification |
| Cold air at a register but room stays warm | Some cooling reaches that outlet | Whether the air volume and room load are adequately matched |
| Lower bill in milder weather | The billing period cost less | How much the duct work contributed |
Compare comfort under similar conditions
Use a room-air comparison when the original complaint was a warm bedroom or uneven cooling. A simple room thermometer is optional; a stable comfort difference is still worth reporting without one. Do not use an infrared surface thermometer as though it directly measures room air, and do not measure only in the cold jet from the register.
- Use the same room, normal thermostat setting and usual register positions. Keep windows and relevant doors in the same state for the comparison.
- If using a room thermometer, place it at the same occupied-area position, away from direct sun, the supply jet and heat-producing appliances. Follow its settling instructions.
- Compare after normal cooling operation under reasonably similar outdoor conditions and room use. A sunny crowded afternoon is not equivalent to a cool empty morning.
- If the complaint persists, ask for delivered-airflow evaluation rather than treating a colder grille as proof that the room problem is fixed.
For example, moving the thermometer from a sunny windowsill to a shaded bedside position can lower its reading without any duct improvement. Keep the position consistent and compare the occupied space. If weather makes comparison impractical, the supported alternative is a contractor’s airflow assessment; do not manufacture a precise comfort verdict from unlike days.

Check whether the bedroom door changes the symptom
This check suits an ordinary bedroom supplied by a central ducted system when the complaint seems worse with the interior door shut. It is a symptom comparison, not a pressure test. Do not use it on fire doors, equipment-room doors or any door that must remain in a prescribed position for safety.
- With the system running normally, observe the room with the ordinary bedroom door open. Leave supply and return grilles unobstructed.
- Close the door normally, without sealing its gap. Notice a new whistle, resistance at the door or an obvious airflow change. For temperature effects, allow normal operation rather than expecting an instant change.
- Reopen the door and check whether the same symptom changes back. Avoid changing the thermostat or register positions at the same time.
- Describe a repeatable door-dependent change to the contractor and request a return-path or room-pressure assessment. Do not cut the door or add a transfer grille from this observation alone.
Air supplied to a room needs a route back to the system. Closing a door can restrict that route where there is no adequate return provision; pressure-balanced bedroom design addresses this relationship. No noticeable change does not prove that pressure balance is correct. If opening and closing the door is difficult, simply explain that the problem mainly occurs during normal closed-door use.

What should you resolve before calling the job complete?
Resolve the evidence gaps tied to the original scope and any new safety or moisture issue. You do not need to become the tester or build a second inspection report. Ask the contractor to connect each promised result to an observable finish, a relevant measurement or a clearly stated limitation.
Close the duct job with evidence
- Match the invoice or scope to the completed locations. Ask which concealed or inaccessible sections remain outside the work.
- Match sealing claims to the test report and target, and insulation claims to the product and finished assembly.
- Revisit the original comfort complaint. Where it remains, agree whether the next step is airflow measurement, room-pressure assessment or investigation of a different cause.
- Ask what callback remedy applies to unfinished or defective work and what separate investigation would cost. Keep the distinction explicit.
An illustrative handover might show improved leakage and complete insulation but a bedroom that still whistles with the door closed. That is not one undifferentiated failure: it is evidence of progress plus an unresolved return-path question. The useful outcome is an agreed next action for that question, rather than another blanket promise to “seal everything again.”

Where fuel-burning appliances may be affected by pressure changes, ask for the relevant combustion-safety check. ENERGY STAR’s contractor checklist includes airflow evaluation and combustion-safety testing after sealing. A homeowner’s door observation cannot certify safe venting. If a carbon-monoxide alarm activates, leave the building and contact the appropriate local emergency service; do not continue a comfort test.
A missing document is not automatically proof of defective workmanship, but it limits the conclusion you can draw. Likewise, an attractive report does not override visible wet material or a persistent complaint. When the evidence conflicts, resolve the specific conflict before treating the project as verified.
Compare Local Home Specialists Near You
Tell us what kind of help you need, then compare nearby businesses by location, Google rating, review volume and contact options.
HomeFix Local Match
Turn a home problem into a practical local hiring decision. Check the clues, see the specialist types that fit, open focused surrounding-location searches, then compare the strongest three before you call.
 YOUR PROBLEM
YOUR AREA
COMPARE 3
✓ Ready to compare
What is happening?
Choose the closest problem type, then check every clue that applies. Your selections change the specialist order.
Where should the search focus?
Use Google’s “near me” context or enter the area you actually want a specialist to serve.
Simple local search: open nearby Google results, choose the businesses that look suitable, then compare your best three here before you call.
Problem snapshot
Who should you call first?
These are the specialist types most likely to fit the clues you selected.
Search around your location
Compare your top three
Use the same factors for each option so a high star rating does not hide a weak scope, poor diagnosis, missing credentials or unclear aftercare.
Comparison result
Your result combines the Google signals you entered with the practical hiring checks you completed.
Questions to ask every finalist
Use the same questions with each shortlisted business so the comparison stays consistent.
Frequently asked questions
Can a thermal image prove that all the ducts are sealed?
No. A thermal image shows surface-temperature patterns under the conditions at the time. It can help locate an area to investigate, but it does not measure whole-system leakage or reveal every hidden connection. Ask what the image is intended to establish and what test supports the airtightness claim.
Does a zero reading mean there are no leaks anywhere?
A reported zero is limited by the instrument, method, setup and resolution. It does not certify insulation quality or room airflow. Confirm the report scope and ask the tester how very small readings are represented.
Should I withhold payment until every check is complete?
Payment obligations depend on your agreement and applicable local rules. Use the scope and completion terms to request missing evidence or a remedy; this article does not establish a legal right to withhold payment.
Can I compare CFM with litres per second?
Convert them before comparing: 1 CFM is approximately 0.471947 litres per second. Unit conversion does not correct different test pressures, boundaries or configurations. Have the tester confirm comparability first.
Do I need another inspection after every minor tape repair?
The verification should match the scope and consequence of the work. A small outer-jacket repair and whole-system sealing need different evidence. Recurring moisture, a persistent comfort problem or a substantial airtightness claim justifies more than a visual finish check.
What if the contractor never measured a baseline?
A final test may still be compared with the documented applicable target. You cannot calculate a reliable before-and-after improvement without a valid baseline, so do not accept a precise reduction claim derived only from an assumed starting value.
A useful completion standard
Call the duct work complete when the claimed result has matching evidence and remaining concerns have a clear resolution. Start with the most consequential unanswered item: active moisture or safety first, then mismatched test evidence, unfinished insulation or the original room complaint. A tight duct system, a properly finished jacket and a comfortable room are related outcomes, but each deserves its own check.