
Roof water damage can affect the ceiling board, insulation and timber even after the visible drip stops. Before closing or repainting the ceiling, check that the entry problem has been addressed, the affected layers have been assessed as dry, and the materials remain fit to use. Seven days without a drip is not a reliable clearance test.
Start with the room, not the paint. If the ceiling is sagging, shedding material or wet around electrical fittings, keep people out and arrange urgent assessment. For a stable ceiling after the leak has been controlled, the useful next step is a noncontact check for changed shape, followed by a review of the drying and repair evidence.
| What you know | What it does not prove | Next decision |
|---|---|---|
| The drip stopped | The source is permanently repaired | Confirm the repair and how its performance was checked. |
| The paint looks dry | The insulation and board backing are dry | Ask which affected layers were assessed. |
| The stain is unchanged | The board is sound or the leak cannot recur | Check shape, joints and the relevant wet-weather history. |
| A week has passed | The drying endpoint has been reached | Use material-specific evidence, not a date. |
Is the ceiling safe to inspect, and what does its shape tell you?
A finish inspection is useful only when the room is safe to occupy. A low-risk visual check can reveal a raised seam, blistered facing or a changed ceiling profile, but it cannot confirm structural capacity, identify every concealed defect or establish moisture content. Keep those decisions separate so a reassuring surface does not carry more weight than it deserves.
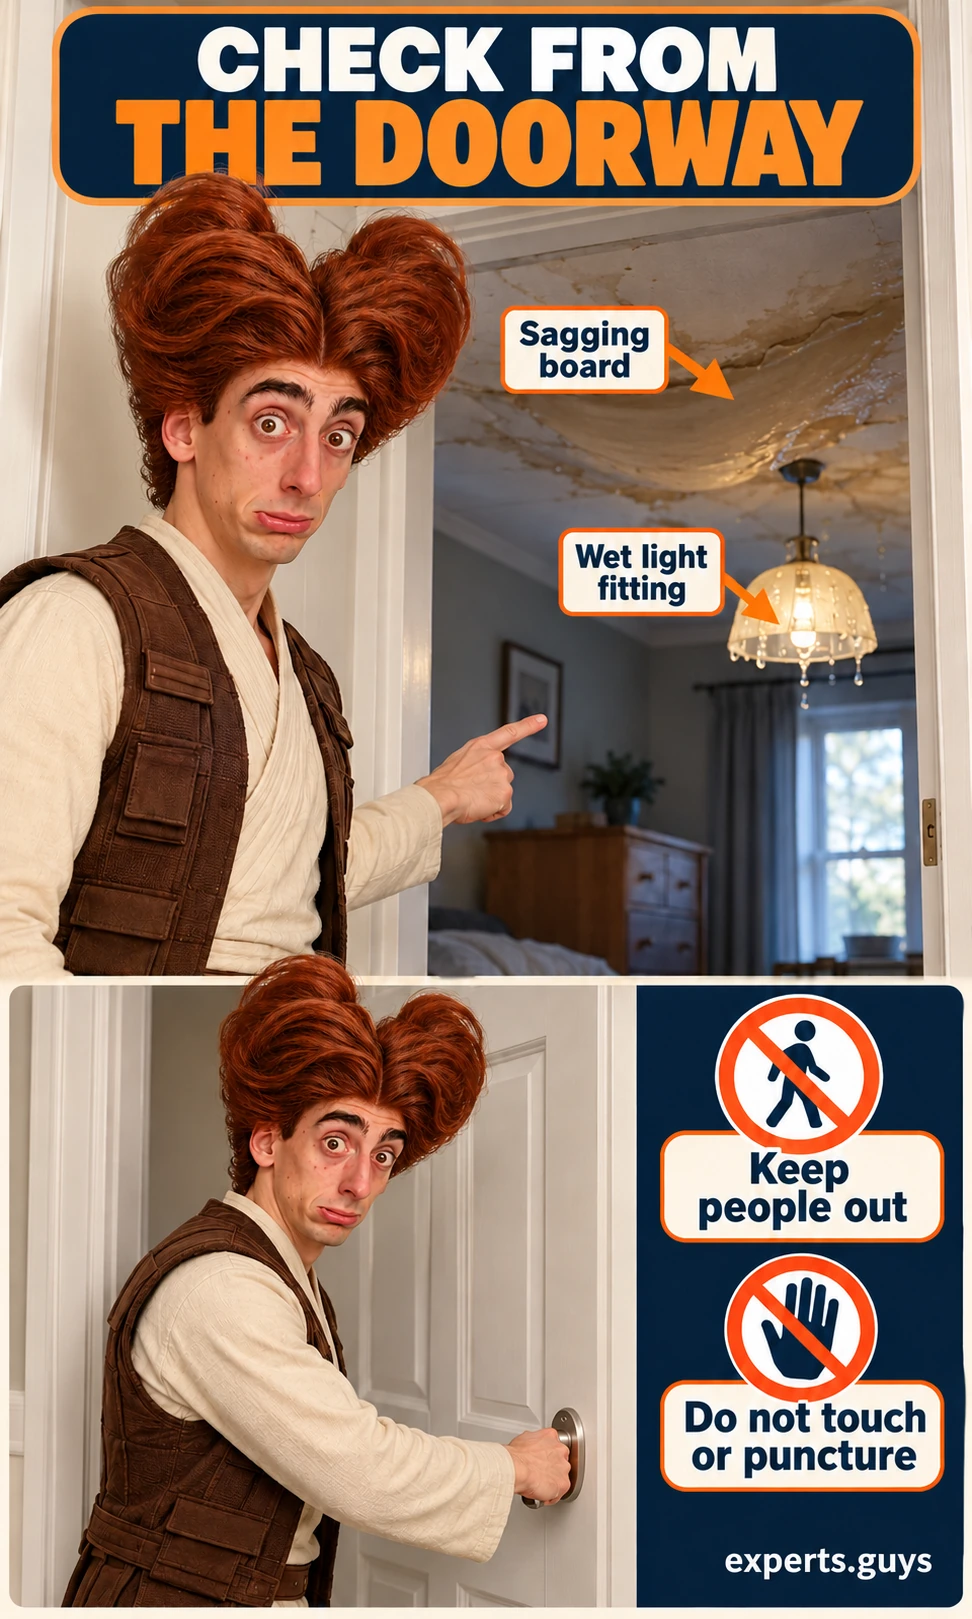
Keep an unsafe room out of use
From a dry doorway, look for a pronounced sag, falling fragments, active water at a light or a changing crack. Do not enter to place a bucket beneath an unstable ceiling, press on the board or puncture a bulge. Water at electrical equipment needs an electrician; an actively failing ceiling needs urgent building assistance, and immediate danger warrants local emergency services.
For a smaller, accessible action, close the room door only if you can reach it without entering the danger area. Otherwise keep people away from outside the room and request help. The completed action is exclusion from the affected space, not a closer look at the damage; do not operate wet switches or attempt to isolate power from a wet or unsafe location.
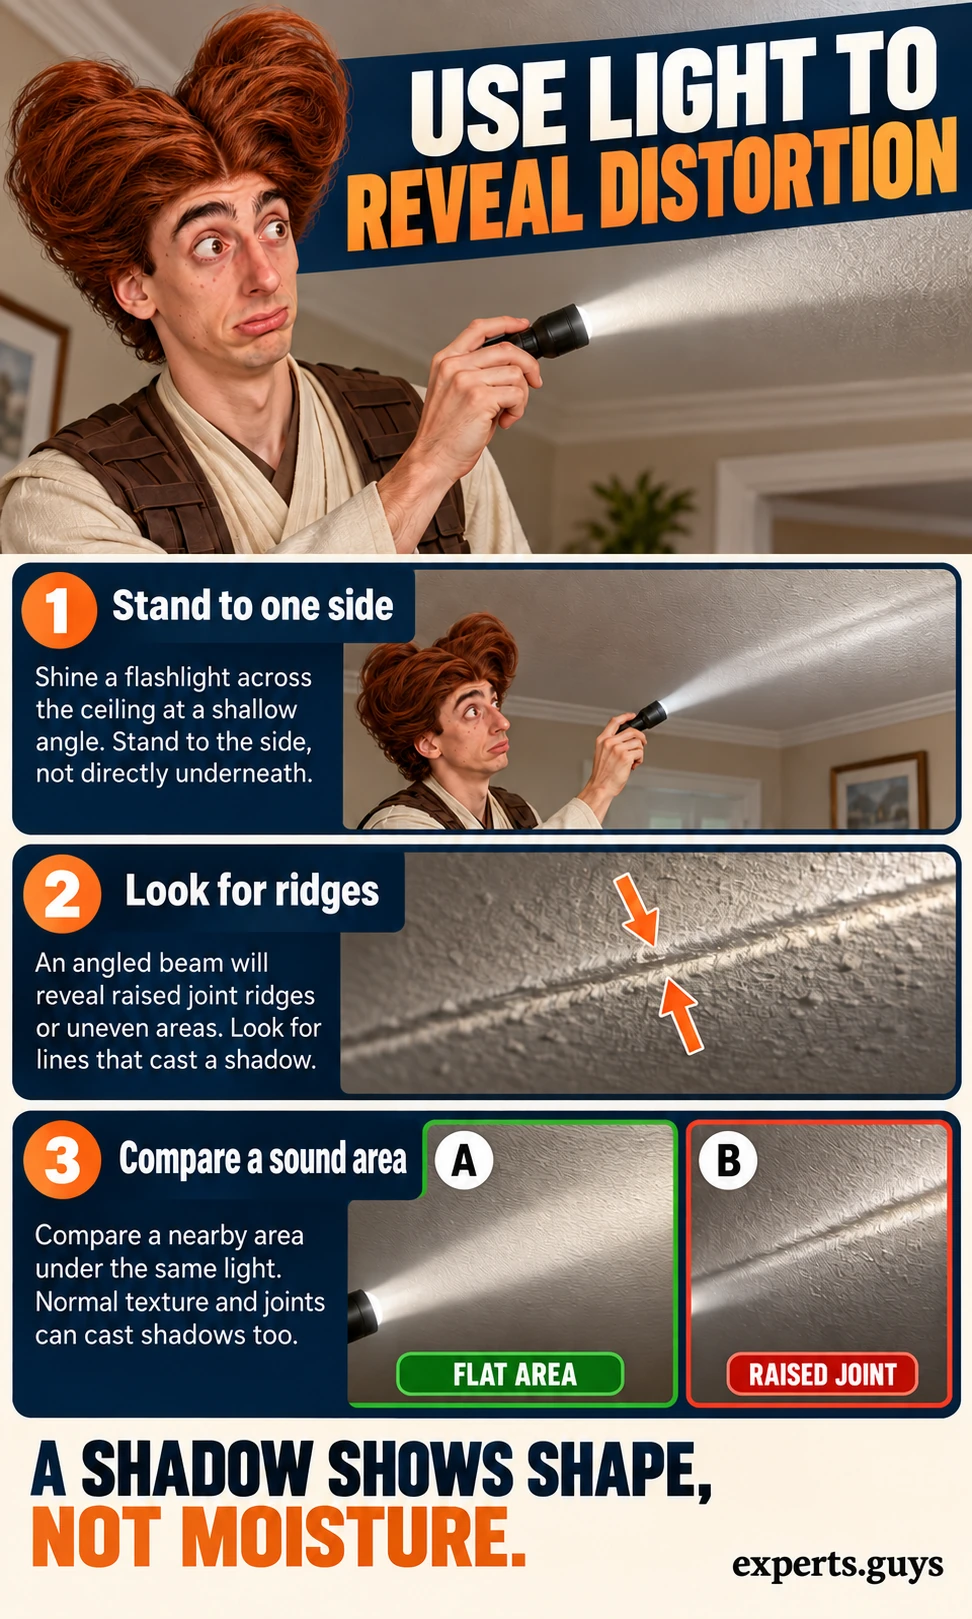
Use a shallow beam to inspect a stable surface
Once hazards have been ruled out, a handheld flashlight can make changes in surface profile easier to see from floor level. Light crossing the surface casts a shadow behind a ridge, while a light aimed straight at it may hide the relief. This is an observational aid, not a building inspection standard: ordinary drywall joints and texture can also cast shadows.
- Stand on a dry, level floor to one side of the affected area. Do not use a chair, ladder or attic route to improve the view.
- Aim a flashlight across the ceiling at a shallow angle without touching it. Look for a lifted seam, ripple or change in the board plane.
- Compare an apparently unaffected part of the same ceiling under similar light. Distinguish an isolated changed area from a texture repeated across the room.
- Return to normal room lighting. If there is sagging, separation or an uncertain new deformation, stop the finish work and arrange assessment.
If raising your arm is uncomfortable, use daylight from a side window or ask someone to direct the light while you remain seated outside the affected area. Completion means you can describe the visible condition as flat, uneven or uncertain; it does not mean the ceiling has passed a safety or dryness test. Do not sand a ridge away simply because the beam revealed it.
An illustrative example: a ceiling shows the same shallow joint shadow on both sides of a room, but only one side has an old brown stain. The repeated shadow alone is weak evidence of new damage. A newly dropped joint at the stained area changes the decision: finishing should wait for assessment of the board and its support, even if the brown mark has faded.
What if the paint looks dry but the cavity is still wet?
Think of the ceiling as an assembly rather than one sheet of material. A painted face, paper facing, gypsum core, insulation and timber can have different exposure and drying conditions. The room side may look better while a concealed layer remains damp; equally, an old mark may remain after drying. Neither appearance alone resolves the condition of the other layers.

The useful question for the restoration team is specific: which layers were affected, which were retained, and what evidence supports their condition now? A room humidity reading describes the air at the sensor. It cannot by itself certify the board backing or the timber inside a closed cavity. An inaccessible layer should remain an explicit uncertainty until the repair scope addresses it.
Ask for the meter type, material setting, affected locations and suitable dry comparisons behind a drying decision. A number without its scale is easy to misread. The detailed method belongs in the guide to interpreting moisture-meter readings after water damage; this page uses that evidence to decide when finish work can proceed.
Do not open the ceiling to settle the question yourself. Concealed wiring, unstable material and potentially hazardous older finishes change the work required. If access is needed, agree how the contractor will inspect the relevant layer and restore any fire or acoustic separation. A photograph of a tidy patch is not a substitute for evidence collected before the patch concealed the cavity.
Which ceiling materials can stay?
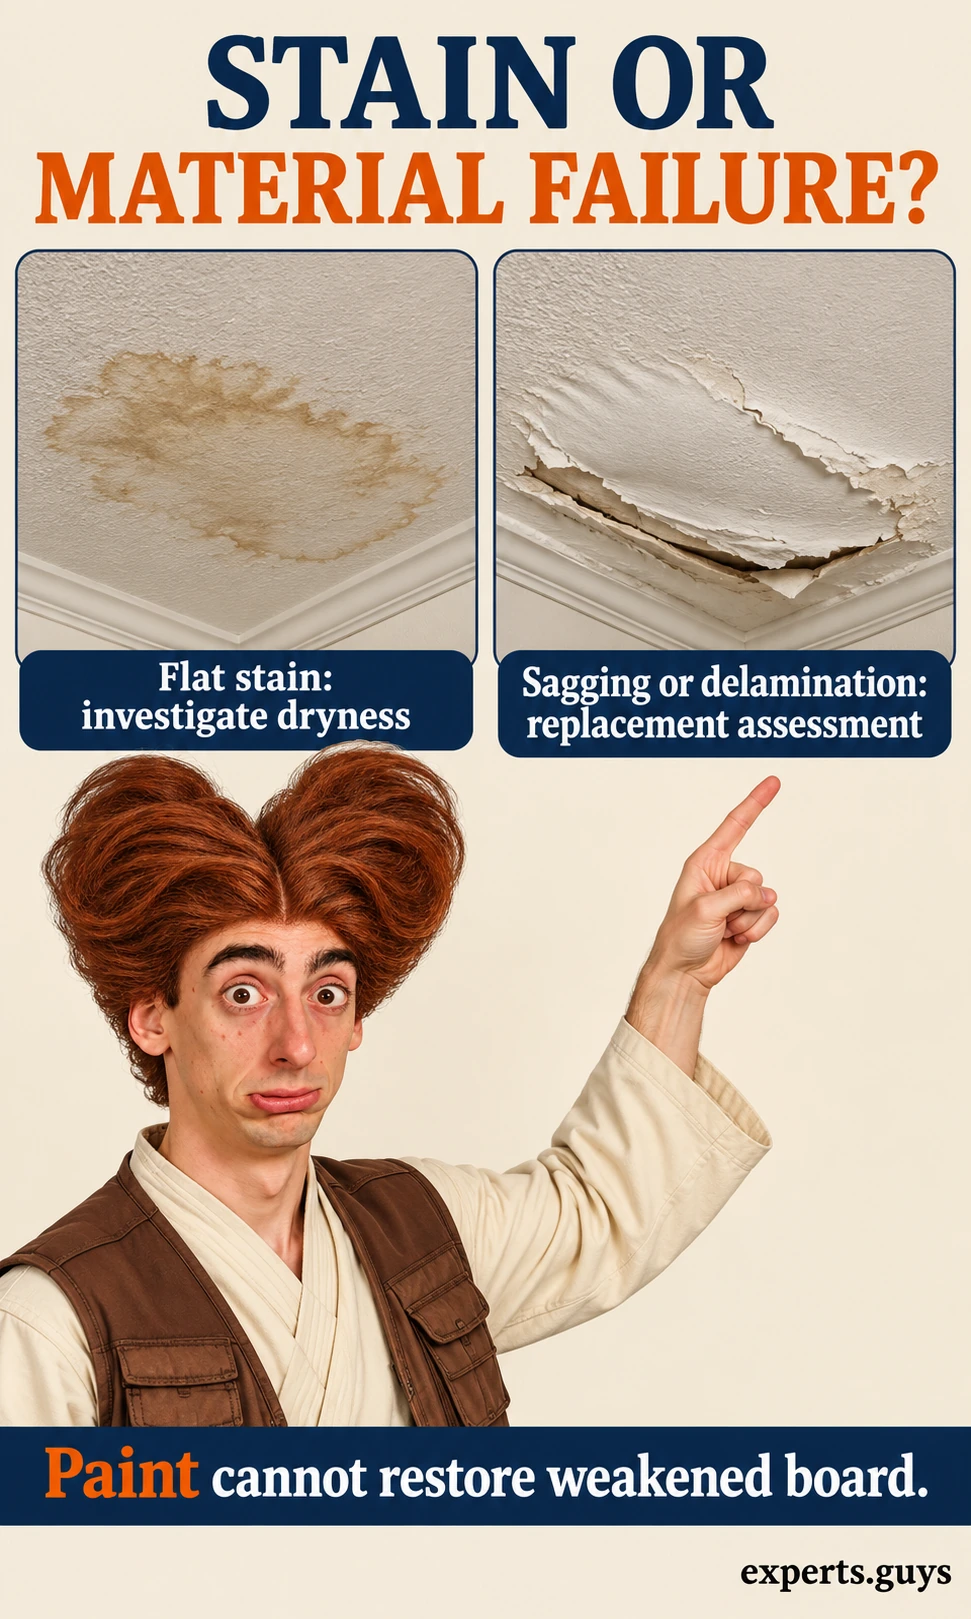
A flat stain may remain on otherwise serviceable material, but retained gypsum board needs more than an attractive face. The gypsum-board water-damage assessment criteria consider the water source, prompt thorough drying and physical integrity. Sagging, damaged facing or other loss of performance cannot be corrected by stain-blocking paint.
| Component | Evidence to ask for | Reason to hold finishing |
|---|---|---|
| Gypsum board and joints | Condition of the facing, core, fastening and seams | Sagging, separation, damage or unresolved suitability. |
| Insulation | Product-specific retain-or-replace decision | Wet or damaged material concealed above a new patch. |
| Timber and roof deck | Extent, dryness and soundness assessment | Unresolved deterioration or ongoing moisture. |
| Rated ceiling assembly | Repair detail matching the original rated construction | A patch chosen only for thickness or appearance. |
Rain entering a building is not automatically an uncontaminated-water event: the route may include dirty roof surfaces, debris or concealed contamination. Do not assign a water category from the word “rain” alone. If contamination or mold is suspected, the retention decision needs to account for it before ordinary finish preparation begins.
For insulation, “still fluffy” and “dry to the touch” are incomplete acceptance criteria. The material type and exposure determine the appropriate response. When the project also includes upgrading insulation, route that work through the attic insulation and moisture-control sequence after the water problem is addressed; a new layer must not hide an unresolved old one.
What can you do while the repair is drying?
Keep the agreed drying conditions working and avoid concealing the surfaces under review. Start drying promptly: the 24-48-hour drying guidance is a prevention target, not a guarantee that every assembly is safe before that time or ruined immediately afterward. A week-long calendar is not a reason to delay action or force completion.
Preserve the drying setup without disturbing the ceiling
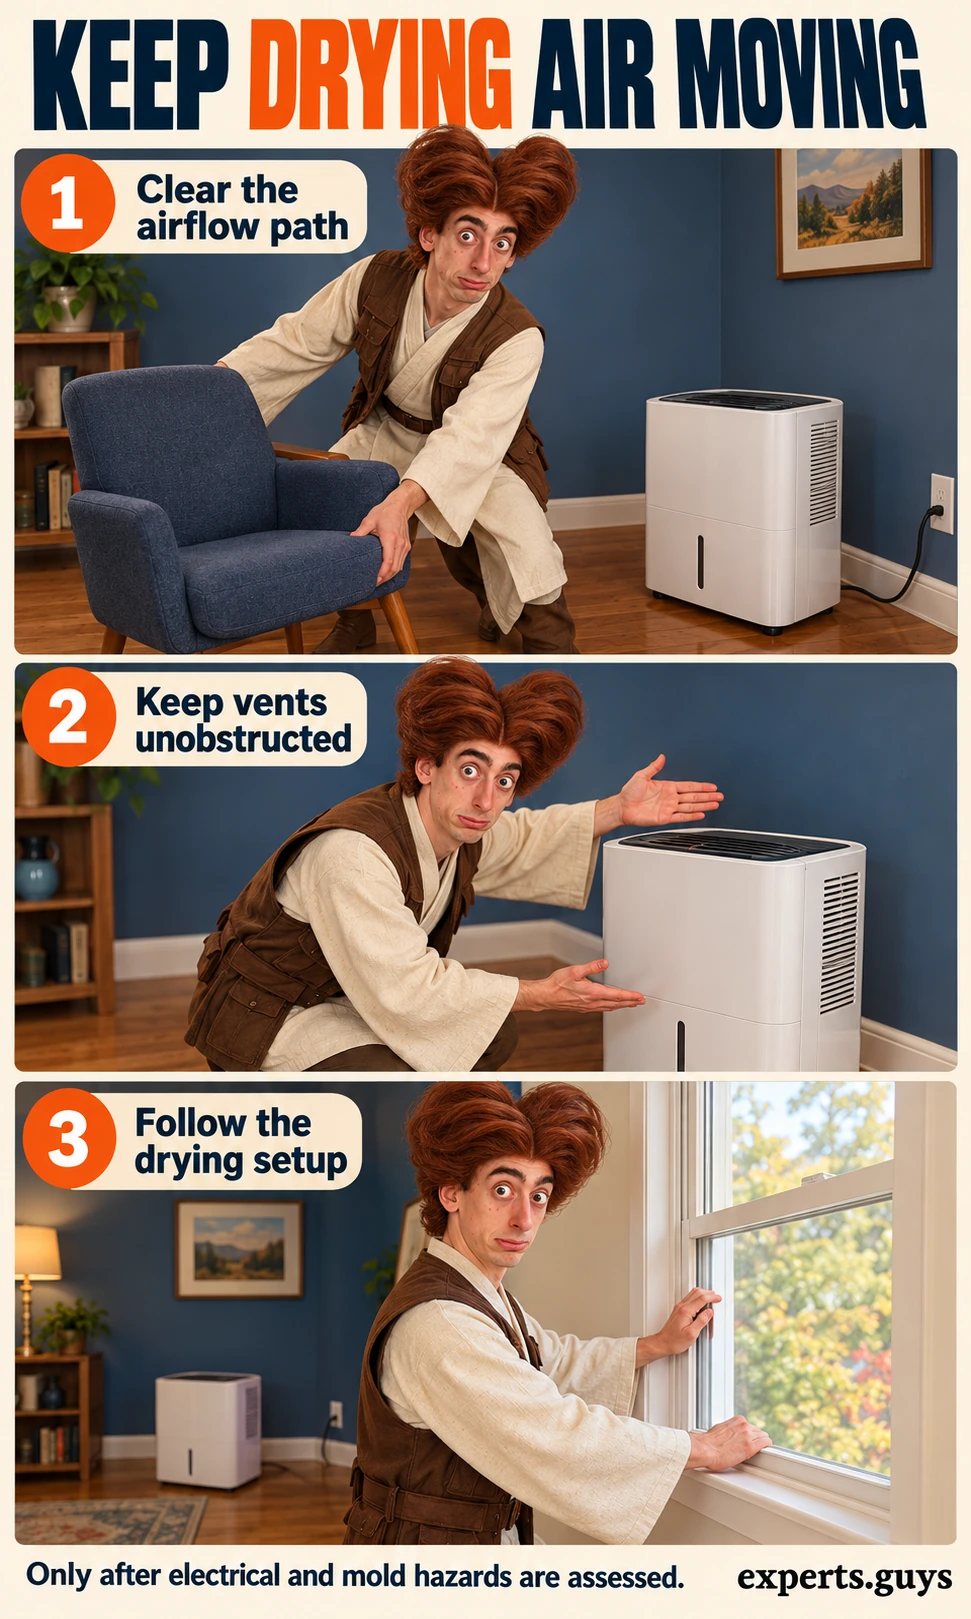
This small task suits a room already assessed as safe, with no unresolved mold or electrical hazard. Prepare a clear route beside the dehumidifier or other professionally specified equipment. Keep its settings, hoses and position as instructed; moving an appliance to make the room look tidier can defeat the intended airflow.
- Move only light, safely handled objects that obstruct the inlet or outlet. Follow the appliance clearance instructions rather than an invented universal distance.
- Check visually that curtains, fabric and furniture cannot cover the vents. Leave cables and hoses clear of walking routes without disconnecting or rerouting the contractor’s setup.
- When a room is being dehumidified as a controlled space, keep outside doors and windows closed as instructed. Preserve any planned internal airflow route.
- If equipment stops, leaks or gives an alert, follow its instructions or contact the drying team. Do not substitute unattended heaters or direct fans at suspected mold.
The easier version is to move only a small obstruction you can handle comfortably, then ask for help with the rest. Completion is an unobstructed, safe airflow path with the prescribed setup intact. It is not an empty tank, a less clammy room or proof that the ceiling is dry; water collection depends on the equipment and conditions as well as the remaining moisture.
Closed-window dehumidification and outdoor-air ventilation are different strategies. Do not run both automatically: outdoor air can add moisture under humid conditions. The appropriate choice depends on the drying plan and the actual indoor/outdoor conditions, while the homeowner’s task here is simply to avoid obstructing or contradicting that plan.
Revisit the same safe viewpoint after rain
A repair to a rain-related leak needs a relevant performance check. A dry week may contain no opportunity for recurrence, and light vertical rain may not reproduce a wind-driven event. Agree with the roofer how the repair will be assessed; do not perform a roof-climbing or hose-flooding experiment yourself.
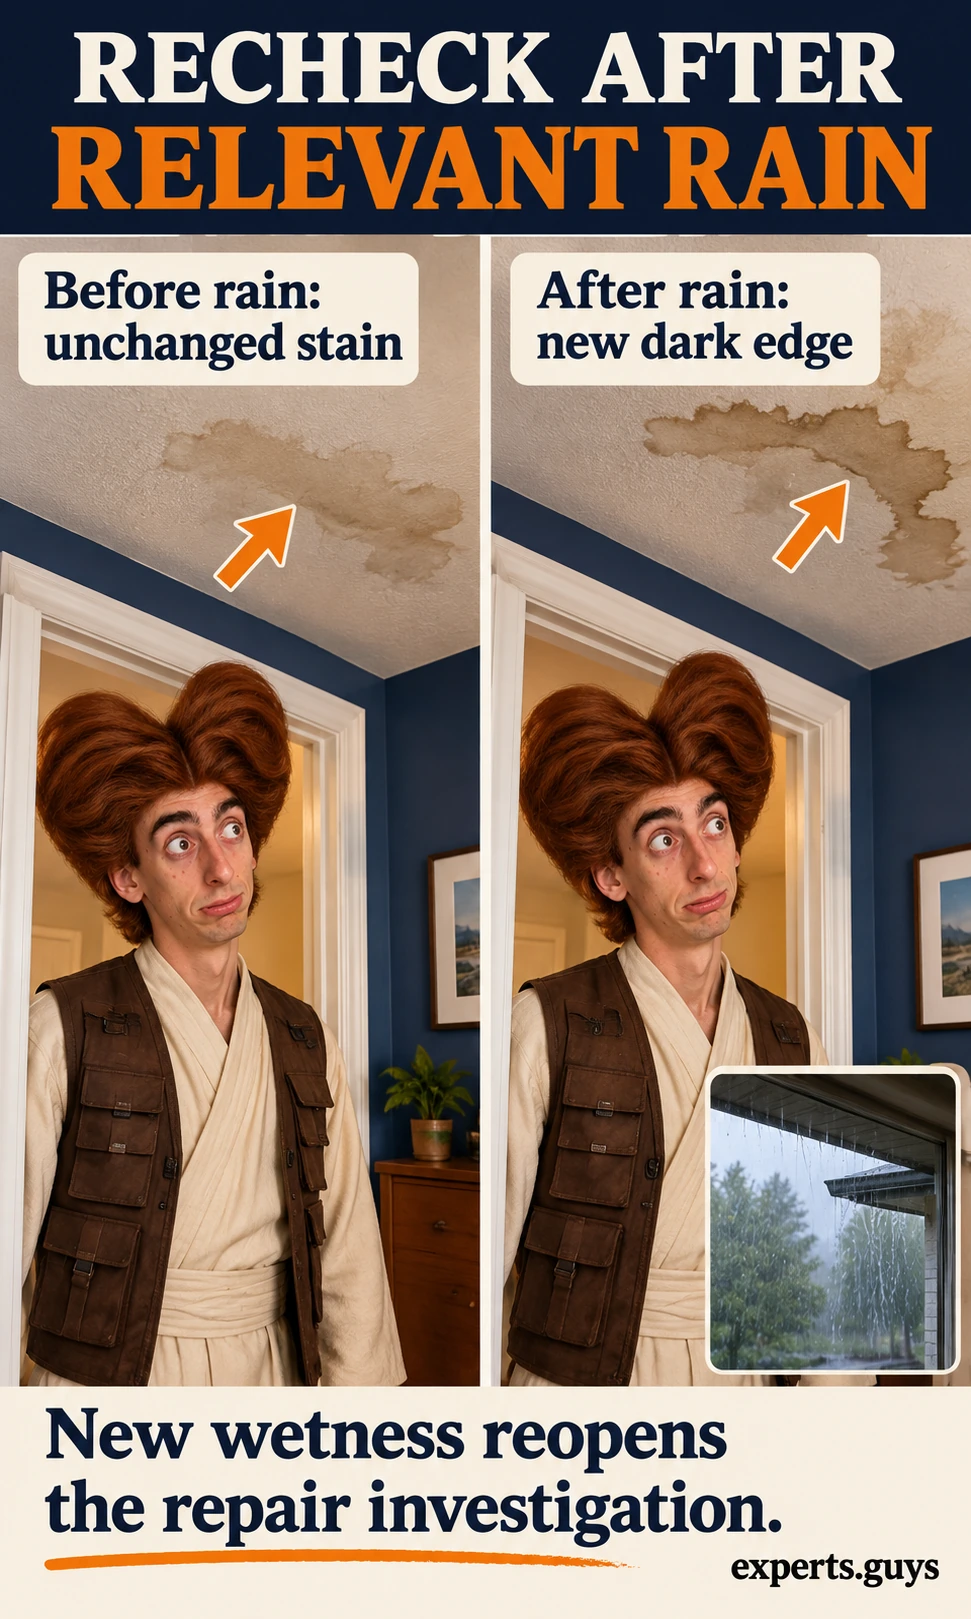
- Before the next relevant rain, identify the existing stain from a safe floor-level viewpoint using a ceiling joint or wall corner as a reference. No marking or recording is required.
- After the rain, return only if the room remains safe. Look for a new dark edge, new drip, changed joint or fresh blister.
- Treat a new change as a reason to reopen the investigation. Keep finish work on hold and explain the location and timing to the repair team.
- If nothing changes, combine that observation with the source-repair and drying evidence. One observation is supporting information, not a warranty.
If the view is difficult, let someone else make the observation from a safe position; do not strain your neck or improve access with furniture. The useful result is “new visible change,” “no visible change under these conditions,” or “unable to check.” When rain is not the established trigger, return to the source-investigation guide rather than treating every ceiling mark as a roof failure.
When is it reasonable to close or repaint the ceiling?
Treat closure as a handoff between repair stages. The roof repair addresses entry, the drying assessment addresses retained wet materials, and the ceiling repair addresses serviceability and finish. A contractor may perform more than one stage, but the evidence for each still needs to be clear. An invoice labelled “roof repair” does not answer every interior question.
Use three hold points before the finish goes back
- Source: establish what was repaired and how the repair was checked. If the origin remains uncertain or water has returned, do not move on.
- Drying: confirm the affected retained layers were assessed with suitable methods. If a cavity or material remains unassessed, resolve that gap before concealment.
- Material condition: confirm that damaged material has been replaced or assessed as suitable to retain, including any required assembly details. Only then agree the finish preparation and product requirements.

An illustrative handoff: the roofer has repaired flashing, but the drying team has assessed only the visible ceiling face and the insulation above it is still unaccounted for. The next useful action is a cavity/material assessment, not another coat of primer. Conversely, if the affected layers have been assessed and damaged board replaced, a persistent cosmetic stain elsewhere may be a finish-preparation question rather than evidence that all work has failed.
Do not paint over mold or use a coating to hide uncertainty. Once the substrate is suitable, the selected primer, filler and finish each have preparation, moisture and curing requirements. Those product requirements belong to the actual finishing specification; this guide does not replace them with a universal “wait seven days” instruction.
Find the unresolved step
Use the repair-readiness check below to identify the missing evidence. It produces a next action and a one-page handoff card from your answers; it does not inspect the building or certify that a ceiling is safe. Choose “Not known” whenever a condition has not been assessed.
What still needs checking?
Find the unresolved step between a stopped leak and a ceiling ready for its finish review.
No account. Answers stay in this page. This is decision support, not a building inspection.

Checks still unresolved
Your answers are not independent evidence. Do not touch wet electrical equipment, open a ceiling or climb onto a roof to complete this check.
Find the right local help and compare three options
Complete the check to identify the relevant service.
Search results are external. No businesses, ratings or availability are supplied here. Compare the same scope with three providers; check credentials required in your location.
Choose based on relevant capability, explained scope and follow-up, not a checkbox total. Do not delay urgent help to complete a comparison.
Manual route: resolve the source, obtain suitable drying evidence, then settle material suitability before agreeing finish preparation.
Compare Local Home Specialists Near You
Tell us what kind of help you need, then compare nearby businesses by location, Google rating, review volume and contact options.
HomeFix Local Match
Turn a home problem into a practical local hiring decision. Check the clues, see the specialist types that fit, open focused surrounding-location searches, then compare the strongest three before you call.
 YOUR PROBLEM
YOUR AREA
COMPARE 3
✓ Ready to compare
What is happening?
Choose the closest problem type, then check every clue that applies. Your selections change the specialist order.
Where should the search focus?
Use Google’s “near me” context or enter the area you actually want a specialist to serve.
Simple local search: open nearby Google results, choose the businesses that look suitable, then compare your best three here before you call.
Problem snapshot
Who should you call first?
These are the specialist types most likely to fit the clues you selected.
Search around your location
Compare your top three
Use the same factors for each option so a high star rating does not hide a weak scope, poor diagnosis, missing credentials or unclear aftercare.
Comparison result
Your result combines the Google signals you entered with the practical hiring checks you completed.
Questions to ask every finalist
Use the same questions with each shortlisted business so the comparison stays consistent.
Frequently asked questions
Can I paint a ceiling seven days after a roof leak?
Only when the source, drying and material-condition questions have been resolved and the coating requirements are met. Seven days is not a universal drying period. Keep finish work on hold if the repair or concealed layers remain uncertain.
Does an old brown stain mean the roof is still leaking?
Not necessarily. Discoloration can remain after a leak stops. A new wet edge or fresh drip is a different signal, but an unchanged mark alone cannot establish that the assembly is dry or that the repair will withstand the relevant weather.
Does a flashlight prove that ceiling board is damaged?
No. Side lighting exaggerates ordinary joints and texture as well as actual deformation. Use it to notice a change and decide whether assessment is needed, not to certify a defect or reject a finish solely because it casts a shadow.
Should every water-stained ceiling be replaced?
Not automatically. The exposure, drying history, contamination and condition determine whether the material can remain. A visibly weakened or delaminated board is a different case from a flat stain on material assessed as sound.
What if the roof was repaired but the stain changes again?
Keep interior finishing on hold and have the source reconsidered. Recurrence may mean the original repair did not resolve the entry route, another source exists or the conditions differ from those already checked. Do not cover the change before it has been assessed.
Can the online check tell me the ceiling is safe?
No. It organizes your answers and identifies unresolved steps. Even its most complete result is a prompt for a finish handoff review, not a safety certificate, moisture measurement or permission to close a cavity.
Action checklist
- Keep people outside a room with ceiling or electrical hazards.
- For a stable ceiling, use a floor-level visual comparison to identify changed shape without touching it.
- Preserve the agreed drying setup and resolve uncertainty about concealed materials.
- Hold the finish until the source, dryness and material-condition checks are complete.