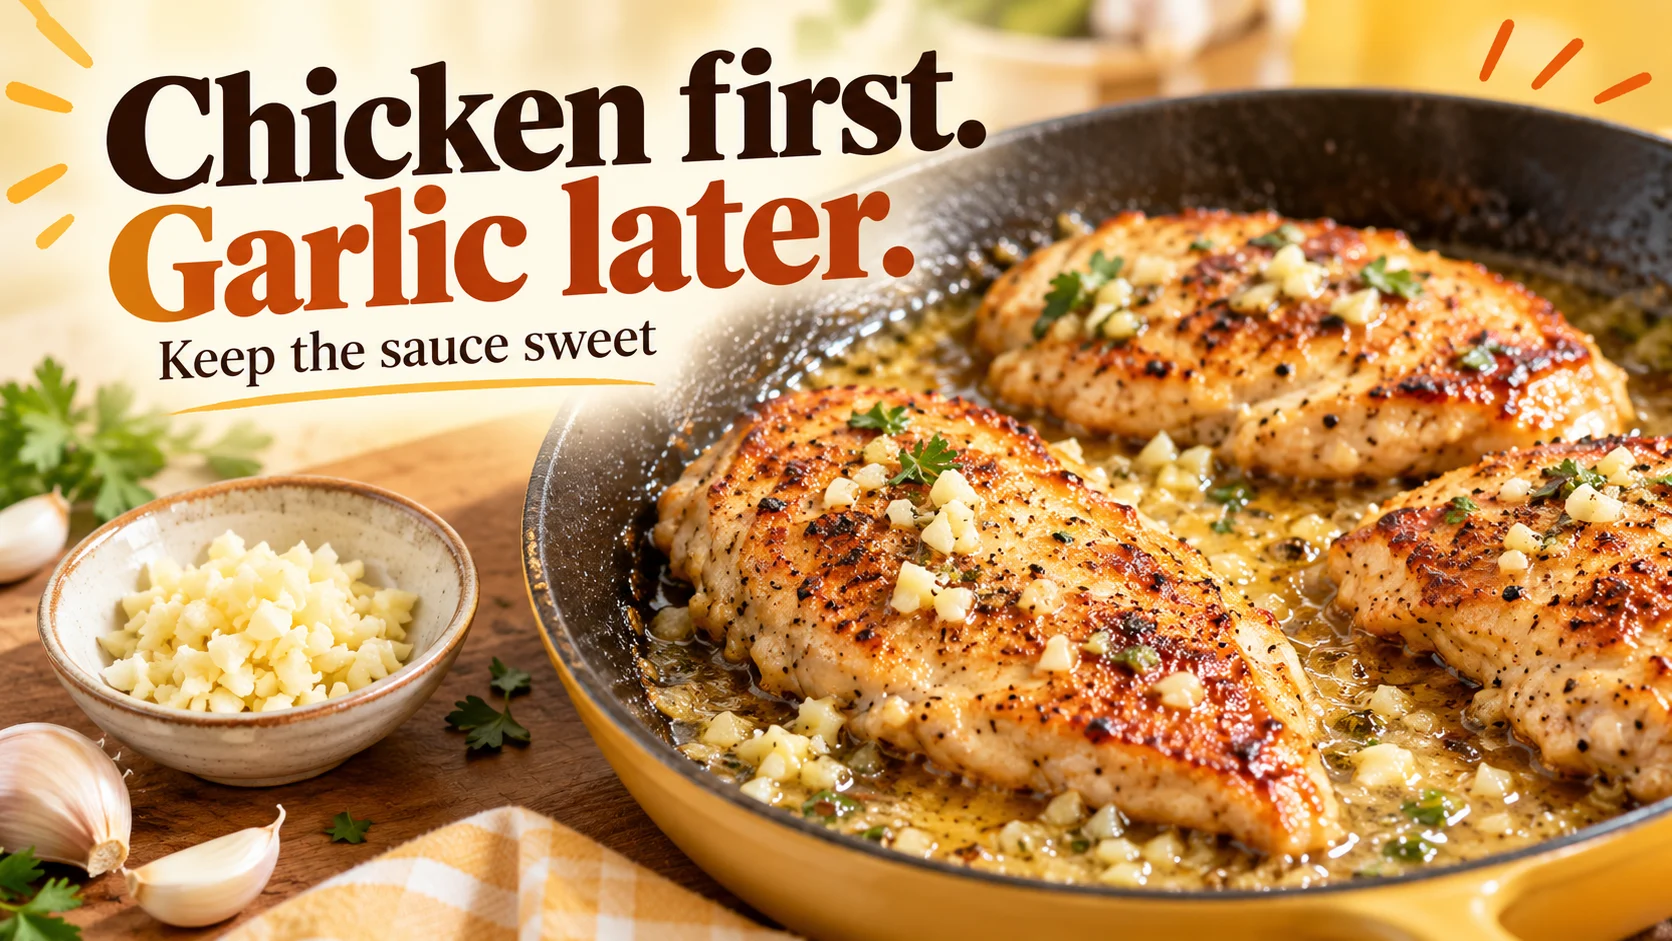

Garlic burns before chicken is done because small pieces brown much faster than the meat cooks through in a hot skillet. Cook the chicken first, lower the heat, and add the garlic near the end so it becomes fragrant without turning dark and bitter.
Why the garlic is done before the chicken is
A chicken cutlet needs sustained heat to brown its surface and cook its centre. Minced garlic has very little thickness, so it loses moisture and browns quickly against the same hot metal. Putting both into the pan together gives the garlic a head start it does not need.
The mismatch becomes worse with a thick breast, a crowded skillet, or a burner that heats unevenly. Garlic caught at an exposed edge may scorch while the chicken elsewhere is still releasing moisture. Turning up the heat to finish the meat then deepens the burnt flavour already developing in the fat.
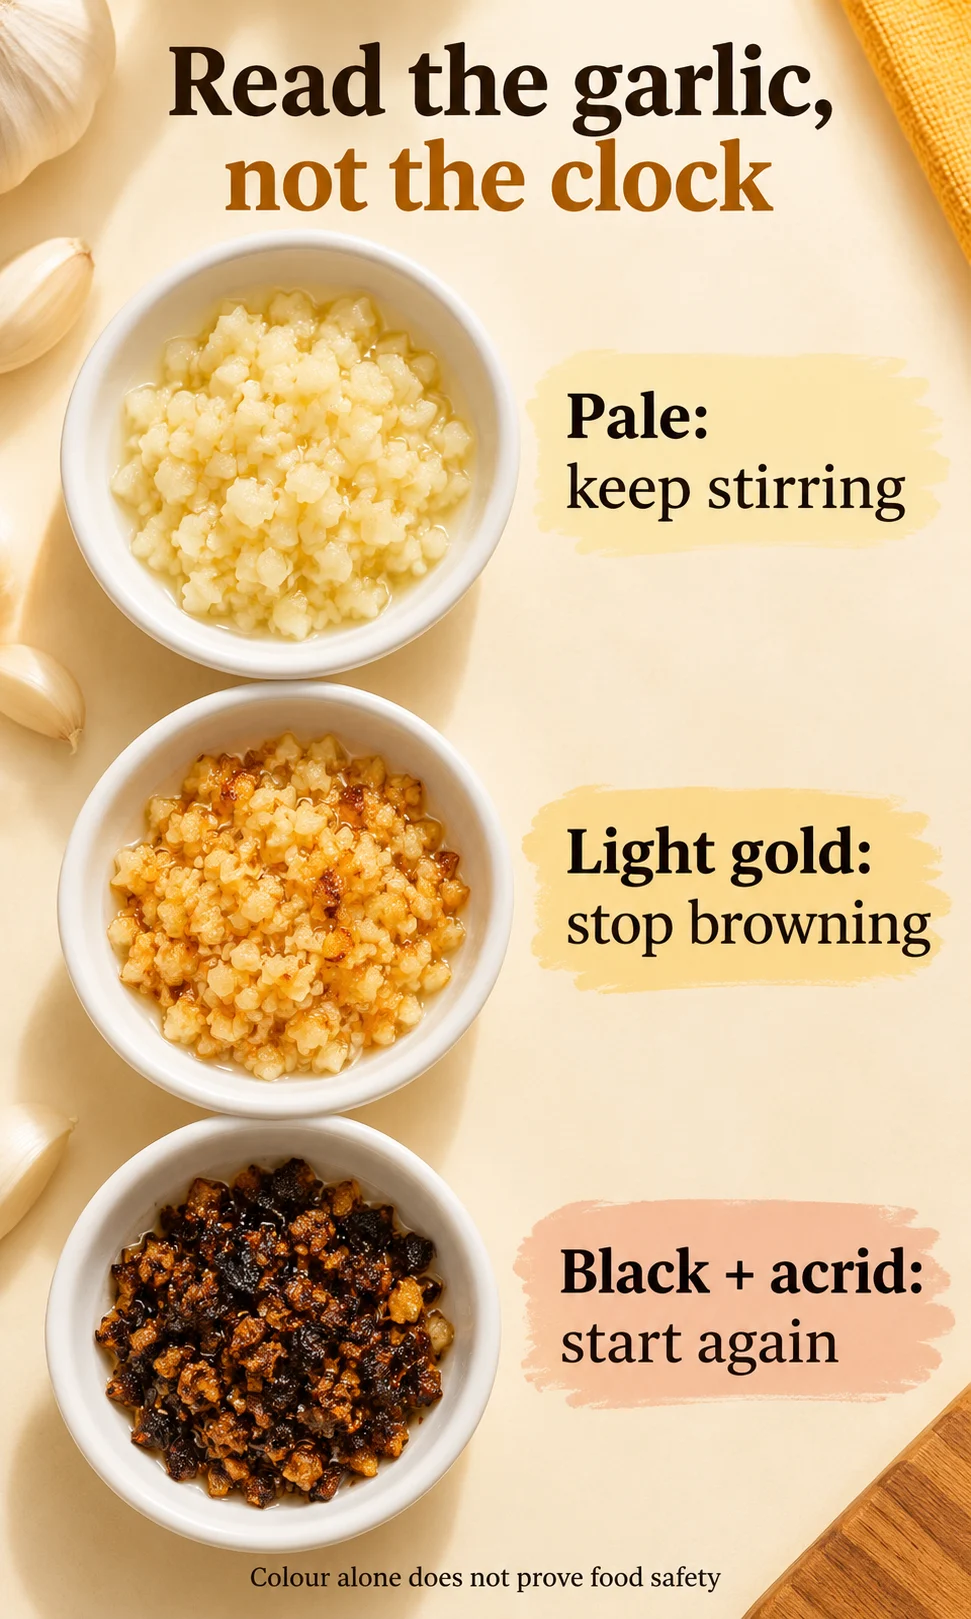
For this pan sauce, aim for fragrant garlic that remains pale or only lightly golden. The exact burner setting matters less than what happens in the pan: a gentle sizzle is manageable, while rapid darkening means you should take the pan off the heat. A timer can remind you to look, but it cannot tell you the garlic is safe from burning.
What burnt garlic does to the butter
Lightly golden garlic can taste pleasantly toasted, but very dark pieces with an acrid smell signal a different result. Once that harsh flavour has spread through the fat, picking out the pieces may leave a bitter sauce behind. Inspect and smell the pan; do not taste sauce that may contain undercooked chicken juices.
Butter adds another ingredient that can brown before the chicken finishes. Its milk solids darken as the pan heats, and a nutty aroma can become a burnt one if heating continues. Black specks may come from those solids as well as the garlic, so look at the fat and pan residue together.
Oil does not make butter’s milk solids resistant to heat. The Food Lab’s butter-and-oil experiment explains why the mixture still smokes. Use oil for the initial sear and save regular butter for the cooler finishing stage.
The order that keeps the sauce sweet
Prepare the garlic, broth or water, and cold butter before you start cooking. Having everything ready prevents a search for ingredients while the garlic continues browning. Keep a clean plate and clean utensils available for the cooked chicken, separate from anything that touched it raw.
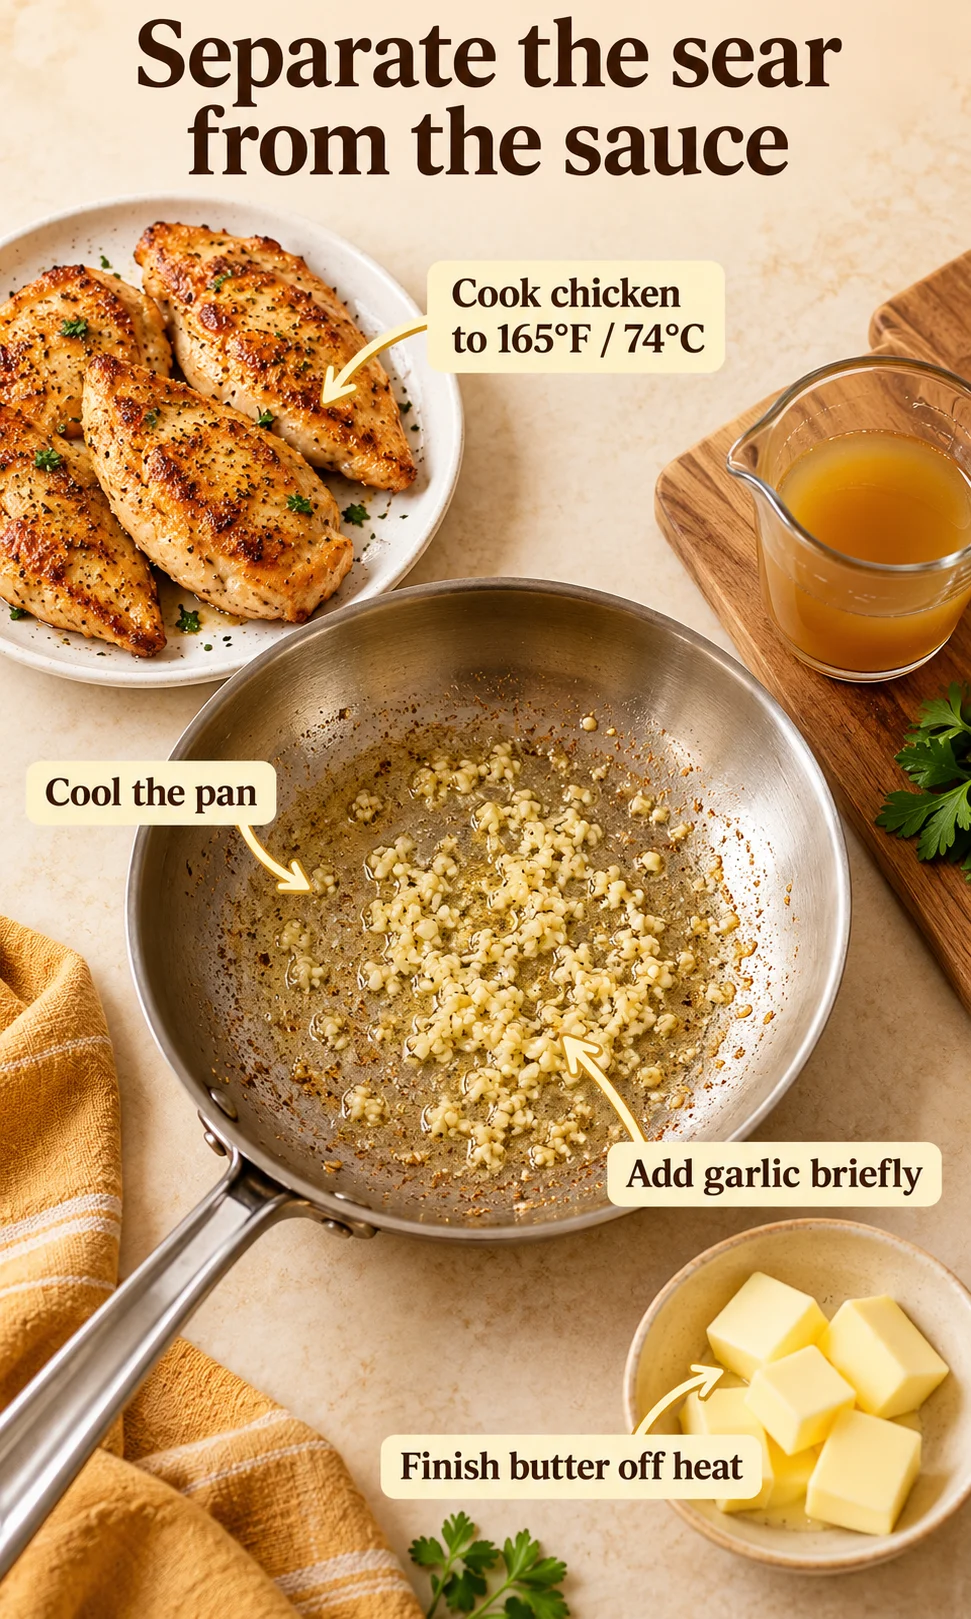
For the simplest sequence, finish cooking the chicken before making the sauce. Check each piece in its thickest part, then move it to the clean plate while the pan cools enough for the garlic. Rouxbe’s guidance on adding garlic near the end supports separating its short cooking stage from longer cooking tasks.
- Sear evenly sized chicken pieces in a suitable cooking oil, adjusting the heat if the surface browns too quickly.
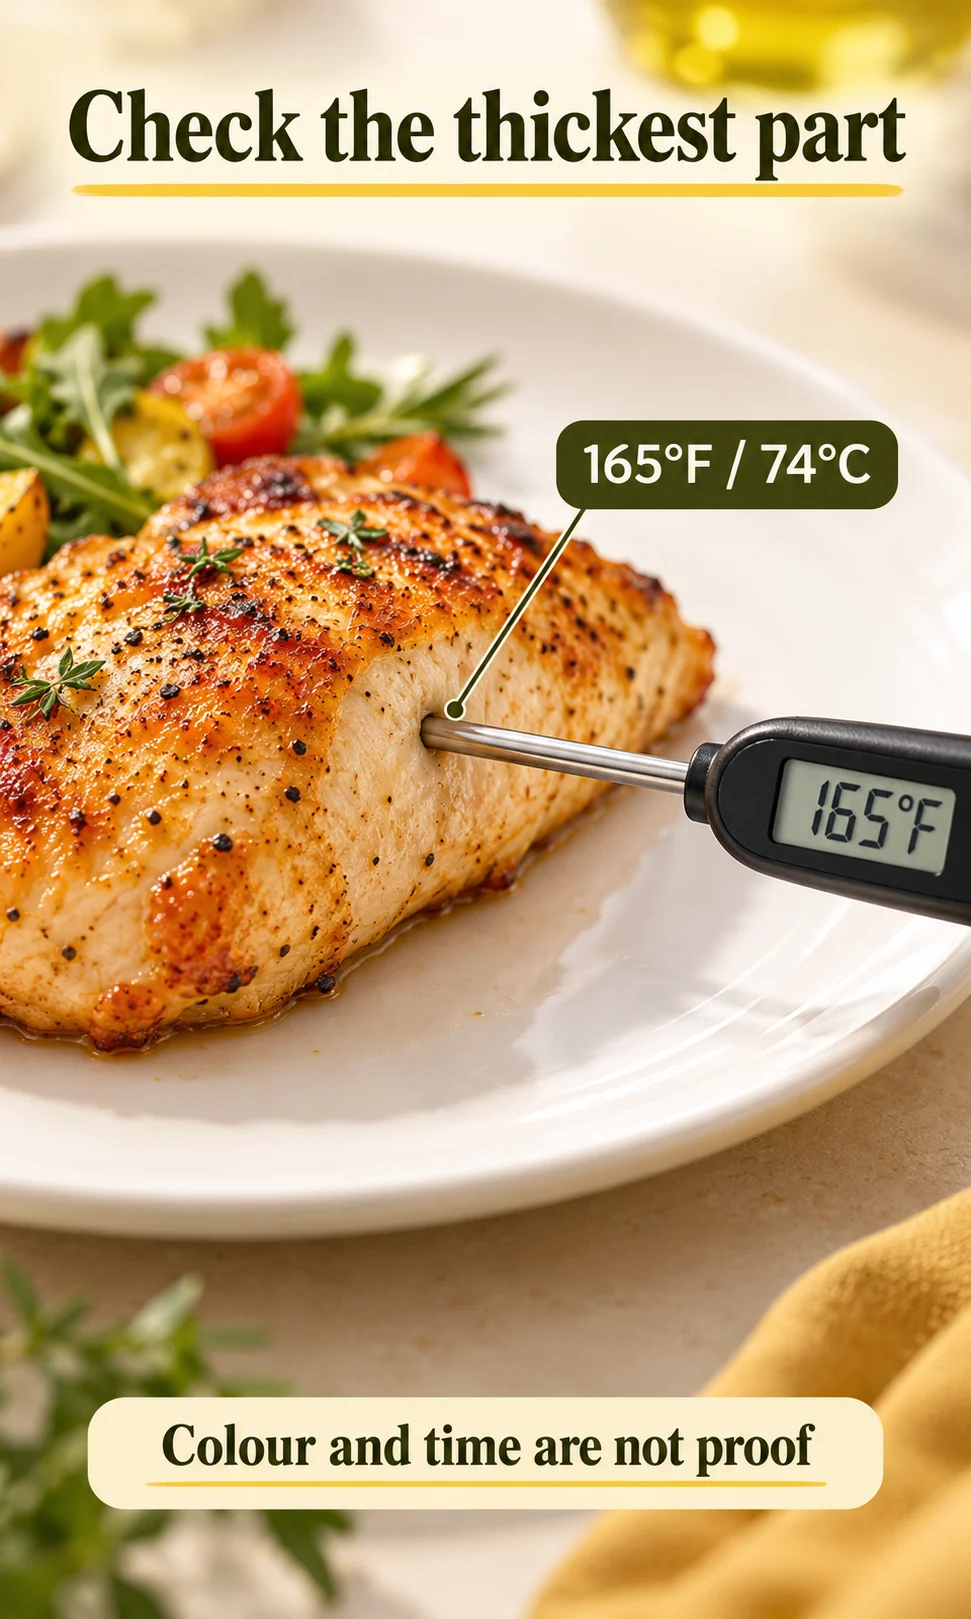
- Continue cooking until each piece reaches 165°F (74°C) in its thickest part. Move the cooked chicken to a clean plate.
- Lower the heat and briefly move the pan off the burner. If the residue is black and acrid, discard the fat and clean the pan before making fresh sauce.
- Add garlic to a little fresh fat over gentle heat and stir. Start checking immediately; roughly 30–60 seconds is an observation window, not a guaranteed cooking time.
- Once fragrant, carefully add a small splash of broth or water. Avoid adding liquid to smoking fat, and keep clear of steam.
- Take the pan off the heat and swirl in cold butter in small pieces. Coat the cooked chicken and serve without a prolonged boil.
A heavy pan can stay hot even after you lower the dial. Cast iron is particularly slow to cool, so moving it to an unheated burner may help more than changing the setting alone. If the first garlic pieces colour immediately, stop and let the pan cool further before continuing.
Minced, sliced, or smashed garlic?
Choose the cut for the sauce you want rather than treating larger pieces as protection from any heat. Minced garlic spreads through a sauce readily, while thin slices give distinct bites and require watching at their edges. A smashed clove can flavour the fat more gently, but it still scorches if left against hot metal.
Consistency matters within each cut. A mixture of paste, fine crumbs, and larger pieces can leave you with burnt fragments before the largest pieces soften. Fresh garlic is easier to control when you cut it evenly and stir it through the fat rather than leaving it in one heap.
Butter, oil, and jarred garlic change the result
For the initial sear, choose a cooking oil appropriate for the heat you are using and avoid letting it smoke. Clarified butter has fewer milk solids than regular butter, but garlic can still burn in it. Changing the fat does not remove the need to shorten the garlic stage.
Jarred garlic can carry acidic or other preserved flavours that differ from freshly cut cloves. Read its ingredients and smell a small amount before adding it; a sharp flavour is not proof it burned. If the garlic remains pale but the sauce tastes harsh, compare the product itself rather than cooking it longer until it turns dark.
A glossy butter sauce also needs some water, from broth or a careful splash, and gentle mixing. A hard boil can leave a greasy pool instead of a smooth coating. Remove the pan from the heat and swirl in cold butter gradually; if an otherwise unburnt sauce separates, try a small splash of warm water and whisk gently.
Salted butter and broth can concentrate seasoning as a sauce reduces. Taste only after any chicken juices have cooked through, then adjust seasoning at the finish. Add lemon for balance if you want it, not as a cure for scorched garlic.
| Ingredient or cut | What changes in the pan | Practical choice |
|---|---|---|
| Finely minced garlic | Small pieces colour quickly and disperse through sauce. | Add late; stir and stop before dark browning. |
| Sliced garlic | Edges can brown before the middle softens. | Use even slices and gentle heat; do not leave unattended. |
| Smashed cloves | Less evenly distributed garlic flavour. | Use for infusion; remove if they begin to scorch. |
| Regular butter | Milk solids can brown and burn. | Finish the sauce after lowering the heat. |
| Cooking oil | Useful for the sear, but does not protect garlic. | Cook chicken first; keep garlic for the later stage. |
| Jarred garlic | Preserving ingredients can change the flavour. | Check the label and avoid assuming sharpness means burning. |
Check chicken doneness without rushing the garlic
Use a food thermometer, not the colour of the crust, to decide whether the chicken is ready. The safe minimum temperature for poultry is 165°F (74°C), including breasts and thighs. Insert the probe into the thickest part, avoiding bone, and check more than one piece when their sizes differ.
Do not remove undercooked chicken and assume a rest will bring it to that temperature. If the outside browns before the centre is ready, lower the heat and continue cooking rather than adding garlic to buy time. Even thickness helps the pieces finish together, but no fixed number of minutes replaces the temperature check.
When to stop and start over
If garlic or butter residue becomes black and acrid, stop heating the sauce. Move the chicken out so you can discard the ruined fat and start in a clean pan; keep any undercooked chicken cooking immediately until it reaches the safe temperature. Adding sugar, honey, lemon, or more butter does not reverse burning.
The quality decision and the safety decision are separate. A sauce that smells pleasant does not prove that the chicken is cooked, and a dark sauce does not tell you how long food has been left out. If handling or storage has been unsafe, fresh sauce will not make the meal safe again.
Sweet Garlic Studio
Choose the garlic’s condition, your pan stage, and the chicken’s measured temperature to get a practical next action. The studio separates sauce recovery from the doneness check and gives you an A4 kitchen summary. It cannot measure your food or certify its safety.
A gentler finish
Sweet Garlic Studio
Read the garlic. Check the chicken.
Choose your next pan action.
Use the pan’s condition and a measured temperature to separate sauce quality from chicken doneness. This guide cannot measure food or certify safety.
Garlic observation reminder
A prompt to look and stir. It never confirms doneness.
Keep watching the pan even while the reminder runs.
The finish sequence
- Cook chicken to 165°F (74°C).
- Move cooked chicken to a clean plate.
- Cool the pan; discard acrid residue.
- Add garlic briefly over gentle heat.
- Add a little liquid; finish butter off heat.
The summary opens in a separate window with Close and Print This A4.
Guidance for freshly cooked chicken, not a food-safety certification. Unsafe storage cannot be repaired by reheating or making fresh sauce. Refrigerate promptly and follow official handling advice.
Temperature and storage: FoodSafety.gov. No personal data is stored or sent.
Keep leftovers moist and properly chilled
Refrigerate cooked chicken in shallow containers within two hours, or within one hour when temperatures exceed 90°F (32°C). Keep the refrigerator at 40°F (4°C) or below; do not leave the dish on the counter until completely cold. FoodSafety.gov’s clean, separate, cook, and chill guidance covers these handling steps.
The cold food storage chart gives cooked meat or poultry a refrigerated limit of three to four days. Date the container and freeze portions you will not use in that window. This applies to properly handled cooked chicken; it is not a storage rule for raw garlic mixed into butter.
For reheating, use a covered skillet with a little water or broth and moderate heat, or microwave a covered portion in short intervals, turning or stirring as needed. Check several spots and reheat leftovers to 165°F (74°C), then stop heating rather than boiling the sauce for longer. A dry air-fryer environment is less forgiving for a delicate butter coating.
Heat control also changes the texture of other quick skillet meals. If you are choosing a different supper, the site’s pumpkin cheesy quesadillas are another pan-cooked option. For breakfast, almond flour pancakes also call for attention to browning while the middle cooks.
Frequently asked questions
Why does my garlic butter taste bitter?
Scorched garlic or burnt butter solids are common causes, particularly if they cooked through the chicken’s entire searing stage. Very dark pieces and an acrid smell point toward burning, while pale garlic with a sharp taste may reflect the garlic product or insufficient gentle cooking. Do not taste sauce exposed to undercooked chicken juices to diagnose it.
Should garlic go in before or after the chicken?
For this skillet method, cook the chicken first and add garlic after removing it and reducing the pan’s heat. That gives the meat time to finish without exposing fine garlic pieces to the same long sear. Watch for fragrance and only pale or light-gold colour rather than relying on a fixed timer.
Can you save a sauce if the garlic burned?
Blackened, acrid garlic usually calls for a fresh sauce because the fat can retain its burnt flavour. Straining out the pieces or adding sweetness does not undo that change. Keep the chicken only if it has been handled safely, and finish cooking it immediately if it is still underdone.
Does sliced garlic burn slower than minced garlic?
Larger, evenly cut pieces generally give you more time than fine crumbs in comparable conditions. Thin slices still have vulnerable edges, and a hot spot can scorch them quickly. Change the heat and sequence as well as the cut.
What temperature should the chicken reach?
Chicken must reach 165°F (74°C), measured with a food thermometer in the thickest part. Check individual pieces when sizes differ and avoid placing the probe against bone. The same temperature is the target for reheating leftovers.
Why does jarred garlic taste harsh in butter?
Some products include acid or other preserving ingredients that taste different from fresh garlic. Check the label and the product’s smell before blaming the pan. If there is no burning, longer cooking is not automatically the answer because it can create a second problem.
Your next pan: change the order first
Give the chicken the heat and time it needs, then give the garlic a shorter, gentler stage of its own. Use the thermometer for doneness and the garlic’s aroma and colour for sauce quality. If the pan has already turned acrid, starting with fresh fat and garlic is more reliable than trying to hide the burnt flavour.