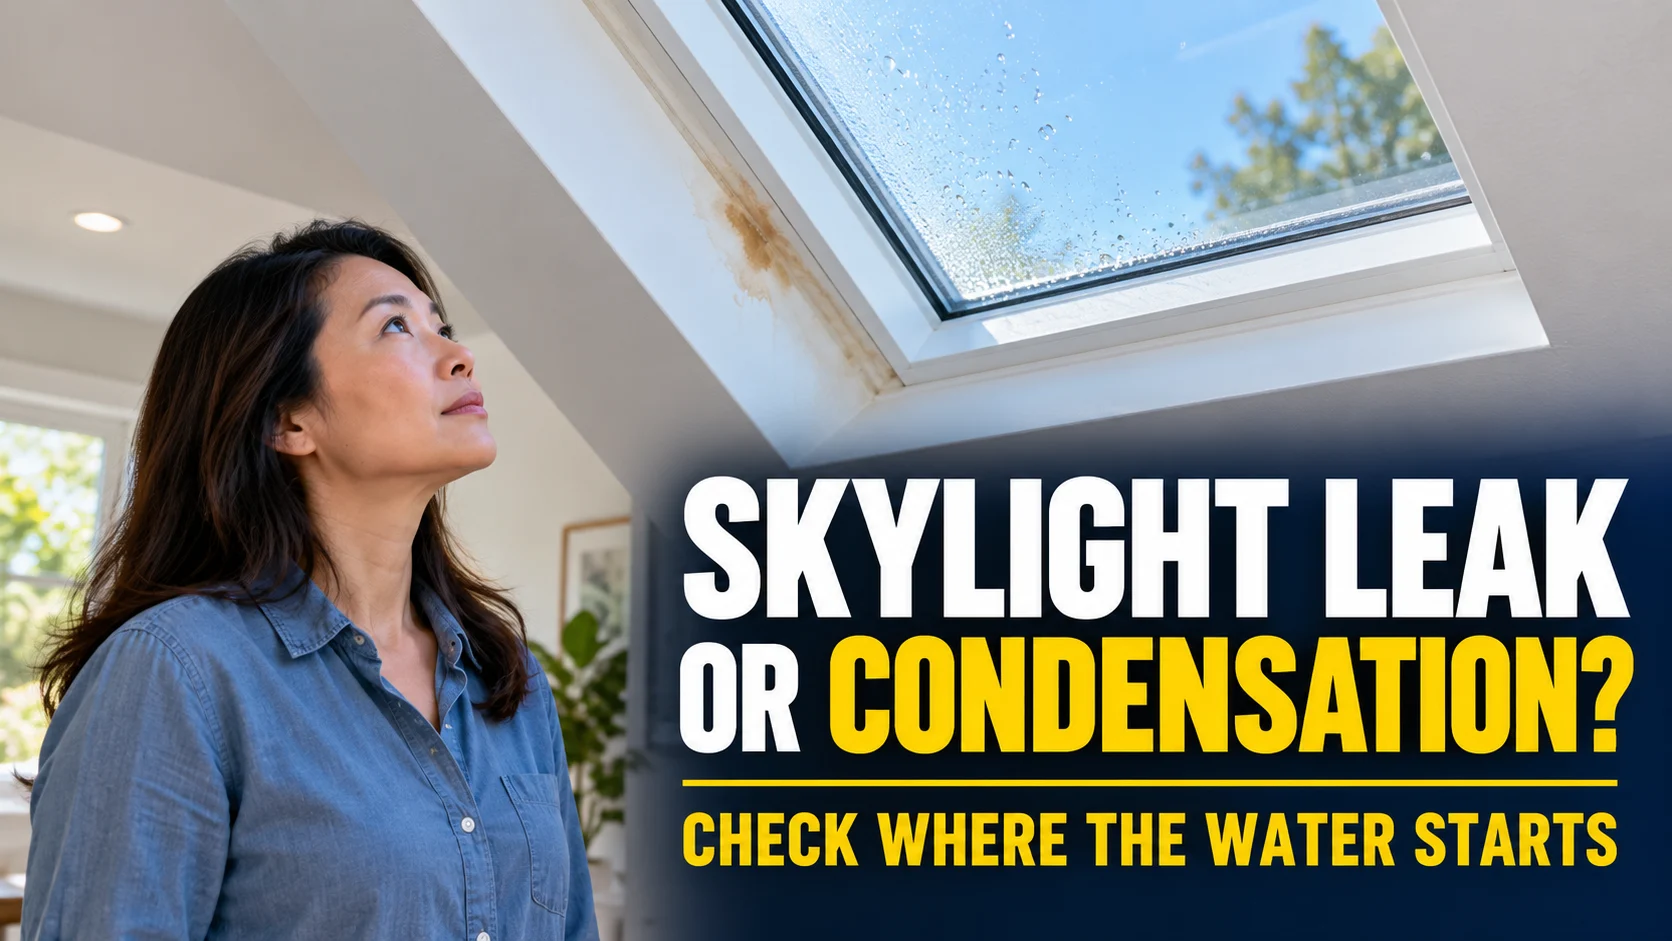
Water around a skylight can come from indoor condensation, a failed sealed glass unit, or rain entering the skylight or nearby roof. Start by locating the moisture and recording when it appears; stains alone cannot identify the entry point. Keep your inspection indoors or at ground level, and leave roof access and difficult water testing to a qualified specialist.
Skylight leak or condensation: start with the water location
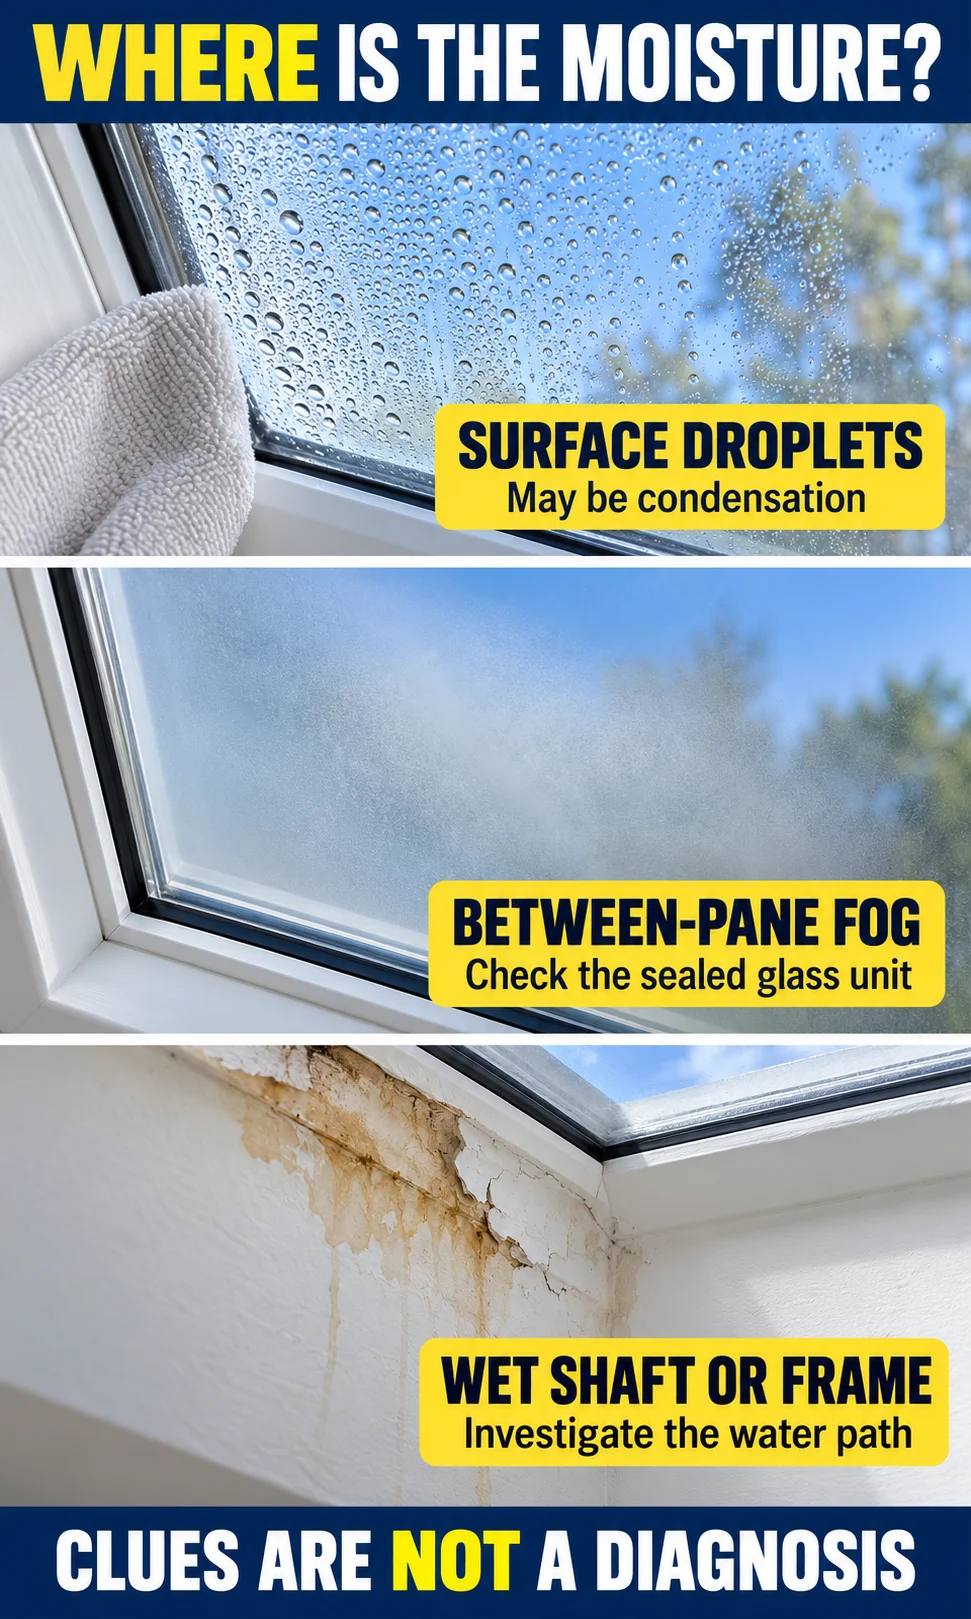
A bead of water on the room-facing glass tells a different story from a wet patch emerging through the ceiling. Surface condensation forms when moist air meets a surface cold enough for water to collect. Rain intrusion crosses the building enclosure, although it may travel along framing before becoming visible beside the skylight.
Between-pane fog is a third problem, not another name for a flashing leak. If haze is trapped inside double glazing and cannot be wiped from either accessible surface, the sealed glass assembly needs assessment. More than one fault can exist, so visible condensation does not clear a stained shaft of suspicion.
| What you see | What it may suggest | What to check next |
|---|---|---|
| Droplets on the room-side glass | Surface condensation, particularly during cold conditions or moisture-producing activities. | Record weather and indoor humidity; check whether the shaft stays dry. |
| Haze between glass panes | Deterioration of the insulated glass seal. | Identify the model and ask about compatible glazing or sash replacement. |
| Fresh wetness at the frame or shaft after rain | Water entry through the unit, flashing or roof above it. | Photograph the first wet area and arrange an inspection of the wider roof path. |
| Wetness during snowmelt | Roof water entry, ice-related backup or thawing condensation; timing alone cannot separate them. | Note frost, ice and melt conditions without climbing onto the roof. |
| An old dry stain with no recent change | Historic damage or an intermittent fault. | Keep dated comparison photos; do not assume that the problem is resolved. |
Swipe horizontally to compare on a small screen.
Treat this comparison as a way to organize evidence rather than a diagnosis. A bathroom skylight can collect condensation during a rainstorm, and a leak can remain hidden until absorbed water finally reaches the ceiling. The strongest clue is a repeatable sequence showing where moisture first appears and what was happening at that time.
Stop if the inspection would put you at risk
Do not stand on a skylight, lean over one, or treat its glass as a walking surface. A roof can be unsafe even when it looks dry, and ground-level visibility does not establish that its framing is sound. If checking a component requires roof access, a ladder-held hose or leaning out of a window, change the task to photographing from below and arranging professional access.
- Keep people away from the area below cracked glass or a sagging, bulging ceiling. Arrange urgent help; do not press, puncture or stand beneath it.
- If water is reaching a light fitting, wiring or powered skylight equipment, keep clear and seek qualified electrical and leak-response help. Do not touch wet electrical parts.
- Skip attic entry if there is no safe access and supported walkway, or if you see damaged framing, exposed wiring or extensive mold.
- Do not add test water to an actively leaking or saturated assembly. Finding another drip is not worth expanding the damage.
Step 1: inspect inside before cleaning anything
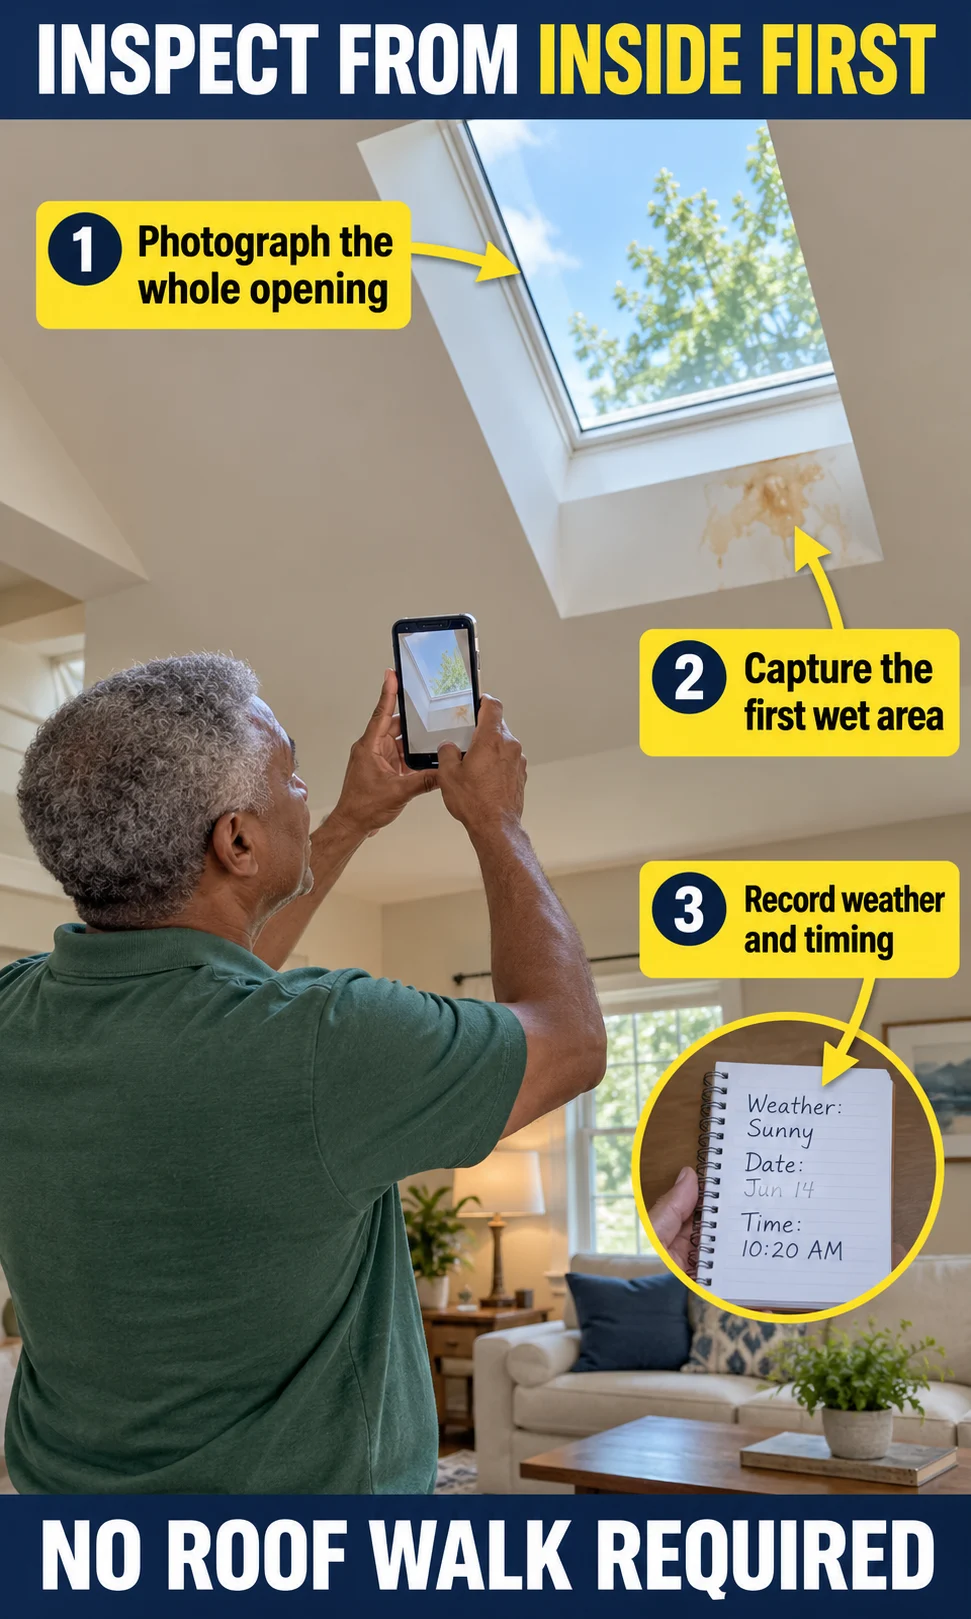
Use a phone camera and flashlight from the floor, with binoculars if the skylight is high. Photograph the complete opening first, then the frame corners, shaft and damaged finish. Include the date, recent weather, whether the skylight was open, and whether cooking, showering or indoor drying preceded the moisture.
Look for peeling paint, swollen trim, discolored joints and the boundary between dry and wet material. A narrow stain can identify an exit point without identifying the roof defect above it. Avoid scraping finishes or disturbing mold to obtain a better photograph; the initial job is to preserve a useful record.
Where the glass is safely reachable without climbing, wiping a small area can help establish whether water is on the exposed interior surface. A mark that clears with wiping is a surface observation, while persistent haze may be deeper in the glazing or may simply be exterior dirt. Do not infer sealed-unit failure unless the moisture really is between the panes.
For an opening skylight, note whether it closes normally and whether an accessible gasket is visibly loose or damaged. Do not force the sash, pull apart seals, or run a damaged electrical operator. A model label photographed from a safe position helps the manufacturer identify the correct service parts.
Step 2: check accessible attic areas and the roof from below
If you already have safe attic access, look from the supported access area for staining, wet insulation and water tracks near the shaft or framing. Compare the wet area with the skylight position rather than assuming the closest joint caused it. If the relevant area is out of reach, report it as unobserved instead of stepping across ceiling plasterboard.
From outside at ground level, use binoculars or a camera zoom to look for displaced roof covering, debris accumulated uphill of the skylight and visibly bent metal. Hidden underlayment and flashing laps cannot be verified from a distant view. A clean-looking exterior therefore gives limited reassurance when fresh moisture keeps appearing inside.
A curb-mounted skylight sits on a raised support, while a deck-mounted unit fits closer to the roof deck. The repair details differ, as do systems for tiles, shingles and metal roofing. The Department of Energy explains why skylight flashing must integrate with the surrounding roof layers; a surface bead of sealant cannot establish that those connections are correct.
Step 3: decide whether a hose test is appropriate
A controlled water test can help reproduce rain entry, but it is not a compulsory homeowner step. The Department of Energy includes a garden-hose check in its skylight water-infiltration inspection guidance. It does not turn a roof-level investigation into a safe task for someone without suitable access, nor provide a universal spray duration for every roof assembly.
Only consider a homeowner observation test if the relevant area can be reached and accurately wetted while both people remain safely on the ground or indoors. You need a dry baseline, a helper watching inside and an immediate way to stop the water. If overspray would wet several areas at once, the result cannot reliably isolate a zone; use a specialist instead.
Ask the installer or manufacturer whether the proposed test is suitable for the particular unit and roof. A strong jet, upward spray beneath roof laps or a pressure washer can create conditions unlike normal rain. A household check is not a standardized performance or warranty test; FGIA diagnostic field-water specifications have defined scopes and methods for professional application.
How a controlled zone-by-zone check works
- Establish the baseline. Photograph dry areas and record any pre-existing moisture before starting. If an interior area is already wet, a new drip may be impossible to attribute.
- Begin with the lowest accessible runoff zone. Wet only that area gently from above, without directing water under joints. Keep the glass and upper roof dry where practical.
- Observe before moving uphill. The indoor helper records the first fresh wetness and calls for an immediate stop. Agree the observation and pause periods with the specialist rather than treating a short fixed interval as conclusive.
- Investigate side areas separately, then the upper roof interface. Let residual water drain between stages; overlapping runoff makes later findings harder to interpret.
- Assess frame and glazing interfaces separately when suitable. If these cannot be isolated, or if water spreads between zones, end the homeowner test and preserve the record.
The sequence is useful because water runs downhill. Starting above the skylight can wet lower components immediately, leaving several possible entry points when a drip appears. Even a carefully staged test identifies a suspect pathway, not necessarily the precise failed lap, gasket or fastener.
Do not promise yourself a diagnosis in thirty minutes or treat three to five minutes without a drip as a pass. Absorbent materials, concealed cavities and intermittent wind-driven conditions can delay or prevent reproduction. Stop at the first new wetness, photograph it and avoid repeating the test simply to obtain a stronger result.
Interpret results without jumping to a repair
| Observation | Useful interpretation | Next action |
|---|---|---|
| New wetness during a lower or side-zone stage | The wetted area may be involved; runoff and residual water still matter. | Have the installer examine the corresponding flashing, roof and unit interfaces. |
| New wetness only after the upper area is wetted | Entry may involve the head flashing or roof uphill of the opening. | Include the roof above the skylight in the inspection scope. |
| Wetness during frame or glazing wetting | A unit joint or gasket may be involved, but the test can also wet nearby interfaces. | Ask a skylight service specialist to isolate the component. |
| No new wetness | The fault was not reproduced under those conditions. | Retain the rain record; do not certify the assembly as leak-free. |
| Persistent between-pane fog | A glazing issue may exist independently of roof water entry. | Get a model-specific sealed-glass or sash assessment. |
Swipe horizontally to compare on a small screen.
Give the contractor the first-wet photograph, not only the largest stain. Record the wetted zone, observation time and whether another zone had already been exposed. The difference matters because a visible drip after an upper-stage test may have started lower down during an earlier stage.
Choose a repair scope that matches the failed component
For suspected condensation, start with the indoor moisture pattern and the skylight’s thermal and air-sealing conditions. Use effective kitchen and bathroom extraction, and record indoor humidity if a hygrometer is available. Persistent local moisture despite reasonable indoor conditions deserves assessment of the shaft, insulation and unit; ventilation alone cannot correct every cold surface or installation defect.
For trapped between-pane moisture, ask whether a compatible sealed glass assembly or sash is available and whether the existing frame is serviceable. VELUX lists model-specific glass replacement and service procedures, showing why replacement scope depends on the product. A repair that only clears fog is not equivalent to replacing a failed sealed unit, and glass work does not repair faulty roof flashing.

For confirmed roof entry, ask for the failed water-management detail to be identified in writing. A sound skylight may need flashing or surrounding roofing work, while damaged framing, unavailable parts or several deteriorated components may favor replacement. The Department of Energy’s repair-or-replace considerations include unit condition and performance goals, rather than appearance alone.
Do not coat every seam with roofing cement or block an opening because it looks like a gap. Some assemblies include drainage channels; their purpose and maintenance are model-specific. Likewise, do not drill fogged glass or use epoxy as a routine repair for cracked overhead glazing; keep the area below clear and obtain a suitable glazing assessment.
Contain damage and document the quote
For a manageable drip with no ceiling or electrical hazard, move belongings and catch water from a safe position. Arrange prompt assessment and start drying affected materials once safe access is established. EPA advises drying water-damaged areas within 24–48 hours; that is a drying aim, not permission to wait while water continues entering.
A dry surface does not establish that insulation or timber behind it is dry. If you use a moisture meter, compare like materials with a known dry area and retain the device settings; readings are not interchangeable across materials. Our guide to moisture-meter readings after water damage explains why a single reassuring reading has limits.
- Diagnosis: which component failed, and what evidence supports that conclusion?
- Scope: does the quote cover glazing, flashing, roof covering, curb or framing, interior drying and finish repair?
- Compatibility: which replacement parts and flashing system suit this model, roof covering and pitch?
- Verification: how will the completed repair be checked, and which conditions remain untested?
- Commercial details: are access, disposal, exclusions, warranty and any hidden-damage allowances written down?
Compare two or three written scopes before treating the lowest price as the best value. Glass replacement, reflashing and whole-unit replacement are different jobs, so a worldwide cost range can conceal more than it explains. Ask for itemized local estimates and clarify what happens if opening the roof reveals wet or deteriorated substrate.
Build a useful record with Skylight Evidence Studio
Use the studio below to separate what you observed from what remains unknown. Its next-action summary follows your moisture location, timing and safety flags, and its A4 brief keeps the same evidence together for a contractor. It cannot confirm a leak source, certify a roof or replace an on-site inspection.

Skylight Evidence Studio
Separate observations from assumptions. Build a clear next-action brief.
This studio organizes skylight moisture observations and suggests the next inspection step. Surface droplets, between-pane fog and wet roof interfaces can have different causes. A result cannot diagnose the entry point or certify that a skylight is leak-free.
Select the observations you can verify, then build your brief. Unknown observations are useful information too.
Find and compare suitable help
Search for relevant providers, then compare up to three real businesses using written evidence. No ratings, quotes or provider records are supplied by this studio.
Compare diagnosis, included components, access costs, credentials or insurance where applicable, and verification/aftercare. There is no automatic winner.
Entries stay in this page’s memory and are not uploaded or saved. Closing or refreshing clears them. Observation support only; not an on-site inspection.
Keep inspections tied to weather and roof work
As a practical reminder, review the interior and ground-level view at least annually and after significant storms, thaw events or nearby roof work. This is a homeowner record-keeping schedule, not a universal manufacturer service interval. Follow the unit’s care instructions for cleaning and arrange safe professional access when exterior work is necessary.
In cold regions, record whether moisture follows freezing weather or snowmelt. In humid climates, record rain, indoor moisture sources and cooling conditions instead of borrowing a winter-only explanation. Keep persistent surface moisture under review, and investigate fresh shaft staining even when droplets also appear on the glass.
Compare Local Home Specialists Near You
Tell us what kind of help you need, then compare nearby businesses by location, Google rating, review volume and contact options.
HomeFix Local Match
Turn a home problem into a practical local hiring decision. Check the clues, see the specialist types that fit, open focused surrounding-location searches, then compare the strongest three before you call.
 YOUR PROBLEM
YOUR AREA
COMPARE 3
✓ Ready to compare
What is happening?
Choose the closest problem type, then check every clue that applies. Your selections change the specialist order.
Where should the search focus?
Use Google’s “near me” context or enter the area you actually want a specialist to serve.
Simple local search: open nearby Google results, choose the businesses that look suitable, then compare your best three here before you call.
Problem snapshot
Who should you call first?
These are the specialist types most likely to fit the clues you selected.
Search around your location
Compare your top three
Use the same factors for each option so a high star rating does not hide a weak scope, poor diagnosis, missing credentials or unclear aftercare.
Comparison result
Your result combines the Google signals you entered with the practical hiring checks you completed.
Questions to ask every finalist
Use the same questions with each shortlisted business so the comparison stays consistent.
Frequently asked questions
Can skylight condensation damage the ceiling?
Yes, repeated condensation can wet surrounding finishes and materials even without rain entry. Reduce indoor moisture sources and have persistent wetting assessed rather than simply wiping it away. Condensation does not prove that flashing has failed, and both problems can occur together.
How accurate is a skylight hose test?
A controlled test can help reproduce an entry path, but it has no universal homeowner accuracy percentage. Its usefulness depends on safe access, zone isolation, baseline dryness and whether the test reproduces the relevant weather. A negative result leaves an intermittent leak unresolved.
What if I cannot access the attic?
You can still record interior moisture, weather and safely visible exterior conditions. Mark the concealed area as unobserved rather than assuming it is dry. Ask the contractor whether inspection from another access point or a targeted opening is needed.
Does foggy skylight glass require complete replacement?
Not always; some models allow compatible glass or sash replacement if the rest of the assembly remains serviceable. Availability, frame condition and installation details determine the options. Fog-clearing treatment alone does not establish restoration of the sealed glass unit.
How soon should I repair a confirmed skylight leak?
Arrange prompt assessment and safe water containment because continuing wetting can enlarge the damage. Electrical contact, cracked overhead glass or a sagging ceiling requires urgent help and keeping people clear. Dry affected materials promptly once safe, and verify the source repair before restoring finishes.
Should I clean skylight weep holes myself?
Only follow the specific manufacturer instructions for an accessible component. Skylights use different drainage arrangements, and not every gap is a weep hole. Do not climb onto the roof, drill openings or seal drainage paths as a generic fix.
Your next inspection: five checks to keep
- Locate the moisture: exposed glass, between panes, frame or shaft.
- Record when it appears and photograph the first wet area.
- Keep roof access and unsafe attic areas out of the homeowner inspection.
- Treat an unreproduced hose test as unresolved, not proof of condensation.
- Match the repair quote to the failed component and check drying before refinishing.