
A wood accent wall is a layer of decorative boards or panels fixed over a suitable interior wall. To install one neatly, check the wall and fixing system first, establish a level reference, and plan the first and last rows before cutting or attaching boards. The method below focuses on horizontal wood boards in a dry interior room; adhesive-backed veneer, slat panels and vertical cladding need their own product instructions.
Can this wall safely take wood cladding?
Start only when the wall is sound, dry and compatible with the chosen product. Cladding conceals the surface but does not repair loose plaster, leaks or weak paint. A room can look dry while the wall behind furniture remains damp, so investigate stains, softness, musty smells or recurring condensation before buying a finish to hide them.
Decide which system you actually have. Solid boards with a shaped overlap, thin adhesive-backed planks and felt-backed slat panels carry their weight differently. A fastening detail for one system is not a substitute for the installation sheet supplied with another. This guide teaches the planning and fitting sequence; the product sheet supplies the permitted substrate, clearances, adhesive, support spacing and fasteners.
Keep this project separate from choosing a decorative pattern. If the direction or focal wall is still undecided, settle the accent-wall pattern before planning board lengths. A horizontal layout needs different support and cut planning from a diagonal or vertical arrangement.
Prepare a stable workbench, tape measure, long level or suitable laser level, straightedge, stud/service detector, clamps, saw and the specified fixing materials. Use eye protection and the cutting tool’s required dust and hearing protection. Secure loose clothing and hair; keep children and pets outside the work area. Choose a safe work platform for upper rows rather than stretching from furniture.
- Stop for damp or unstable material: repair the cause and confirm suitability before covering it.
- Stop at uncertain services: a stud indication alone does not prove that a fixing point is clear of cables or pipes.
- Resolve heat and fire restrictions: ordinary decorative wood is not automatically suitable beside a stove, fireplace or heater.
- Check older finishes: in a U.S. home built before 1978, follow lead-safe renovation guidance before drilling, sanding or removing painted trim.
- Get permission where needed: adhesive and nails can damage a rented wall when removed.
Step 1: Check the surface and the fixing route
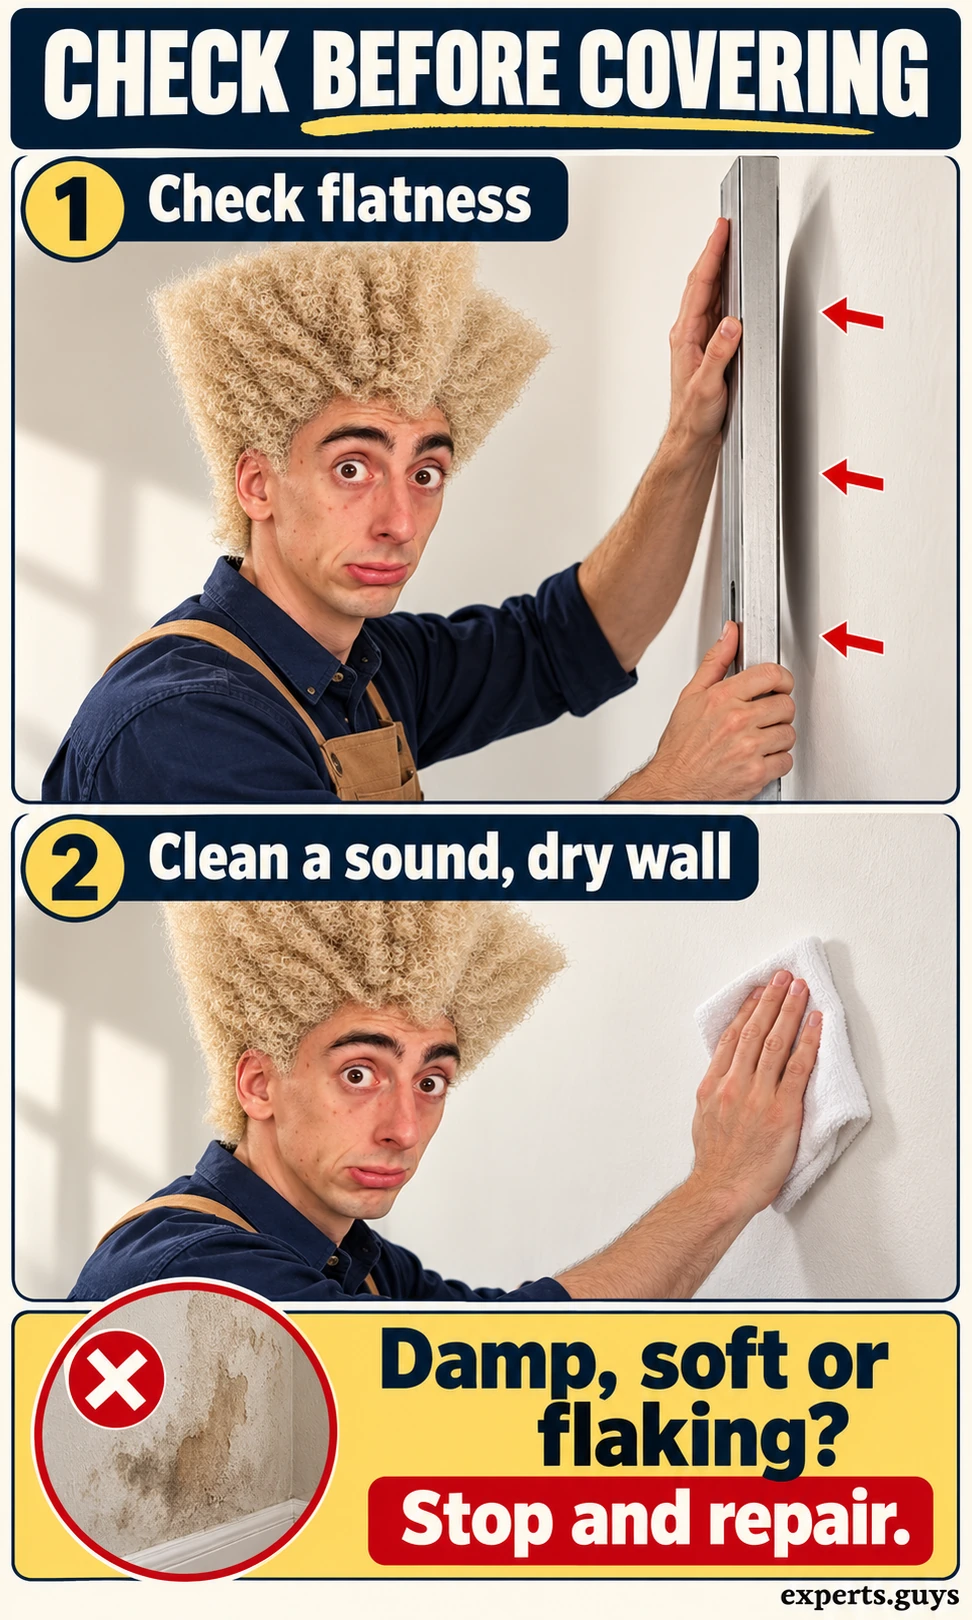
Lay a straightedge against the wall horizontally, vertically and diagonally at several accessible positions. Look for rocking over a high spot or daylight beneath a hollow. Compare the result with the product’s flatness allowance; do not invent a universal tolerance. Start with a small reachable area if a long straightedge is awkward, then check the full installation area before committing.
Wipe a small sound area with a clean, dry cloth and check for dust or chalking. Clean the whole surface using a method compatible with the wall and adhesive, and let it dry. If the paint powders or flakes, investigate the failing wall coating; a stronger adhesive can simply pull weak paint away with the board. Repairs, primer and paint must be fully cured as specified, not merely dry to the touch.
Locate the intended structural fixing route using an appropriate detector and the information available about the wall construction. Confirm suspected stud positions and check for services before making holes; do not trust assumed spacing or drill exploratory holes near outlets. Keep the safe fixing locations visible with removable tape outside the area being covered. If the wall construction or service route is unclear, have it identified before installation.
A sound flat wall gives adhesive a continuous contact surface. A mechanically fixed system also needs support that can hold its specified fasteners. Pulling a bowed board into a hollow with a longer nail can distort the face, damage the substrate or create an unsafe penetration. Correct the backing using an approved method rather than forcing the decorative board to straighten the wall.
Step 2: Acclimate, sort and test the profile
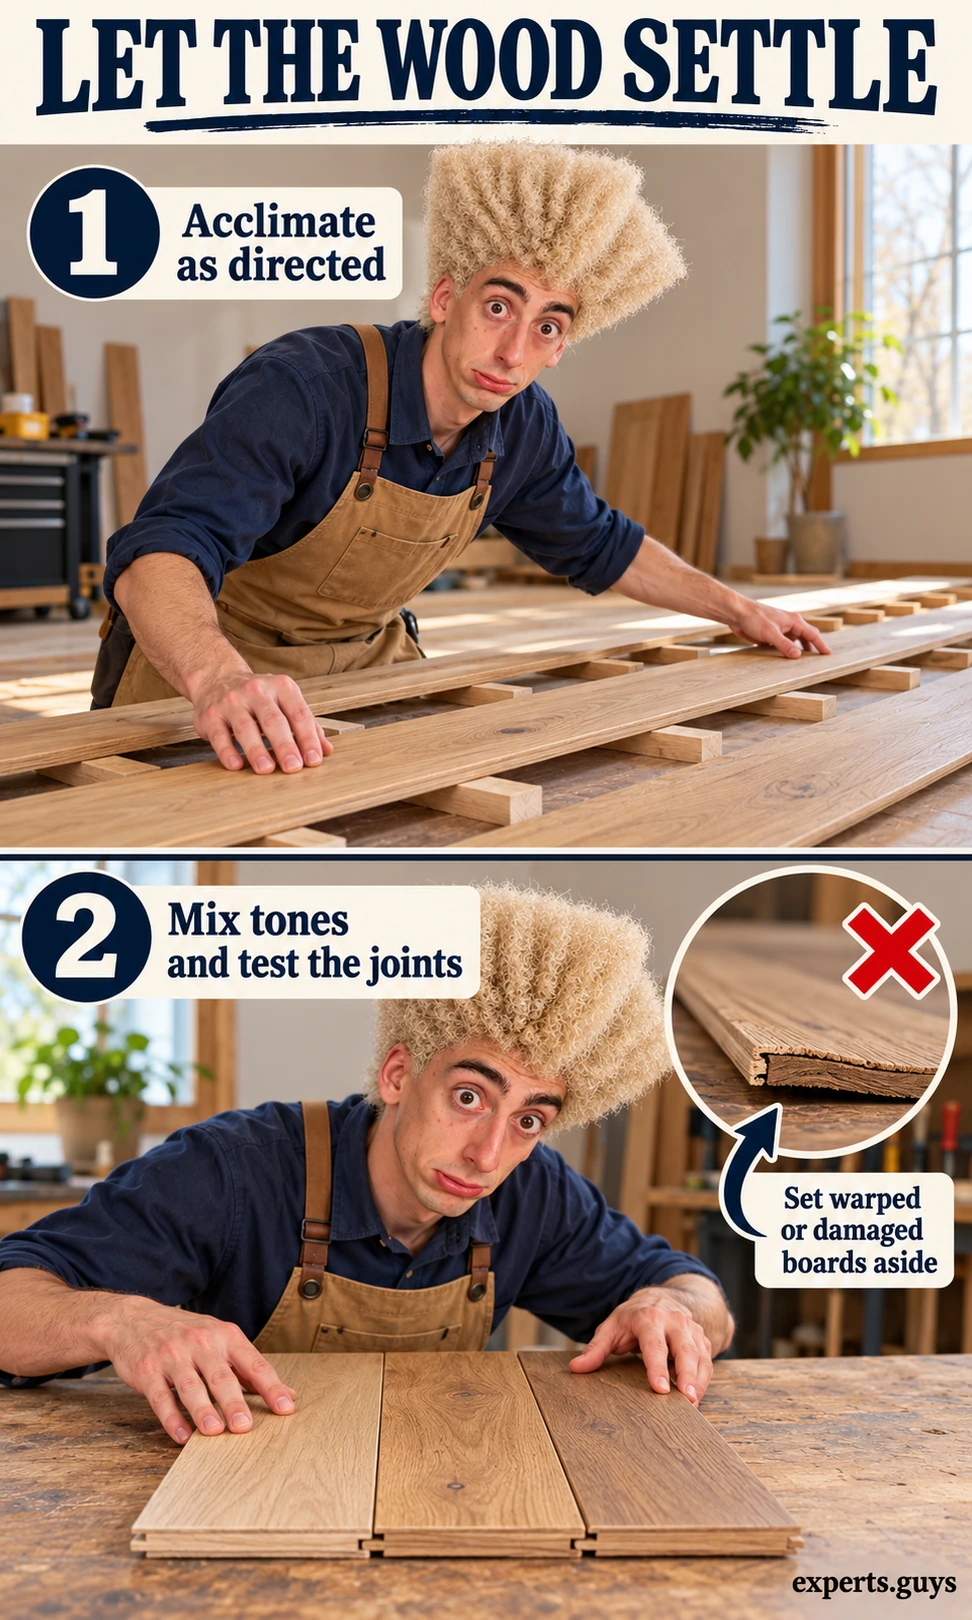
Bring the wood into the room where it will be installed and maintain the room’s normal occupied conditions. Open, stack and support it as the supplier directs. Do not assume that a fixed waiting time makes every board ready: the starting moisture, packaging and room conditions differ. Keep boards away from a damp floor, direct heat and concentrated sunlight.
Before installing, blend boards from several packs and lay a few together on a clean support. Check colour distribution, straightness, face damage and the fit of the profile. Put visibly damaged or badly distorted pieces aside. Test several short samples if handling full lengths is difficult; the useful checkpoint is a joint that fits normally without excessive force.
Wood exchanges moisture with the surrounding air and can change width after installation. Acclimation reduces the initial mismatch; it does not stop seasonal movement. Preserve the product’s required clearances and do not confuse the visible shadow line between boards with a movement allowance at the wall perimeter.
| Wall system | What supports it | Decision before work |
|---|---|---|
| Mechanically fixed horizontal boards | Verified framing or approved backing | Match profile, support spacing, fixing position and penetration to the product sheet. |
| Vertical boards | Often additional horizontal support | Do not rotate the horizontal fixing plan without checking the vertical detail. |
| Adhesive-backed thin planks | Compatible, stable surface and specified adhesive contact | Check coating compatibility, cure time and application pressure. |
| Felt-backed slat panels | The panel maker’s wall-fixing arrangement | Use panel dimensions and instructions; the course calculator below is not a slat-panel design tool. |
How do you avoid a narrow final row and awkward edges?
Measure the usable height, check the effective board coverage, and balance the edge rows before fixing anything. Use the height inside the planned trim and clearances, not the full floor-to-ceiling dimension by default. Measure at the left, centre and right because ceilings and floors may slope. A level run of joints can coexist with a tapered edge cut; tilting every row to follow the floor spreads the error across the entire wall.
Step 3: Set a level reference and balance the edge rows
Dry-fit several boards and measure their combined installed coverage. Divide by the number of rows to obtain the effective coverage per row, including the intended joint. Do not use nominal lumber width when an overlap hides part of the face. For simple square-edged boards without gaps, coverage equals face width; profiled boards may need a separate cutting allowance.
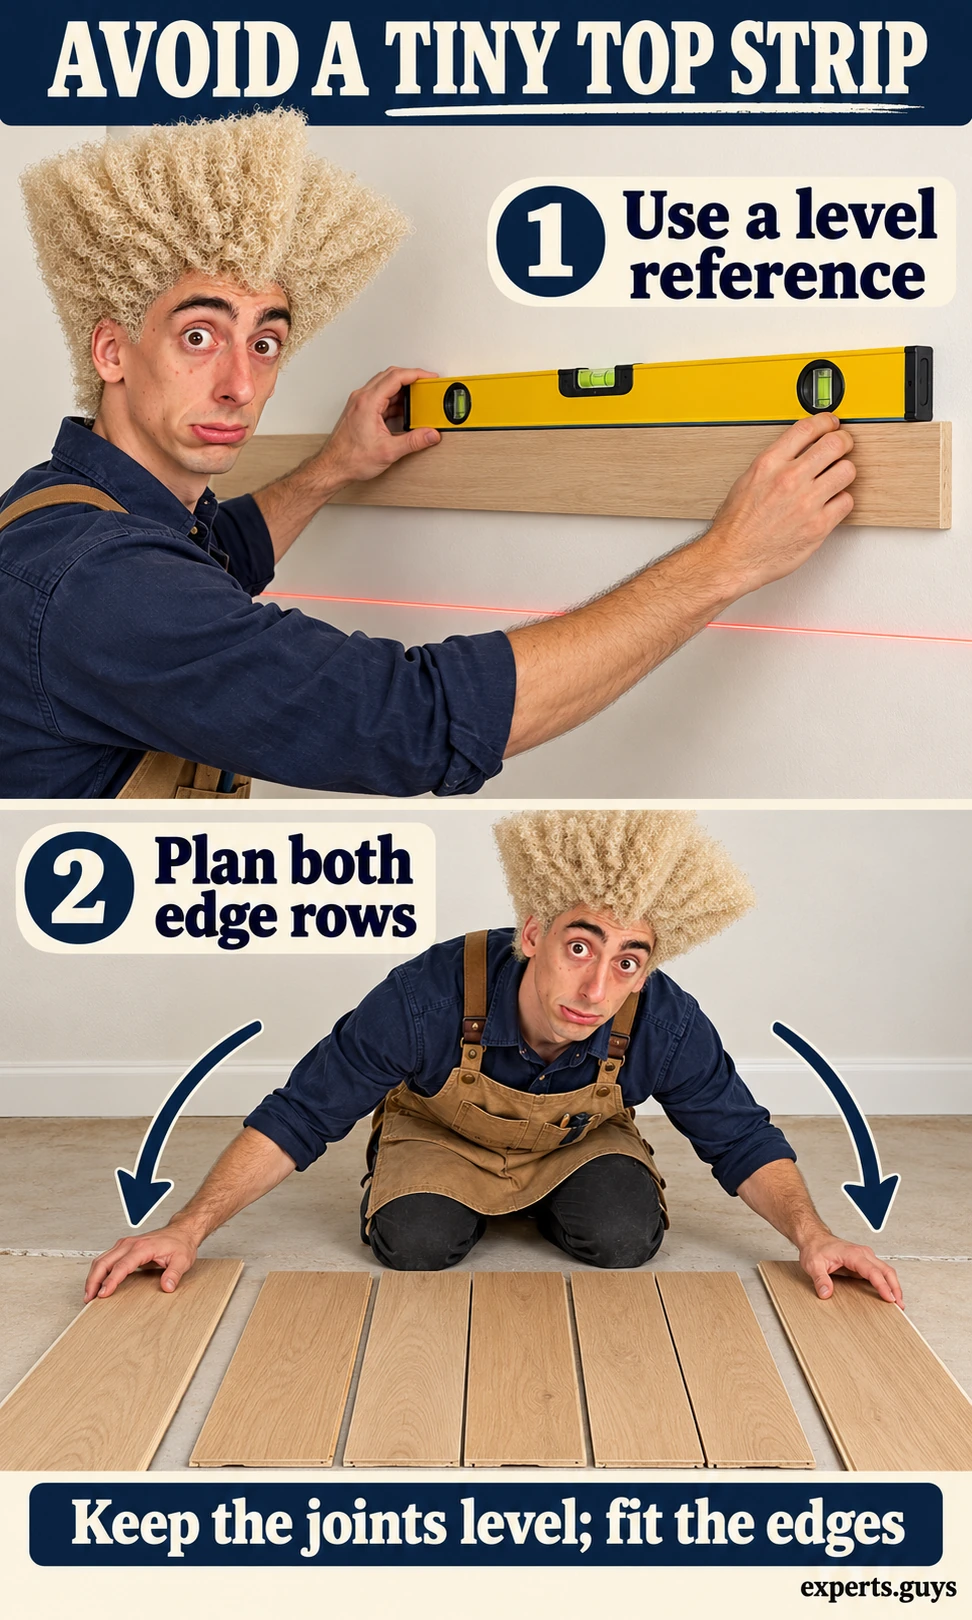
Use a level or a safely positioned laser to establish the top of the first row. Do not aim a laser toward anyone’s eyes. Measure from that reference to the upper boundary at several points and check the planned last-row width. Keep the reference independent of a crooked baseboard. A temporary supported sample is enough to test the line before you make any permanent fixing.
For a simple worked example, suppose the usable height is 94 inches and each installed course covers 5.5 inches. Seventeen full courses cover 93.5 inches and leave a half-inch strip. A more balanced layout uses sixteen full middle courses and two 3-inch edge courses: 16 × 5.5 + 3 + 3 = 94. This is coverage arithmetic, not a rip-saw setting for every tongue, groove or overlap profile.
Transfer the planned edge coverage to the actual board profile and check that the necessary joint and fixing flange remain usable. If cutting away part of the first board would remove the required fastening area, choose the manufacturer’s alternate edge detail or change the layout. Where the floor slopes, the bottom edge may need to taper while the top joint stays level. Ask a supplier to prepare difficult rips if you cannot safely support and guide the cut.
Estimate coverage and compare balanced rows
Use the planner for a rectangular wall and uniform horizontal courses. Enter actual wall dimensions, large openings, pack coverage and your own cutting allowance. The tool also compares a full starting row with balanced edge coverage. It does not design fasteners, locate services or determine expansion gaps; those decisions must be settled from the installation instructions.
The manual check is straightforward: wall width × height gives gross area; subtract the openings you can genuinely omit, then multiply by 1 plus your waste percentage and round up to whole packs. Small outlet cutouts rarely produce reusable material, so do not deduct every tiny opening. For a 10-by-8-foot wall without deductions, a chosen 10% allowance gives 88 square feet; 20-square-foot packs mean buying five packs. The 10% is an example allowance, not a guarantee that every layout will fit.
Step 4: Mock up the edges and outlet depth
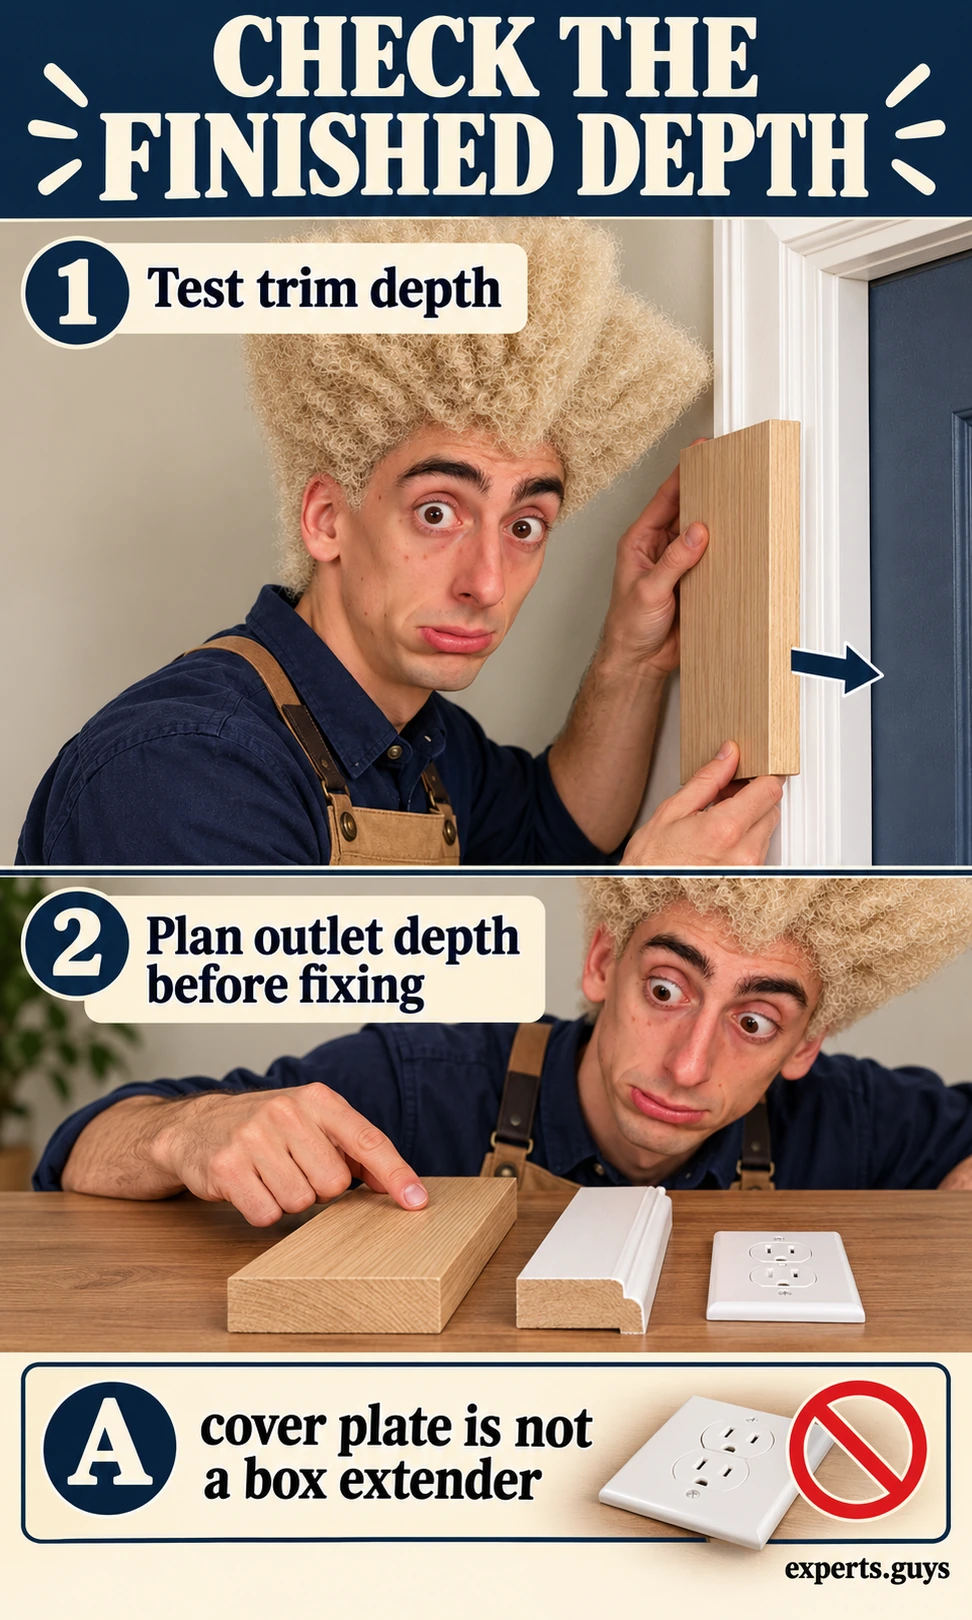
Hold an offcut of the actual board beside the skirting, door casing and exposed end. Include adhesive thickness or backing where relevant. Check whether the new surface projects beyond existing trim and whether a door can still operate. Decide on matching end trim, a return or a revised casing before making the wall deeper. A small dry mockup is easier to alter than a finished wall.
Resolve electrical boxes before boarding around them. Added wood can leave an existing box recessed behind a combustible finish. A licensed electrician can select the appropriate listed extender or other approved correction for the box, device, finish and local rules. Listed box extenders address enclosure depth; a larger faceplate or longer device screws alone do not provide the same protection. Do not bury a junction box or make it inaccessible.
Keep the circuit isolated and verified dead before any work involving a device or its cover, and have electrical alterations done by a qualified person. Plan the board cutout around the agreed box detail, not around the decorative plate alone. Leave the plate removable and do not trap it beneath trim. This guide covers the wood layout, not rewiring or live electrical testing.
| Detail | Check with the sample | If it fails |
|---|---|---|
| Door or window casing | New wood face versus casing projection | Resolve the casing or return before fixing boards. |
| Bottom and top edges | Required clearance plus trim coverage | Change the edge layout; do not fill a required movement space with hard material. |
| Outlet or switch | Box depth relative to the final wood surface | Arrange the approved electrical correction before closing the area. |
| Exposed wall end | Visible cut edge and trim overlap | Use a planned finishing detail rather than an improvised strip. |
How do you cut and fix boards without carrying errors upward?
Dry-fit each piece, use the specified attachment method, and check the row before starting the next one. The first row controls everything above it. Take time on that row, because adhesive-backed pieces can be difficult to reposition and removing a mechanically fixed board can damage its edge or the wall.
Step 5: Cut away from the wall and dry-fit each piece
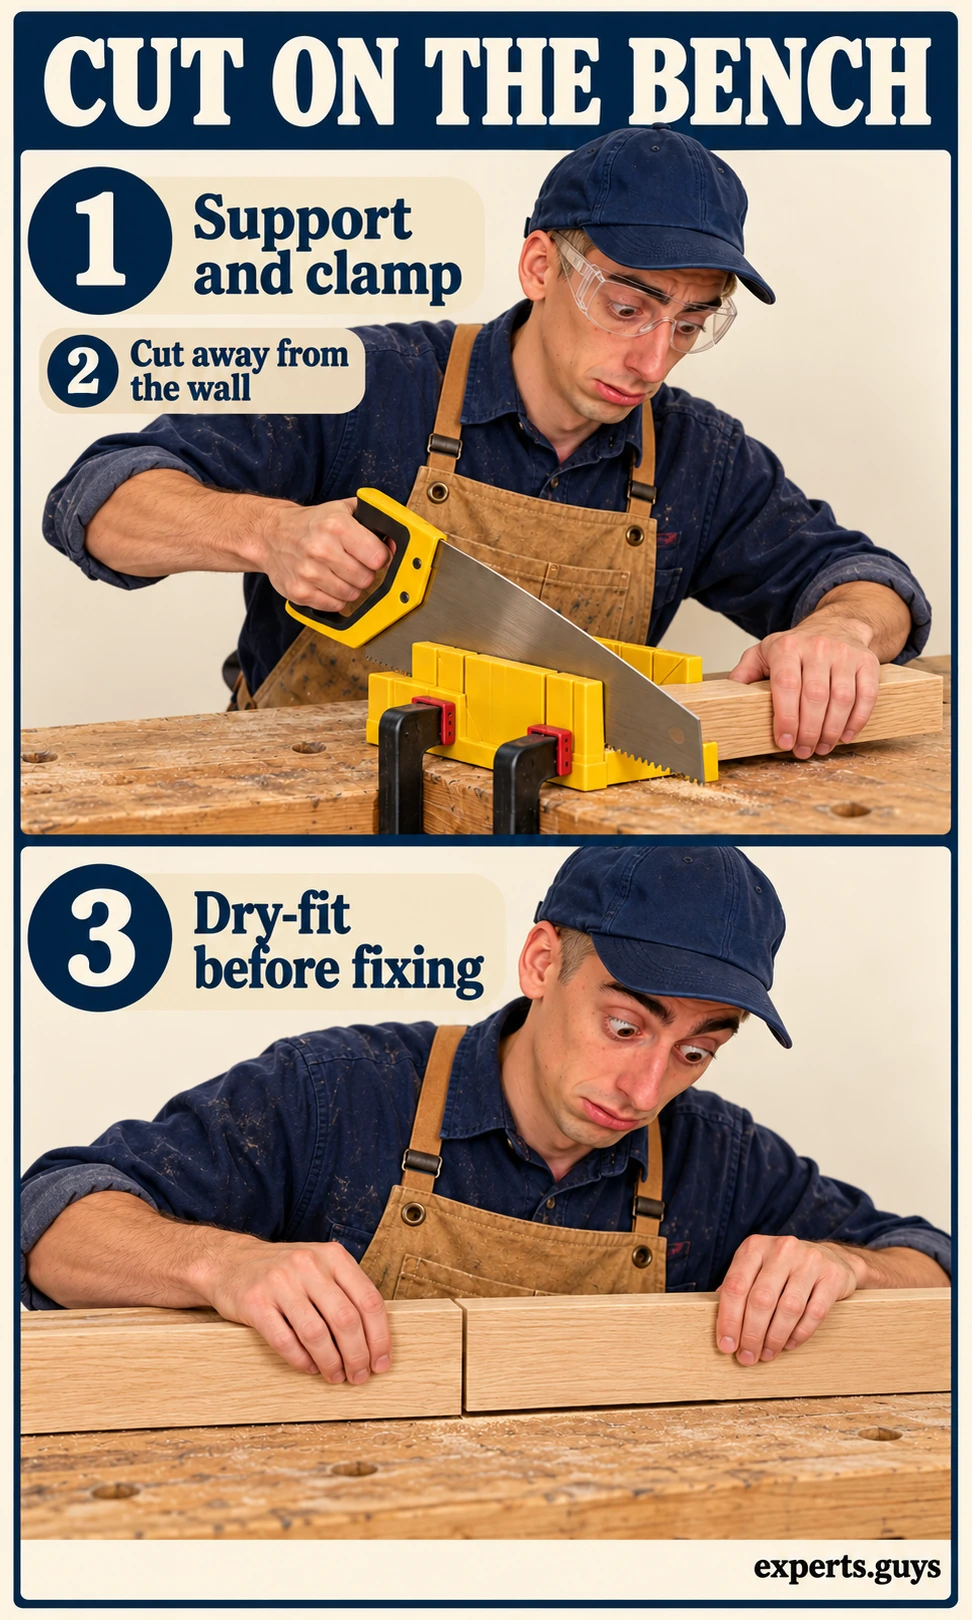
Measure the actual space for the piece, including the required end clearance. Support the board on a stable bench, clamp it and choose a saw and blade suited to the material. Keep hands clear of the blade path and follow the tool’s operating instructions. Make cuts away from the wall rather than plunging through installed boards toward hidden services. Use an offcut to check the cut quality before cutting a visible end.
For a short, straight crosscut, a clamped mitre box and suitable hand saw can be a manageable option. Long rips and outlet cutouts need different support and tool control; do not improvise them while holding a board in one hand. Have the supplier or a competent installer prepare difficult pieces when needed. Dry-fit every cut piece before adding adhesive, checking the joint, end clearance and alignment.
Plan end joints as well as row height. A staggered appearance does not make an unsupported joint secure. Put joints over support where the system requires it, and follow any minimum length or end-joint rules. Reuse an offcut only when its remaining profile, length and fixing locations are suitable; a piece that merely fills a gap may be too short to attach correctly.
Step 6: Fix the first row, then repeat the check
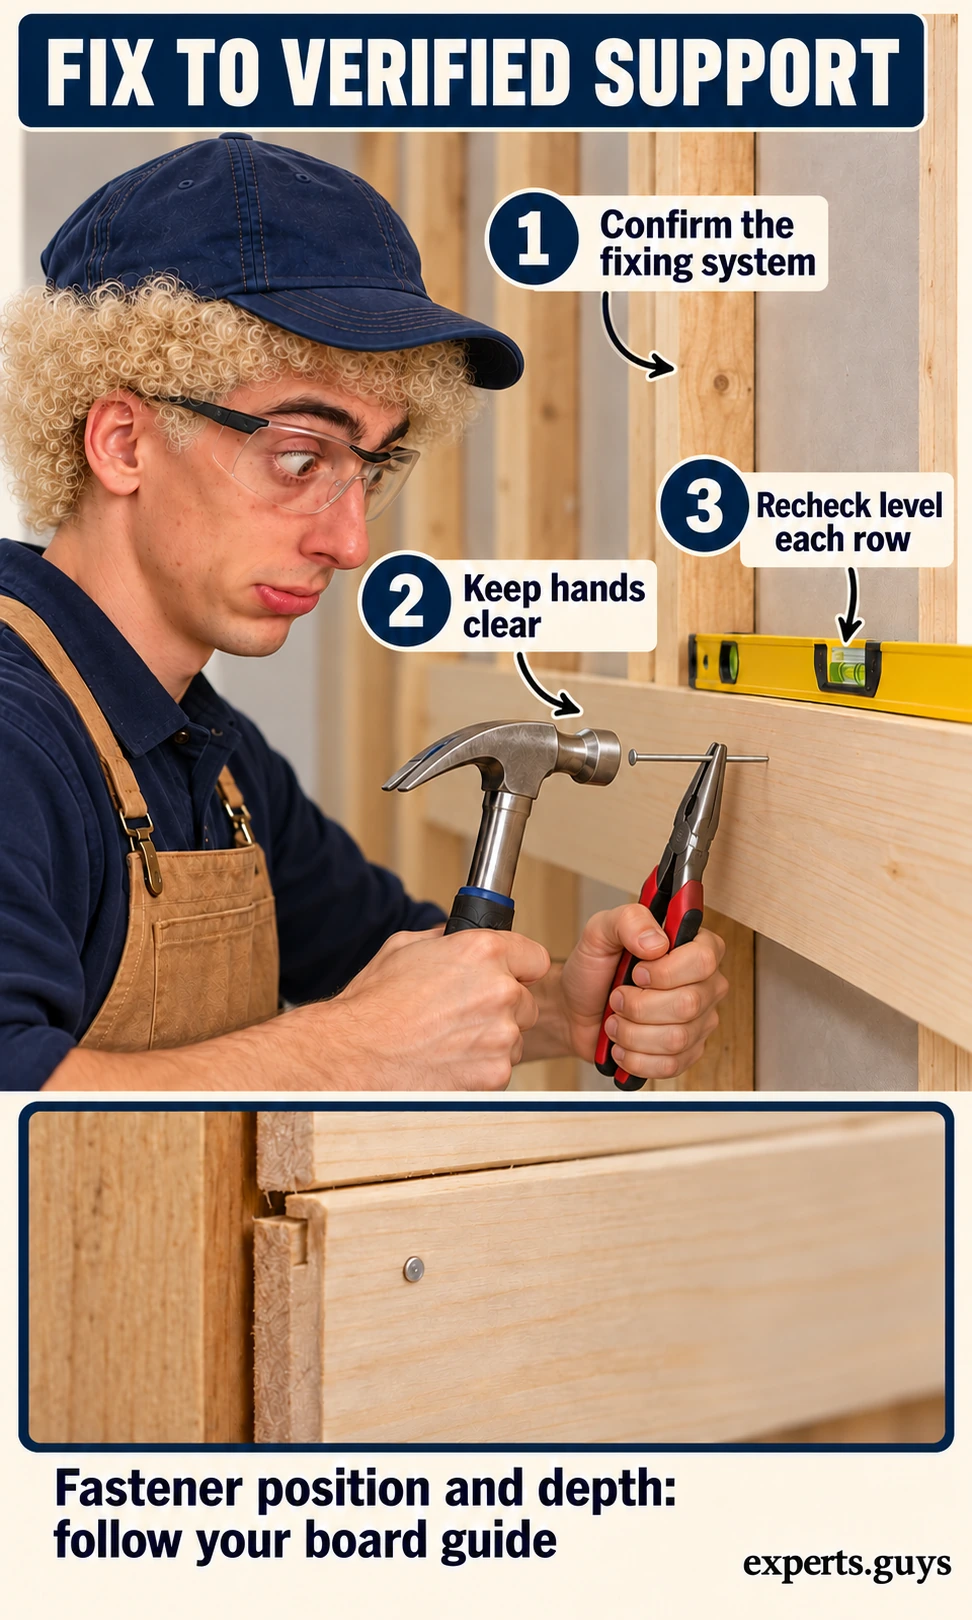
For mechanically fixed boards, use the specified fastener type, position and penetration into verified support. Account for the board and existing wall layers when selecting length, and consider what lies behind that support. Do not choose an excessively long fastener as insurance. Keep your hands outside the driving path; a nail holder can help for suitable manual finish-nailing tasks.
The UFP-Edge Timeless installation sheet, for example, specifies a particular horizontal framing connection and warns against nailing through overlapping pieces. That is a product-specific detail, not a universal schedule for all shiplap. Use the current sheet for the actual boards you purchase, including its adhesive instructions if adhesive forms part of that system.
For adhesive-backed planks, follow the supplied preparation, positioning and pressure instructions instead of borrowing a nail-on method. A compatible surface and full adhesive contact matter more than adding random glue to a failing area. The Stikwood preparation guide is useful for that product family; other adhesives can require different conditions and application methods.
After fixing the first row, check its top edge with the level and inspect the full run from a distance. Continue one row at a time, checking joint seating and alignment as you go. Stop when a board will not seat naturally: inspect for debris, damage, distortion or an earlier alignment error. Do not hammer a joint closed so hard that the face dents or required movement is eliminated.
What should you check before calling the wall finished?
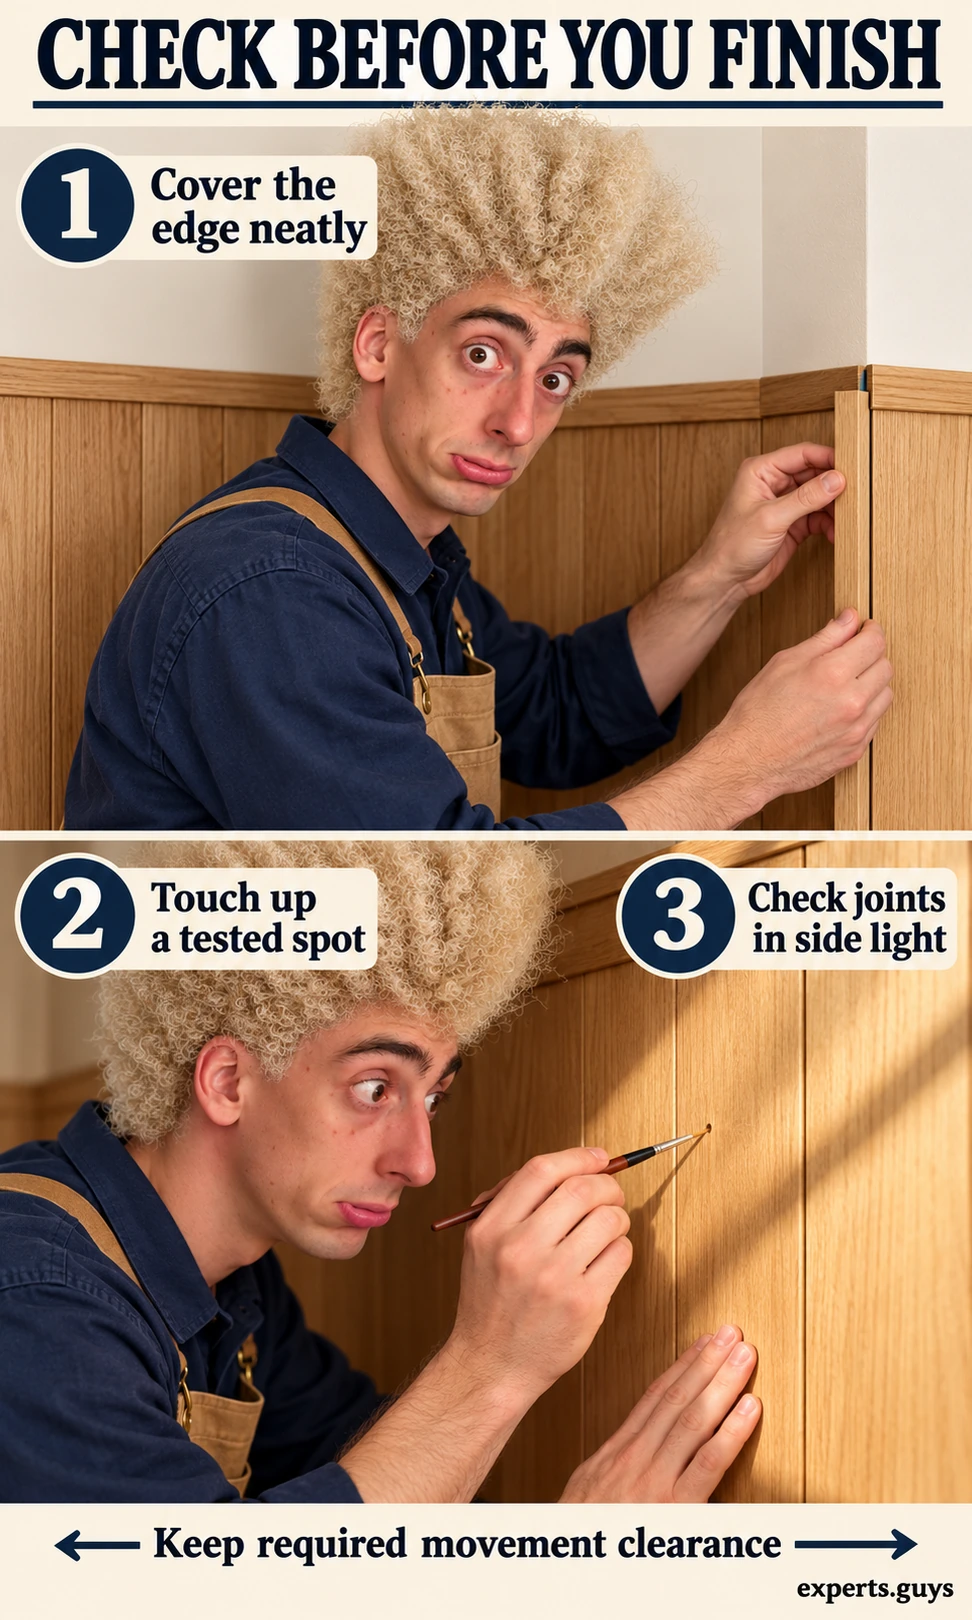
Check edge clearance, sound attachment, outlet access and the appearance in side light before final touch-up. A neat face can conceal a poorly supported end or a trapped cover plate. Inspect the wall while the working area is still clear, so a correction does not require moving furniture back out.
Step 7: Finish the edges without locking the boards
Dry-fit matching trim over the planned edge space and secure it using the approved detail. Cover a required clearance without squeezing the boards tightly between rigid boundaries. Do not automatically caulk every visible joint: some gaps belong to the board profile or movement strategy. Prefinished matching trim can reduce finishing work and make colour consistency easier.
Test filler or touch-up finish on a spare piece first, let it dry and inspect it under the room’s normal light. Treat small defects locally using a compatible product. Do not automatically apply glossy varnish to a factory-finished wall; it can change the sheen or conflict with the existing coating. If choosing a new painted finish, decide the accent-wall colour before coating the whole installation.
Look along the wall with light falling across it to reveal raised ends, crushed edges or uneven joints. Check that trim is secure, plates remain removable and the wall can be cleaned as its finish requires. Respect adhesive and finish cure times before use. Save a few matching spare boards or offcuts for future repairs; there is no need for a separate written diary.
| What you notice | Likely issue to investigate | Next decision |
|---|---|---|
| Rows slope across the wall | The start followed a crooked floor or casing | Check against a true level reference before adding more rows. |
| Boards lift from the surface | Weak coating, poor contact, incompatible adhesive or distortion | Stop and identify the substrate and product issue; do not just add glue. |
| A joint refuses to close | Debris, damaged profile or alignment error | Inspect and correct the cause before forcing the next row. |
| A very narrow final strip | Nominal width used or edge rows not planned | Recalculate effective coverage before cutting the final pieces. |
| An outlet plate will not sit correctly | Added wall thickness or an inaccurate cutout | Have the box and device detail checked; do not force the cover into place. |
Compare Local Home Specialists Near You
Tell us what kind of help you need, then compare nearby businesses by location, Google rating, review volume and contact options.
HomeFix Local Match
Turn a home problem into a practical local hiring decision. Check the clues, see the specialist types that fit, open focused surrounding-location searches, then compare the strongest three before you call.
 YOUR PROBLEM
YOUR AREA
COMPARE 3
✓ Ready to compare
What is happening?
Choose the closest problem type, then check every clue that applies. Your selections change the specialist order.
Where should the search focus?
Use Google’s “near me” context or enter the area you actually want a specialist to serve.
Simple local search: open nearby Google results, choose the businesses that look suitable, then compare your best three here before you call.
Problem snapshot
Who should you call first?
These are the specialist types most likely to fit the clues you selected.
Search around your location
Compare your top three
Use the same factors for each option so a high star rating does not hide a weak scope, poor diagnosis, missing credentials or unclear aftercare.
Comparison result
Your result combines the Google signals you entered with the practical hiring checks you completed.
Questions to ask every finalist
Use the same questions with each shortlisted business so the comparison stays consistent.
Frequently asked questions
Can I hang a television on the new wood wall?
Decorative cladding is not automatically structural support. Fix a television bracket to suitable structure with hardware rated for the load and wall construction, accounting for the added cladding thickness and keeping clear of services.
Can I use old pallet wood?
Only use material whose condition and treatment history make it suitable for interior use. Unknown contamination, embedded metal and uneven thickness can make salvaged boards a poor choice. Buying prepared interior wall boards avoids several of these uncertainties.
Can wood cladding go directly onto masonry?
Only if the chosen system permits that substrate and moisture conditions are suitable. Masonry can need a different fixing or backing arrangement. Do not use the timber-stud method or the same adhesive by assumption.
Will I finish the project in one weekend?
Possibly, but installation time is only part of the schedule. Acclimation, surface repairs, coating cure time, difficult cuts and electrical corrections can extend the job. Separate the preparation window from the board-fitting session.
Does every wood accent wall need construction adhesive?
No. Some systems rely on adhesive, some on mechanical fixing, and some specify both. Adding adhesive to a system that does not call for it can complicate movement, removal or warranty conditions.
A straight wall starts before the first fixing
Check the substrate, settle the fixing and edge details, then build from a level reference with both edge rows already planned. Dry-fit before attaching and stop at the first alignment or support problem. The finished result should be a sound, serviceable wall with intentional edges, not simply a surface that looks level from one viewpoint.