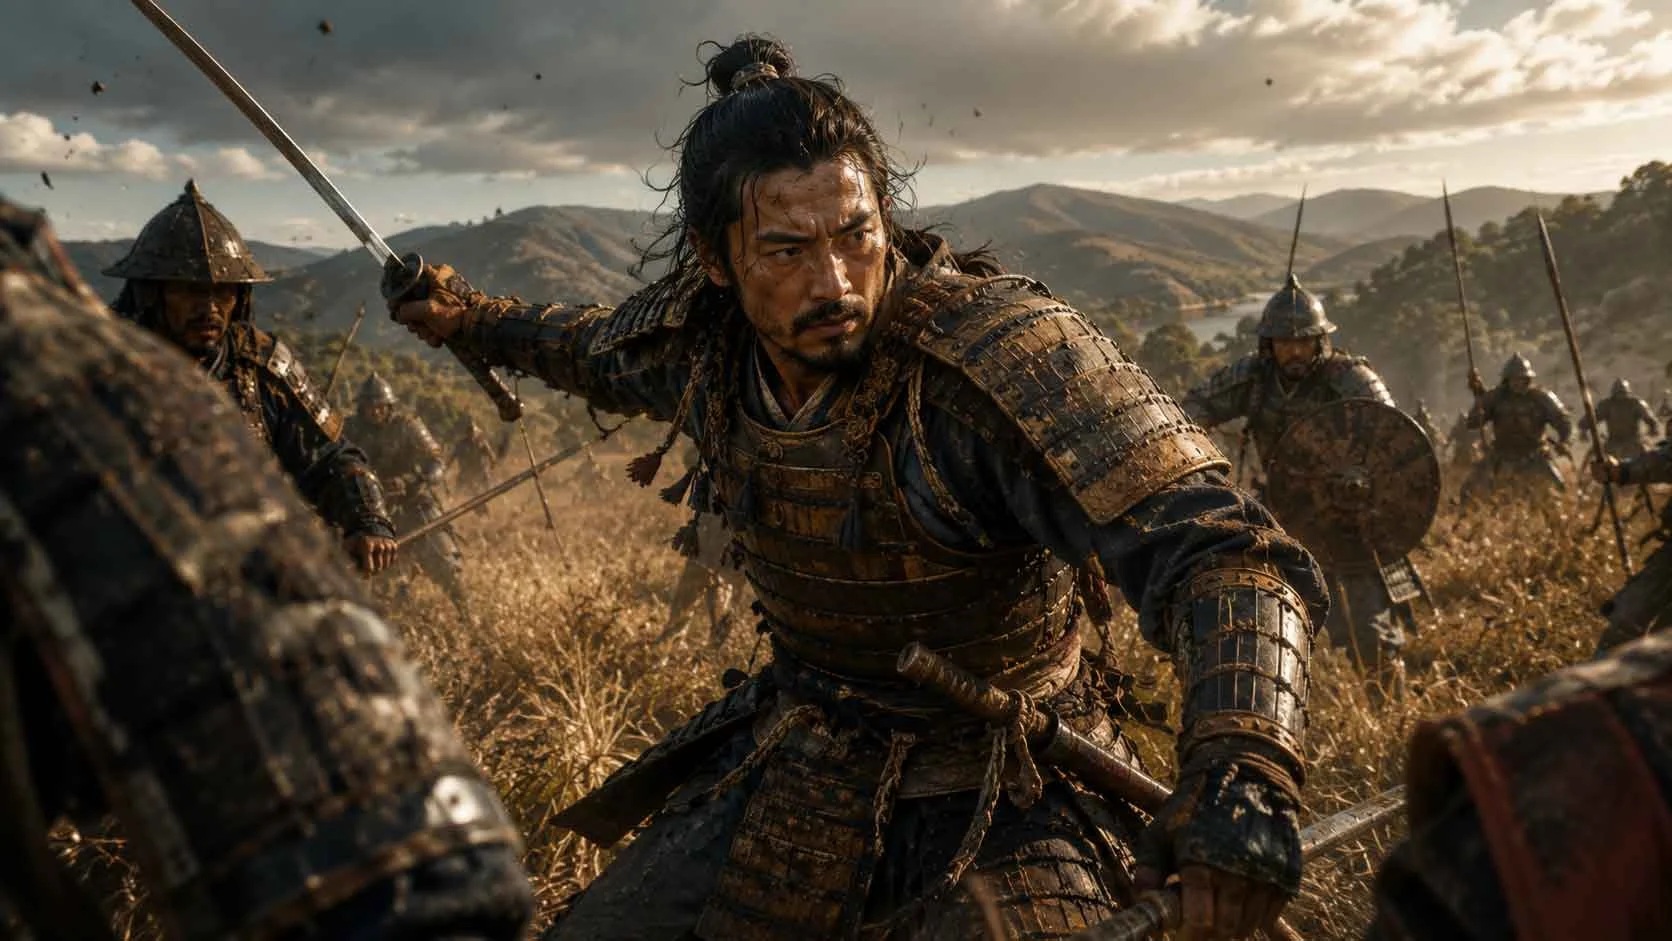

Ghost of Tsushima does not have one armour set that automatically makes every other option obsolete. Each set changes the way Jin approaches combat, exploration or stealth, which means the best armour depends less on a tier list and more on the way you actually play.
A player who consistently lands perfect parries may find Sarugami Armour extraordinarily powerful, while someone who prefers aggressive guard-breaking may perform more reliably with Gosaku’s Armour. Stealth-focused players often receive greater value from Ghost Armour, archers benefit from Tadayori’s Armour, and players still learning combat may survive more comfortably in Samurai Clan Armour.
Players still learning parrying, stance switching and early progression should first read our Ghost of Tsushima beginner guide, because even the strongest armour cannot replace reliable combat fundamentals.
This is why asking, “What is the strongest armour?” can produce misleading advice.
The better question is:
Which armour strengthens the actions you already perform well while covering the weaknesses that repeatedly cause problems?
Armour bonuses should work together with your Charms, Technique choices and combat habits. Kensei Armour, for example, is built around Resolve and Ghost weapons, while Gosaku’s Armour supports stagger-focused pressure. Community discussions frequently recommend matching Charms to the armour’s existing strengths instead of assembling unrelated bonuses that compete with one another.
Appearance can still influence the decision. Many players continue choosing Sakai, Kensei or Ghost Armour partly because they prefer the visual design and available dyes, even when another set might produce a slightly stronger numerical build. That is not an incorrect choice. Ghost of Tsushima gives players enough flexibility that enjoyment, identity and combat effectiveness can all influence the final setup.
This guide compares the most useful armour sets by playstyle rather than forcing them into one universal ranking. It explains which sets perform best for melee combat, perfect parries, staggering enemies, stealth, archery, Ghost weapons, exploration, duels and Iki Island. It also shows how to avoid wasting rare materials by upgrading equipment that does not support the way you actually fight.
The objective is not to convince you that one set is always superior.
It is to help you build a small collection of specialised loadouts that can be changed whenever the situation changes.
Quick Answer – What Is the Best Armour in Ghost of Tsushima?
There is no single best armour for every situation in Ghost of Tsushima. The strongest choice depends on what you are trying to do and, just as importantly, which combat mechanics you can use consistently.
If you want the shortest possible answer:
- Best for perfect parries and perfect dodges: Sarugami Armour
- Best for staggering enemies: Gosaku’s Armour
- Best for aggressive melee and standoffs: Sakai Clan Armour
- Best for stealth: Ghost Armour
- Best for Ghost weapons: Kensei Armour
- Best for archery: Tadayori’s Armour
- Best for exploration: Traveller’s Attire
- Best for beginner survivability: Samurai Clan Armour
- Best early stealth option: Ronin Attire
The important distinction is between theoretical power and practical value. Sarugami Armour can be exceptionally powerful for a player who reliably performs perfect parries and perfect dodges, but it may feel much less forgiving if your timing is inconsistent. Gosaku’s Armour is easier to build around if you enjoy breaking enemy guards, while Samurai Clan Armour can provide a more comfortable learning experience when you are still taking frequent damage.
For most players, the best long-term approach is not choosing one armour set and wearing it for the entire game. It is maintaining a small group of specialised loadouts for different situations.
The Simple Armour Rule
Choose armour for the action you are about to perform. Use exploration equipment while travelling, stealth equipment when infiltrating, and combat-focused armour before difficult fights or duels. You do not need one set to solve every problem.
Best Ghost of Tsushima Armour by Playstyle
The following table is the fastest way to narrow your choice before looking at each armour set in greater detail.
| Playstyle | Recommended Armour | Why It Fits | Main Limitation |
|---|---|---|---|
| Perfect parry specialist | Sarugami Armour | Rewards precise defensive timing with powerful counterattacks | Less forgiving when your timing is inconsistent |
| Stagger-focused melee | Gosaku’s Armour | Supports breaking enemy guards and maintaining pressure | Less specialised for stealth or ranged combat |
| Aggressive samurai combat | Sakai Clan Armour | Strong direct-combat identity and excellent standoff potential | Does not specialise in stealth |
| Stealth | Ghost Armour | Supports remaining unseen and controlling enemy fear | Not the first choice for pure duel performance |
| Ghost weapons | Kensei Armour | Works well with Resolve and tactical tool use | Requires active use of its supporting mechanics |
| Archery | Tadayori’s Armour | Designed around bow use and ranged precision | Limited value if you rarely use bows |
| Exploration | Traveller’s Attire | Useful while searching the world and discovering points of interest | Switch before difficult combat if needed |
| Beginner survivability | Samurai Clan Armour | A forgiving option while learning combat fundamentals | More specialised sets become attractive later |
The table should be treated as a starting point rather than a rigid ranking. Two players can use the same armour and experience very different results because one may consistently trigger its strengths while the other rarely does.
Sarugami Armour – Best for Perfect Parries and Perfect Dodges
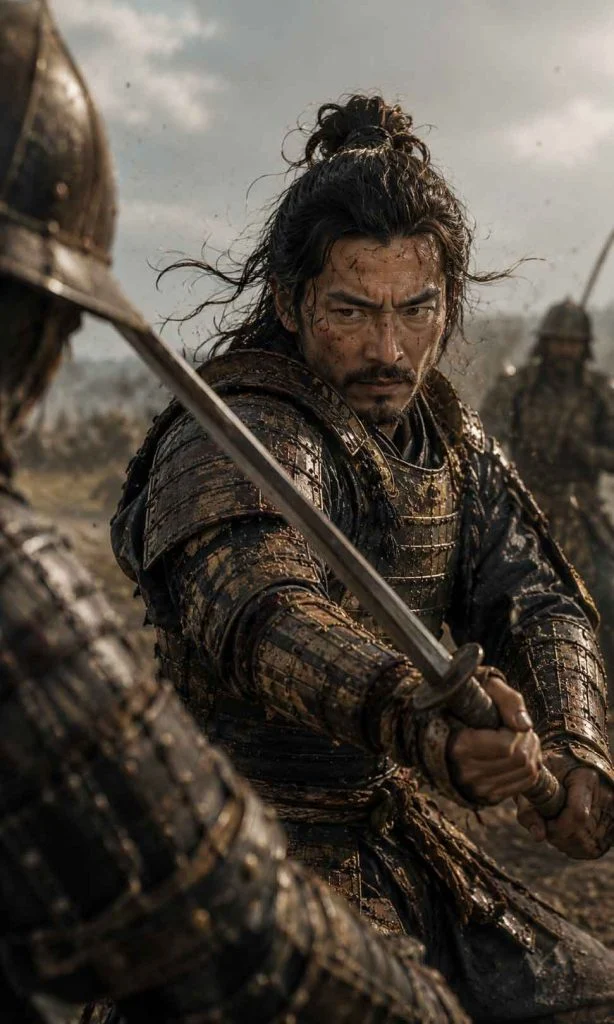
Sarugami Armour is one of the most distinctive armour sets because it changes the value of precise defensive timing. It is best suited to players who enjoy watching enemy animations closely, waiting for the correct moment and turning successful defensive actions into aggressive counterattacks.
This can make the armour feel extraordinarily powerful in experienced hands. When your timing is reliable, difficult encounters can develop a satisfying rhythm: read the attack, respond precisely and punish the opening. Instead of surviving by absorbing more damage, you survive by becoming better at controlling the exchange.
That strength also creates its main weakness.
If you are still struggling with defensive timing, Sarugami Armour may not immediately solve the problem. A build that depends on precision cannot deliver its full value when the underlying mechanic is inconsistent. This is why a player watching an experienced combat video can assume the armour is automatically overpowered, equip it and then wonder why their own results feel completely different.
Sarugami Armour is best for players who:
- Consistently attempt perfect parries and perfect dodges.
- Enjoy reactive rather than purely aggressive combat.
- Want high-impact counterattacks.
- Are comfortable learning enemy attack patterns.
- Prefer skill expression over passive protection.
Consider another armour set if:
- You frequently miss parry timing.
- You prefer relentless aggression.
- You rely heavily on stealth or archery.
- You want a more forgiving defensive setup.
Sarugami Armour becomes especially interesting once you stop thinking of it as “the strongest armour” and start thinking of it as an amplifier for precise timing. If precision is already one of your strengths, the set can push that strength much further. If it is currently your biggest weakness, you may be better served by a more forgiving setup while you practise.
Gosaku’s Armour – Best for Stagger and Aggressive Pressure
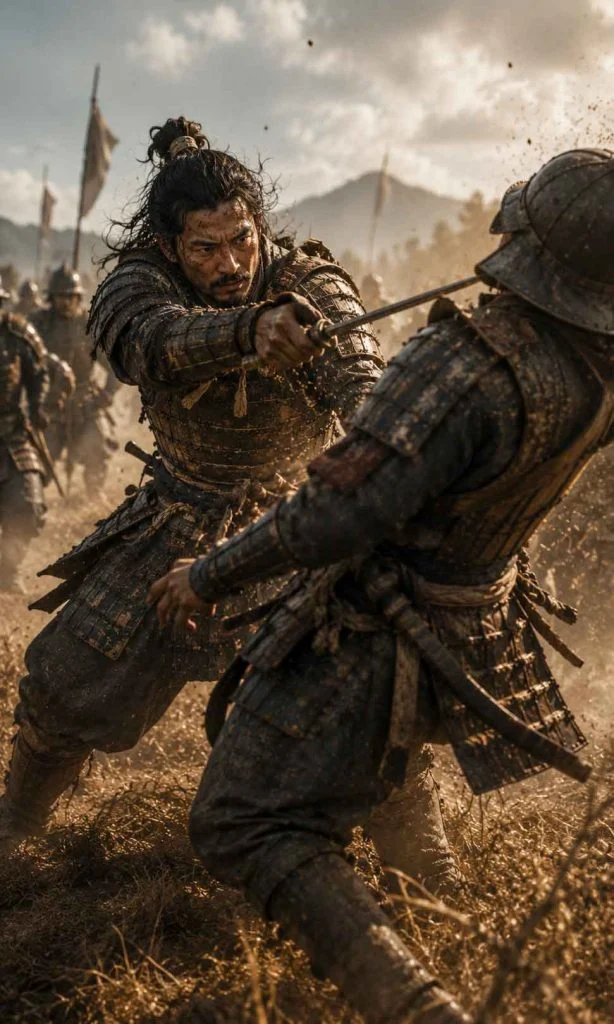
Gosaku’s Armour suits a very different type of melee player. Instead of waiting for the perfect defensive moment, it rewards players who enjoy breaking an opponent’s guard and maintaining pressure.
This makes it particularly satisfying against enemies whose defences normally slow the pace of combat. The fundamental idea is simple: use the correct stance, apply stagger pressure, break the defence and exploit the opening.
For many players, this approach feels more immediately accessible than a precision-heavy perfect-parry build because the armour supports actions they are already performing during ordinary combat. You are not waiting for one narrow timing window. You are actively attacking the enemy’s defence.
Gosaku’s Armour is therefore a strong choice for players who:
- Enjoy direct melee combat.
- Switch stances according to enemy type.
- Prioritise breaking guards.
- Prefer sustained pressure over stealth.
- Want a dependable general combat identity.
The armour becomes less impressive if you ignore stance switching. Stagger-focused combat works best when you use the correct tools against the correct enemy. Repeatedly attacking a shield user with an unsuitable stance and expecting the armour to compensate is not an efficient strategy.
This is an important pattern throughout Ghost of Tsushima: armour can strengthen good decisions, but it rarely replaces them.
Sarugami Armour vs Gosaku’s Armour – Which Is Better?
This is one of the most useful comparisons because both sets can be extremely effective in melee combat, but they reward different skills.
| Question | Sarugami Armour | Gosaku’s Armour |
|---|---|---|
| Main strength | Perfect defensive timing and counterattacks | Staggering and breaking enemy defence |
| Best player type | Precise and reactive | Aggressive and pressure-focused |
| Learning curve | Higher | More straightforward |
| Best when | You trust your timing | You trust your stance switching and pressure |
Choose Sarugami Armour if your instinct is to watch, react and counter.
Choose Gosaku’s Armour if your instinct is to attack, stagger and overwhelm.
Neither answer is universally correct. The better set is the one that activates more often during the way you naturally fight.
Sakai Clan Armour – Best for Aggressive Melee and Standoffs
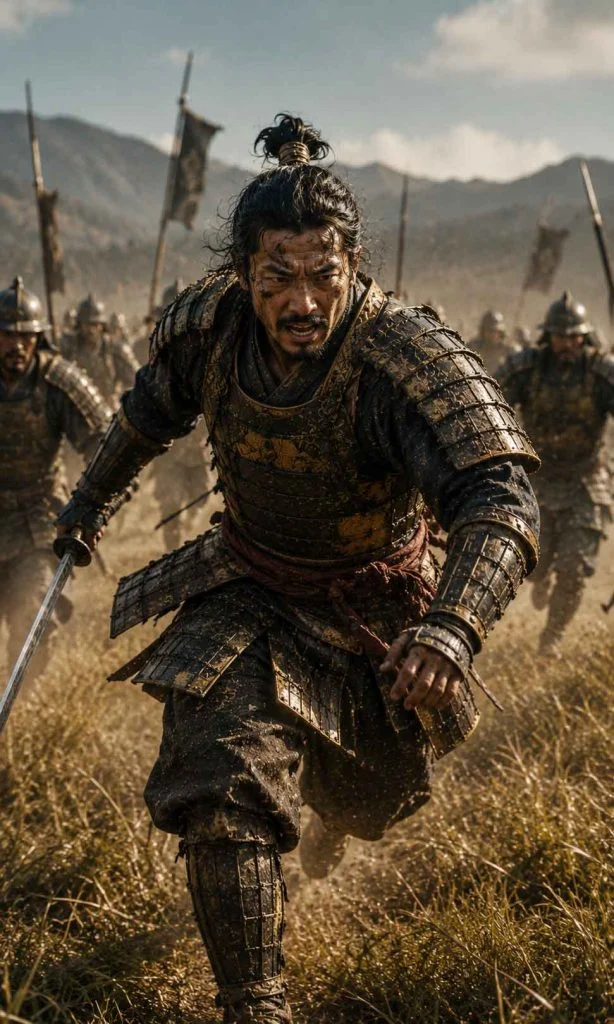
Sakai Clan Armour is one of the easiest sets to understand because its identity matches the traditional samurai approach many players naturally adopt. It supports direct confrontation, rewards aggressive melee play and makes standoffs more valuable.
For players who enjoy walking directly toward an enemy group, challenging them openly and then finishing the remaining fighters with sword combat, the armour feels immediately appropriate. It does not require you to build your entire approach around stealth, archery or a narrow defensive timing window.
That makes Sakai Clan Armour a strong general-purpose choice for players who want to feel powerful without constantly changing their entire combat philosophy.
Sakai Clan Armour is best for players who:
- Prefer direct sword combat.
- Frequently initiate standoffs.
- Want a straightforward melee-focused setup.
- Enjoy the traditional samurai fantasy.
- Prefer reliable combat benefits over specialised stealth bonuses.
Its standoff potential is particularly useful when approaching enemy groups in the open. A successful sequence can reduce the number of opponents you need to fight normally, turning a crowded encounter into a much more manageable battle.
However, standoffs are not the entire game.
Once combat becomes chaotic, you still need to parry, dodge, change stances and manage multiple threats. The armour can improve the opening of an encounter, but it does not remove the need for strong fundamentals after that opening ends.
This is why Sakai Clan Armour is often a good choice for players who want consistent value across ordinary combat rather than a build that depends on one highly specialised mechanic.
Sakai Clan Armour vs Gosaku’s Armour
Choose Sakai Clan Armour if you value standoffs and broad melee strength.
Choose Gosaku’s Armour if your combat style revolves around breaking guards and maintaining stagger pressure.
Both support aggressive play, but they reward different parts of the fight. Sakai Clan Armour can make the beginning of an encounter more favourable, while Gosaku’s Armour becomes particularly valuable once the battle is already underway and enemies are actively defending themselves.
Ghost Armour – Best for Stealth and Fear-Based Control
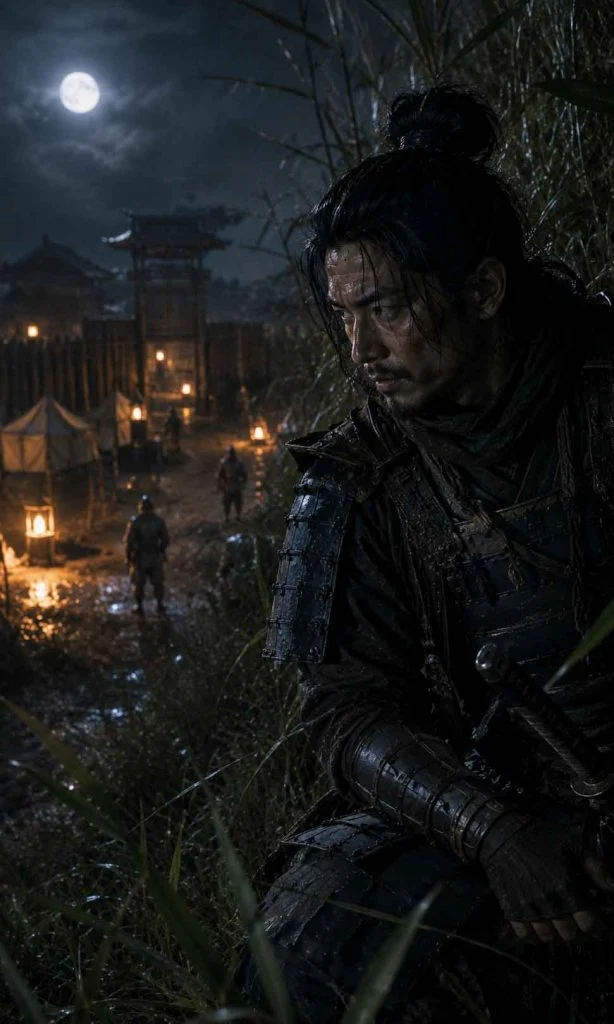
Ghost Armour represents one of the clearest shifts away from traditional open confrontation. It is designed for players who prefer reducing enemy awareness, controlling groups indirectly and turning fear into another weapon.
The strength of a stealth build is not simply that you can avoid combat. Good stealth changes the shape of the encounter before open combat begins.
If a camp contains ten enemies, you do not necessarily need to fight ten enemies at once. You may quietly remove isolated guards, create confusion, use environmental opportunities and enter direct combat only after the enemy force has already been weakened.
Ghost Armour supports that mentality.
Ghost Armour is best for players who:
- Prefer infiltration over open confrontation.
- Regularly use assassinations.
- Want to reduce the pressure of large enemy groups.
- Enjoy fear and Terrify effects.
- Prefer controlling encounters before drawing the sword.
The armour is especially effective when paired with a player who understands enemy positioning. Instead of rushing into the centre of a camp, you begin by identifying isolated targets, patrol routes and opportunities to create panic.
This can make difficult camps feel dramatically easier.
The limitation appears in encounters where stealth is no longer relevant. During a formal duel, for example, many of the reasons you selected Ghost Armour may no longer contribute as directly as a specialised melee setup.
That does not make Ghost Armour weak. It means its strength is situationally powerful rather than universally optimal.
A Better Way to Think About Stealth Armour
Do not ask whether Ghost Armour can win a direct sword fight. Ask how many enemies you can remove, frighten or separate before that sword fight begins.
Kensei Armour – Best for Ghost Weapons and Tactical Combat
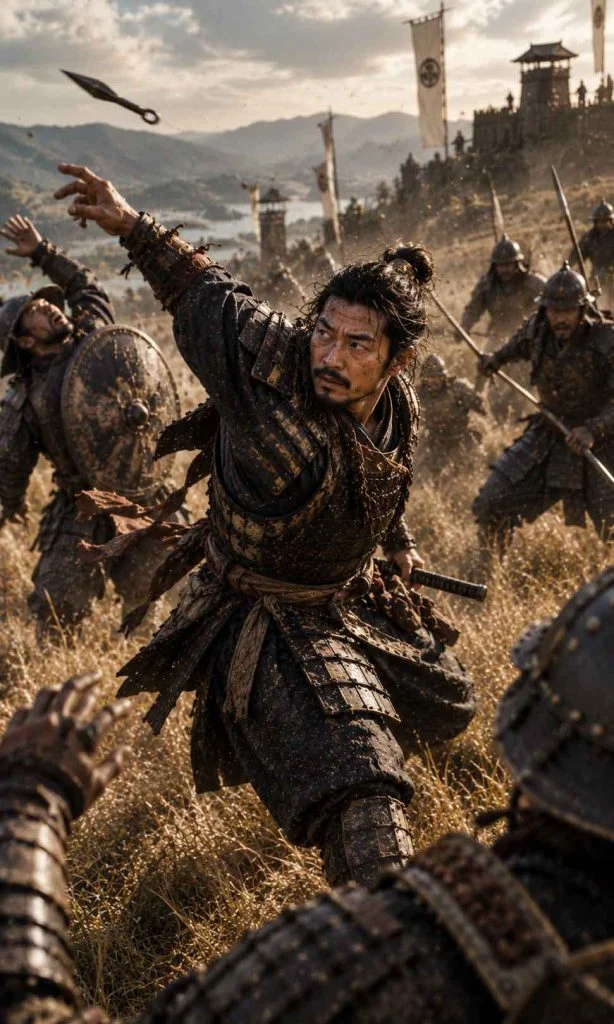
Kensei Armour is a strong choice for players who do not want every encounter to become a pure sword duel. It becomes more interesting when you actively use Resolve, Ghost weapons and tactical tools as part of your normal combat rhythm.
This is important because many players collect Kunai, Sticky Bombs and other tools but rarely use them. They save everything for a hypothetical emergency and then finish entire encounters without touching half of their available equipment.
A Kensei-focused approach encourages the opposite habit.
Instead of viewing Ghost weapons as occasional emergency items, you treat them as part of the build. A difficult enemy group becomes a tactical problem that can be disrupted before you commit to direct melee.
Kensei Armour is best for players who:
- Use Ghost weapons frequently.
- Enjoy tactical rather than purely traditional combat.
- Want Resolve-related support.
- Regularly fight groups of enemies.
- Prefer creating openings before attacking.
The armour is less attractive if you almost never use Ghost weapons. An equipment bonus only has value when your behaviour activates it.
This is one of the most common build mistakes in the game: players choose equipment because a guide labels it powerful, even though their actual playstyle rarely uses the mechanics that make the equipment powerful.
If you equip Kensei Armour but continue fighting every encounter as a pure swordsman, another melee-focused set may produce more consistent value.
Tadayori’s Armour – Best for Archery
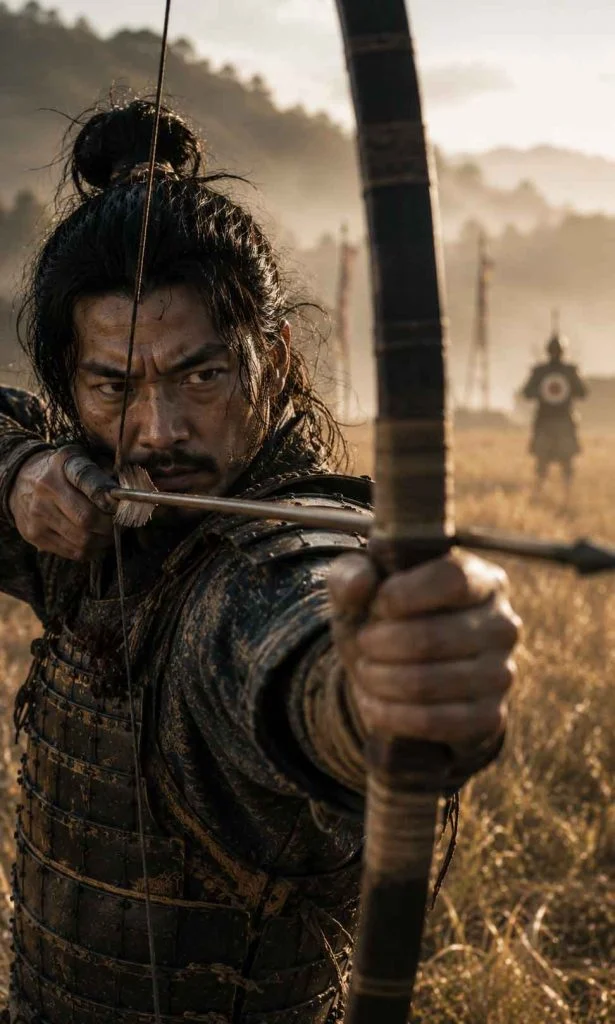
Tadayori’s Armour is the natural choice for players who genuinely use the bow as a primary part of combat rather than treating it as an occasional tool.
A strong archer can change an encounter before enemies reach melee range. Elevated positions, concentration and accurate headshots can remove dangerous targets before the main fight begins.
For that type of player, Tadayori’s Armour strengthens actions they are already performing.
Tadayori’s Armour is best for players who:
- Regularly use the Half Bow or Longbow.
- Aim for headshots.
- Prefer controlling encounters from range.
- Use Concentration frequently.
- Enjoy reducing enemy numbers before melee begins.
Archery builds can be particularly satisfying in open environments where you have time to identify targets and establish distance. Enemy archers, lightly protected opponents and isolated guards can often be removed before they become part of a larger problem.
The limitation is obvious: if you rarely draw your bow, the armour is not helping you often enough.
This is why Tadayori’s Armour can be either one of the most valuable sets in your inventory or something you almost never wear. Its value depends heavily on your behaviour.
Tadayori’s Armour vs Ghost Armour
Both can help you reduce the number of enemies before direct combat, but they do it differently.
- Tadayori’s Armour controls encounters from range.
- Ghost Armour controls encounters through stealth, assassination and fear.
Choose the one that matches the way you prefer to remove the first few enemies.
Traveller’s Attire – Best for Exploration
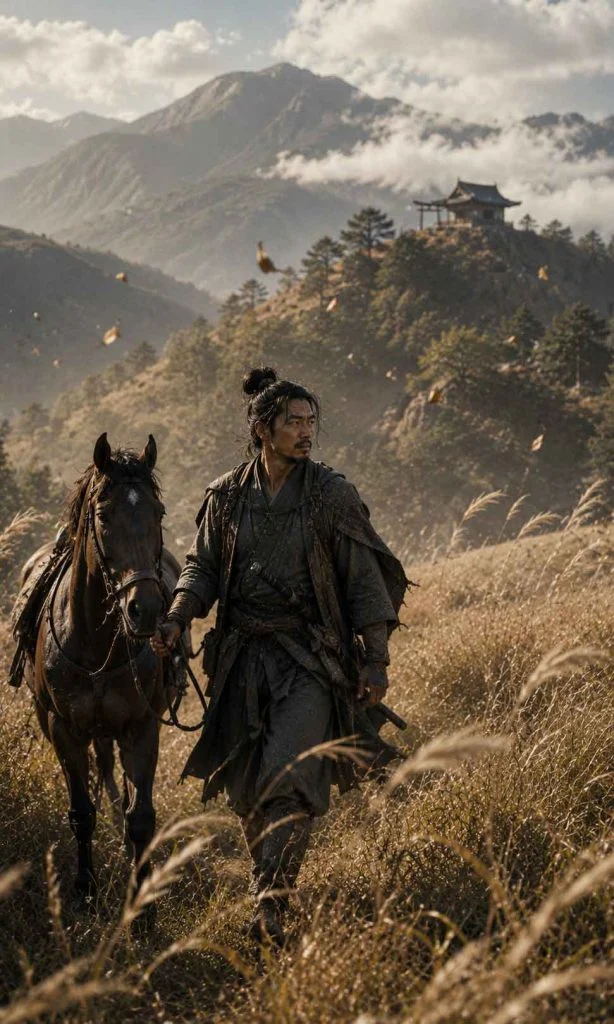
Traveller’s Attire is one of the most practically useful sets in the game, even though it is not usually the armour players imagine when discussing the strongest combat builds.
Its value comes from a simple fact: a large part of Ghost of Tsushima is spent travelling.
When you are exploring the island, searching for discoveries or following the world rather than immediately entering a major battle, Traveller’s Attire supports that part of the experience.
The mistake is assuming that because an armour set is useful for exploration, you must also keep wearing it when a difficult combat encounter begins.
You do not.
A more efficient approach is:
- Wear Traveller’s Attire while moving through the world.
- Explore naturally and use its discovery-focused advantages.
- Switch to a specialised combat set before a difficult camp, duel or major encounter.
This is not indecisive play. It is exactly why multiple armour sets exist.
Traveller’s Attire is best for players who:
- Spend significant time exploring.
- Search for collectibles and discoveries.
- Prefer wandering rather than rushing between missions.
- Want a dedicated non-combat loadout.
- Are comfortable switching equipment before major fights.
For completionists, Traveller’s Attire can remain useful long after the early game because exploration does not stop when the main story advances.
Samurai Clan Armour – Best for Beginner Survivability
Samurai Clan Armour is easy to underestimate because later armour sets often appear more specialised and dramatic. However, for a player who is still learning the combat system, reliability can be more valuable than complexity.
If you are frequently taking damage, missing defensive timings or becoming overwhelmed by groups, a more forgiving armour setup gives you additional room to learn.
That matters.
A player who survives an encounter long enough to practise five more parries may improve faster than a player using a theoretically stronger build that repeatedly collapses after one mistake.
Samurai Clan Armour is best for players who:
- Are still learning parry and dodge timing.
- Take frequent damage.
- Want a forgiving early combat setup.
- Prefer survivability while learning enemy behaviour.
- Are not yet ready to specialise.
You should not feel pressured to abandon it simply because another armour appears higher on a tier list.
The correct time to move toward a more specialised set is when you can explain why the new armour fits your behaviour better.
If you begin landing perfect parries consistently, Sarugami becomes more attractive. If you love staggering enemies, Gosaku becomes more logical. If you increasingly clear camps through stealth, Ghost Armour may better support the way your playstyle has evolved.
Your armour progression should follow your development as a player.
If you are still building those fundamentals, our Ghost of Tsushima first 10 hours guide helps you prioritise early skills, exploration upgrades and progression decisions before committing heavily to specialised builds.
Ronin Attire – Best Early Stealth Option
Ronin Attire is a useful early option for players who want a quieter approach before obtaining more specialised stealth equipment.
It can support a hybrid style in which you move carefully through enemy territory, use stealth when convenient and still remain capable of entering direct combat.
That flexibility makes it valuable during the part of the game when your equipment collection is still developing.
Ronin Attire is best for players who:
- Want an early stealth-oriented option.
- Prefer a hybrid approach.
- Have not yet unlocked more specialised late-game equipment.
- Enjoy the visual identity of a wandering swordsman.
- Switch naturally between stealth and open combat.
Later, a dedicated stealth player may prefer Ghost Armour. However, Ronin Attire can remain appealing for players who like its balance or simply prefer its appearance.
And appearance matters more than some build discussions admit.
If two armour sets both support your playstyle adequately, choosing the one you enjoy looking at for dozens of hours is perfectly reasonable.
Mongol Commander’s Armour – Best for Disguise-Based Infiltration
Mongol Commander’s Armour occupies a more unusual role because its value is connected to how enemies perceive you rather than simply increasing direct damage.
That makes it useful for players who enjoy approaching occupied areas differently and taking advantage of reduced suspicion when moving among Mongol forces.
It is not a universal replacement for Ghost Armour, nor is it necessarily the strongest option for direct combat. Its appeal comes from providing another way to solve infiltration problems.
Mongol Commander’s Armour is best for players who:
- Enjoy unusual infiltration strategies.
- Prefer approaching enemy territory carefully.
- Want an alternative to conventional stealth.
- Like experimenting with situational equipment.
The set is a good reminder that the armour system is not only about increasing damage numbers. Some of the most interesting equipment changes the decisions available to you before combat even begins.
Fundoshi and Broken Armour – Are They Actually Useful?
Not every armour option needs to compete for the title of strongest build.
Broken Armour is primarily associated with the beginning of the journey and quickly becomes less attractive once proper equipment becomes available.
Fundoshi, meanwhile, is more unusual and can support specific movement or challenge-oriented play, but most players will not treat it as their primary armour for difficult general combat.
These sets still have value because not every player is optimising purely for efficiency.
Some players create challenge runs. Others prioritise humour, appearance or unusual self-imposed restrictions. A build can be worthwhile because it creates an entertaining experience, even if it would never win a conventional tier-list comparison.
That distinction matters when discussing the “best” armour.
Best for efficiency and best for enjoyment are not always the same answer.
Best Armour for Duels
Duels change the value of an armour set because many advantages that work beautifully during open-world encounters become less important when you are facing one powerful opponent in a controlled arena.
There are no groups to thin out before combat. Stealth is generally irrelevant once the duel begins. Standoff bonuses do not define the encounter. What matters most is your ability to read attacks, survive mistakes, manage Resolve and punish openings.
For that reason, the best duel armour depends heavily on your skill level.
Best for experienced players – Sarugami Armour
Sarugami Armour is an excellent duel choice for players who can consistently execute precise defensive timing. A duel naturally creates repeated opportunities to study one opponent’s attack patterns, and a player who becomes comfortable with those patterns can turn successful defensive actions into powerful counterattacks.
The risk is equally clear: if your timing is unreliable, building your entire duel strategy around precision can make an already difficult fight feel even more demanding.
Best for stagger-focused players – Gosaku’s Armour
Gosaku’s Armour is a strong alternative for players who prefer creating openings through pressure. Instead of waiting for perfect defensive execution, you concentrate on breaking the opponent’s defence and taking advantage of the resulting opportunity.
Best for players still learning – Samurai Clan Armour
If you are repeatedly losing because one or two mistakes destroy the entire attempt, survivability may be more useful than theoretical maximum damage. Samurai Clan Armour can provide a more forgiving environment while you learn attack patterns.
Best Duel Armour by Skill Level
Still learning: Samurai Clan Armour
Confident with aggressive pressure: Gosaku’s Armour
Confident with perfect timing: Sarugami Armour
The most important duel lesson is not to copy an advanced build simply because it looks powerful in a video. A build that assumes near-perfect execution can be worse for you than a simpler setup that gives you enough time to recognise why you are losing.
Best Armour for Lethal Difficulty
Lethal difficulty changes the relationship between offence and defence because mistakes become more dangerous and fights can end quickly. This makes player consistency especially important.
A highly skilled player may prefer Sarugami Armour because precise timing can create devastating opportunities. An aggressive player may prefer Gosaku’s Armour for controlling enemy defence, while Ghost Armour can help prevent large encounters from becoming overwhelming in the first place.
The strongest Lethal setup is therefore often the one that reduces the number of situations in which you are forced to improvise under pressure.
Strong Lethal difficulty choices include:
- Sarugami Armour for players with excellent defensive timing.
- Gosaku’s Armour for aggressive stagger-focused combat.
- Ghost Armour for reducing enemy pressure before open combat.
- Kensei Armour for tactical players who actively use Ghost weapons.
- Samurai Clan Armour if survivability remains your biggest problem.
Do not assume that selecting Lethal means you must also select the most technically demanding armour. Difficulty and build complexity are separate choices.
If a simpler build allows you to make better decisions, it may be the stronger build for you.
Best Armour for Iki Island
Iki Island can expose weaknesses that were easier to ignore during earlier parts of the journey. Enemies can feel more demanding, encounters may require faster adaptation, and players who relied on one comfortable routine may need to become more flexible.
For many experienced players, Sarugami Armour becomes one of the most attractive options associated with Iki Island because of the way it rewards precise defensive play. However, it should not automatically replace every other set.
The best Iki Island armour still depends on the encounter.
- Use Sarugami Armour when you trust your defensive timing.
- Use Gosaku’s Armour when stagger pressure suits your combat habits.
- Use Ghost Armour when infiltration can reduce the number of enemies you face.
- Use Kensei Armour when Ghost weapons are central to your approach.
- Use Tadayori’s Armour when ranged combat gives you a clear advantage.
- Keep Traveller’s Attire available when exploring rather than fighting.
The larger lesson is that Iki Island rewards a player who understands why each loadout exists. If you are still deciding when to travel there, our Ghost of Tsushima Iki Island guide explains when the expansion fits best into the wider journey and what to consider before leaving Tsushima.
By this stage, you should ideally stop asking, “Which armour should I wear forever?” and start asking, “What am I about to do?”
That small change in thinking makes the entire armour system more useful.
How to Match Charms With Your Armour
A strong armour build is not simply an armour set surrounded by six individually powerful Charms. The most effective loadouts usually have a clear purpose.
Start by asking one question:
What action is this armour encouraging me to perform repeatedly?
Then choose Charms that strengthen that action, make it easier to perform or improve the result when it succeeds.
Sarugami Armour Charm Direction
The goal is to support precise defensive play.
Look for a combination that helps with:
- Perfect parry and dodge consistency.
- Resolve generation.
- Melee damage after successful defensive actions.
- Survivability if your timing is not yet perfect.
Do not fill every slot with unrelated damage effects simply because each one sounds powerful individually. The build should help you perform the behaviour Sarugami already rewards.
Gosaku’s Armour Charm Direction
The goal is to create and exploit stagger opportunities.
Prioritise effects that support:
- Stagger damage.
- Melee pressure.
- Health or sustain during aggressive combat.
- Damage after breaking an enemy’s defence.
The build should feel like one connected system: pressure the guard, create the opening and punish it.
Ghost Armour Charm Direction
The goal is to control awareness and fear.
Useful directions include:
- Stealth.
- Reduced detection.
- Terrify-related effects.
- Assassination support.
- Tools that help remove or disrupt multiple enemies.
The objective is not necessarily to create the strongest direct sword fighter. It is to make direct sword fighting less necessary.
Kensei Armour Charm Direction
The goal is to turn tools and Resolve into a repeatable combat cycle.
Look for synergy with:
- Ghost weapons.
- Resolve gain.
- Tool capacity.
- Effects triggered by tactical equipment.
- Melee follow-up after enemies have been disrupted.
Tadayori’s Armour Charm Direction
The goal is to increase ranged consistency.
Useful priorities include:
- Arrow recovery or ammunition efficiency.
- Concentration support.
- Ranged damage.
- Headshot consistency.
- Effects that reward accurate bow use.
The Build Synergy Test
Read your armour bonuses and then read every equipped Charm. If you cannot explain in one sentence how most of them support the same combat plan, your build may be powerful in pieces but unfocused as a whole.
Should You Use Different Loadouts for Different Armour Sets?
Yes. If your version and settings support assigning different Charm configurations to armour loadouts, using separate builds is one of the most practical ways to enjoy the equipment system.
Without separate loadouts, changing from an exploration set to a combat set can become tedious because the armour changes but the supporting Charms may remain designed for an entirely different purpose.
A dedicated loadout system lets you create clear identities such as:
Exploration Loadout
- Traveller’s Attire.
- Discovery and exploration priorities.
- Used while moving through the open world.
Duel Loadout
- Sarugami, Gosaku or another preferred melee set.
- Charms supporting your chosen duel strategy.
- Used before difficult one-on-one fights.
Stealth Loadout
- Ghost Armour.
- Detection, assassination and fear synergy.
- Used when approaching camps quietly.
Archery Loadout
- Tadayori’s Armour.
- Ranged and Concentration synergy.
- Used when the environment supports distance.
Tactical Loadout
- Kensei Armour.
- Ghost weapon and Resolve synergy.
- Used against difficult enemy groups.
This approach is more effective than trying to build one universal setup that is slightly useful everywhere but exceptional nowhere.
Which Armour Should You Upgrade First?
Upgrade materials can feel valuable, particularly when several attractive armour sets become available around the same time. The safest strategy is not to upgrade everything equally.
Start with the armour you actually wear.
That sounds obvious, but players often spend materials on a newly acquired set because it appears important, only to return to their previous armour after one or two encounters.
A practical upgrade order is:
1. Upgrade one dependable combat set
Choose the armour that currently solves your most common combat problem.
For a beginner, that may be Samurai Clan Armour. For an aggressive player, it may be Gosaku’s or Sakai Clan Armour. For a stealth-focused player, it may eventually become Ghost Armour.
2. Upgrade one specialised secondary set
Once your main combat setup feels established, invest in another set that solves a different problem.
For example:
- Main set: Gosaku’s Armour.
- Secondary set: Ghost Armour.
Or:
- Main set: Sarugami Armour.
- Secondary set: Tadayori’s Armour.
3. Upgrade exploration equipment according to how much you use it
If you spend hours searching the world, Traveller’s Attire may deserve investment because it is part of your regular experience. If you rarely explore beyond major objectives, combat upgrades may provide more immediate value.
4. Avoid upgrading armour only because you unlocked it
New does not automatically mean better.
Before spending materials, ask:
- Will I actually wear this?
- Does it support a playstyle I use?
- Does it solve a problem my current armour does not?
- Do I have suitable Charms to support it?
If the answer to most of those questions is no, waiting is usually reasonable.
Common Armour Build Mistakes
Mistake 1 – Searching for One Permanent “Best” Armour
The game gives you multiple sets because different situations reward different strengths. Refusing to switch equipment can make the armour system feel shallower than it actually is.
Mistake 2 – Copying a Build You Cannot Activate
A perfect-parry build is not automatically powerful if you rarely perform perfect parries. An archery build is wasted if you almost never use the bow.
Choose bonuses that match your actual behaviour, not the behaviour of the player who made the build video.
Mistake 3 – Spreading Upgrade Materials Too Early
Upgrading every armour set at the same pace can delay meaningful improvements to the equipment you use most often.
Build depth gradually.
Mistake 4 – Ignoring Charm Synergy
Six individually useful Charms do not necessarily create one coherent build. Decide what the loadout is trying to accomplish and make most of the pieces support that objective.
Mistake 5 – Wearing Exploration Armour Into Every Difficult Fight
Traveller’s Attire is valuable because exploration is valuable. That does not mean you need to keep wearing it during every duel or difficult camp.
Switching equipment is part of the strategy.
Mistake 6 – Treating Defence as Failure
Some players assume the strongest build must maximise damage. If additional survivability gives you enough time to recognise attack patterns, make better decisions and finish encounters consistently, that defence is creating real value.
Mistake 7 – Ignoring the Armour You Actually Enjoy Wearing
Optimisation matters, but this is still a long cinematic adventure. If two sets perform well enough for your needs and one makes you enjoy the character fantasy significantly more, appearance is a legitimate part of the decision.
The best build is not always the build with the highest theoretical output.
Sometimes it is the build that makes you want to keep playing.
What the Community Actually Uses
Tier lists are useful for understanding what an armour set can do, but they do not always reveal what players continue wearing after dozens of hours. In practice, community preferences tend to divide according to combat habits, mechanical confidence and visual identity.
Players who enjoy precise defensive timing often gravitate toward Sarugami Armour because it gives them a reason to pursue perfect execution. Aggressive players frequently prefer Gosaku’s Armour or Sakai Clan Armour because those sets fit a more direct approach. Stealth-focused players naturally find value in Ghost Armour, while archery specialists can build much of their combat identity around Tadayori’s Armour.
There is also another group that build discussions sometimes overlook: players who change armour constantly.
They may explore in Traveller’s Attire, approach a Mongol camp in Ghost Armour, enter a major open battle wearing Gosaku’s Armour and prepare for a difficult duel with Sarugami Armour. For these players, asking for one permanent “best” set does not make much sense because the strongest armour changes with the activity.
That is arguably the most useful lesson to take from the wider player community.
The best armour collection is often more valuable than the best individual armour.
A small group of well-designed loadouts gives you answers to different problems:
- One for exploration.
- One for ordinary melee combat.
- One for difficult duels.
- One for stealth or large enemy camps.
- One specialised build for the mechanic you enjoy most.
At the same time, community discussion repeatedly shows that appearance remains part of the decision. Some players continue using a set because its visual identity makes the journey feel right to them, even when another armour could produce a more optimised result.
That is not necessarily poor decision-making.
A build only needs to be strong enough for the experience you want. Once that threshold has been reached, personal preference can reasonably decide the rest.
A Better Way to Choose Your Armour
Instead of starting with a tier list, use a simple decision process.
Step 1 – Identify how you usually win fights
Think about your last several successful encounters.
Did you win because you:
- Landed precise parries and dodges?
- Broke enemy guards through pressure?
- Removed enemies before open combat?
- Used Ghost weapons to disrupt groups?
- Eliminated targets from range?
- Survived mistakes long enough to recover?
Your answer reveals more about your ideal armour than a universal ranking does.
Step 2 – Identify how you usually lose fights
This is equally important.
If you repeatedly lose because your parry timing is inconsistent, a highly technical precision build may not be the immediate solution. If groups overwhelm you, the answer may be better crowd control rather than more single-target damage.
Your best armour should either:
- Strengthen the behaviour that already makes you successful, or
- Reduce the weakness that repeatedly ends your encounters.
Step 3 – Decide whether the activity requires a specialist
Not every activity needs the same loadout.
Before entering a major encounter, ask:
- Am I exploring?
- Infiltrating?
- Fighting a large group?
- Entering a duel?
- Using the bow?
- Practising perfect parries?
- Trying to maximise Ghost weapons?
The answer may justify changing armour before you begin.
Step 4 – Build the Charms around the decision
Once the armour has a clear purpose, select Charms that support that purpose.
Do not begin with six favourite Charms and then search for armour that somehow accommodates all of them. Start with the behaviour you want the build to produce.
Step 5 – Test the build in real combat
A build can sound perfect on paper and still feel awkward in your hands.
Use it for several meaningful encounters. Pay attention to which bonuses actually activate and which ones you barely notice.
If an armour’s defining advantage almost never influences your fights, the set may not match your current behaviour.
The 5-Question Armour Test
If you can answer those five questions clearly, you probably do not need someone else’s universal tier list.
The Best Armour Setup Is Usually a Small Loadout Collection
For most players, a practical end-game armour collection can be much smaller than the total number of sets available.
You do not need every armour fully upgraded before you have a flexible answer to most situations.
A useful collection might look like this:
The Explorer
Traveller’s Attire
Use it while moving through the world, following discoveries and searching for remaining activities.
The Main Fighter
Gosaku’s Armour, Sakai Clan Armour or Sarugami Armour
Choose one according to whether you prefer stagger pressure, straightforward aggression or precise defensive timing.
The Infiltrator
Ghost Armour
Use it when reducing enemy numbers before direct combat is more valuable than entering openly.
The Specialist
Tadayori’s Armour or Kensei Armour
Choose archery or Ghost weapons depending on the mechanic you enjoy enough to build around.
The Safety Option
Samurai Clan Armour
Keep a forgiving setup available if a difficult encounter exposes weaknesses that your more specialised build cannot comfortably manage.
This five-role approach is more useful than upgrading every armour set simply because it exists. You can always expand your collection later once your main loadouts are established.
Armour and Charm Build Planner™
Choosing armour becomes more difficult when several sets appear equally powerful on paper. A player may own Sarugami Armour, Gosaku’s Armour and Ghost Armour but still be unsure which one deserves upgrade materials because the real answer depends on combat habits rather than the armour name alone.
The Armour and Charm Build Planner™ is designed to turn those habits into a personalised loadout recommendation.
Instead of asking only which armour you own, the planner considers:
- Your preferred combat style.
- How often you land perfect parries.
- Whether you struggle with groups or individual enemies.
- How frequently you use Ghost weapons.
- Your reliance on archery.
- Your current difficulty.
- Whether you are exploring, clearing camps or preparing for duels.
- Your upgrade priorities.
- Your Iki Island progress.
- The weakness you most want the build to correct.
The report can then recommend a primary armour direction, secondary alternative, Charm strategy, upgrade priority and situational loadout plan.
This matters because two players selecting “melee combat” may still need completely different builds. One may be an aggressive stagger-focused player who should consider Gosaku’s Armour, while another may rely on precise defensive timing and receive more value from Sarugami Armour.
The purpose of the planner is not to replace experimentation.
It is to help you begin that experimentation with a build that already makes sense for the way you play.
Tool placement: Insert the Armour and Charm Build Planner™ directly after this section and before the final recommendations. This creates a natural transition from the article’s general advice into a personalised decision, while giving readers a reason to return later as their playstyle changes.
Final Recommendations – Which Ghost of Tsushima Armour Should You Use?
If you want one final recommendation, do not begin by asking which armour has the highest theoretical ceiling.
Begin with your own behaviour.
Choose Sarugami Armour if precise parries and dodges are already a major part of your combat identity.
Choose Gosaku’s Armour if you prefer breaking enemy guards and maintaining aggressive pressure.
Choose Sakai Clan Armour if you enjoy direct melee combat, standoffs and the traditional samurai approach.
Choose Ghost Armour if you would rather control an encounter before open combat fully begins.
Choose Kensei Armour if Ghost weapons and tactical disruption are central to the way you fight.
Choose Tadayori’s Armour if the bow is a genuine part of your normal combat strategy rather than an occasional backup.
Choose Traveller’s Attire while exploring, then switch when the situation demands a specialised combat setup.
Choose Samurai Clan Armour if survivability gives you the space you need to learn, improve and make fewer desperate decisions.
The strongest long-term approach is usually not loyalty to one set. It is understanding the purpose of several sets well enough to know when each one becomes valuable.
Ghost of Tsushima’s armour system works best when equipment follows intention.
Before the next encounter, ask what you are about to do, choose the armour that supports that objective, and make sure your Charms are working toward the same result.
That is a much more reliable strategy than wearing whatever sits at the top of somebody else’s tier list.
And as your timing, confidence and preferred playstyle change, your answer to the question “What is the best armour?” should be allowed to change with you.
⭐ FAQs
What is the best armour in Ghost of Tsushima?
There is no single best armour for every player or situation. Sarugami Armour is excellent for precise parries and dodges, Gosaku’s Armour suits stagger-focused melee combat, Ghost Armour supports stealth, Kensei Armour works well with Ghost weapons, Tadayori’s Armour is designed for archery, and Traveller’s Attire is useful for exploration. The best choice is the armour that supports the actions you perform most consistently.
Is Sarugami Armour better than Gosaku’s Armour?
Sarugami Armour is generally better for players who consistently use precise defensive timing and counterattacks, while Gosaku’s Armour is better suited to players who prefer aggressive stagger pressure. Sarugami can have a very high skill ceiling, but Gosaku’s Armour may provide more consistent value if breaking enemy guards is already central to your playstyle.
What is the best armour for duels in Ghost of Tsushima?
Sarugami Armour is a strong duel choice for players with reliable defensive timing, while Gosaku’s Armour suits players who prefer stagger pressure. Samurai Clan Armour can be a more forgiving option for players who are still learning difficult attack patterns and need additional survivability.
What is the best stealth armour in Ghost of Tsushima?
Ghost Armour is one of the strongest choices for a dedicated stealth and fear-based playstyle. Ronin Attire is also useful earlier in the game for players who want a hybrid approach that combines quieter movement with direct combat when necessary.
What is the best armour for archery?
Tadayori’s Armour is the natural choice for players who regularly use bows, aim for headshots and rely on Concentration. Its value is much lower for players who use archery only occasionally, so the best armour still depends on how frequently ranged combat appears in your normal playstyle.
What is the best armour for Iki Island?
Sarugami Armour is a powerful option for experienced players who are comfortable with precise defensive timing, but it is not automatically the best choice for every Iki Island encounter. Gosaku’s Armour, Ghost Armour, Kensei Armour and other specialised sets can be more useful depending on whether the situation involves stagger combat, stealth, Ghost weapons or another playstyle.
Should I upgrade every armour set?
No. It is usually more efficient to upgrade one dependable combat set first, followed by one or two specialised alternatives that solve different problems. Spreading materials across every armour set too early can delay meaningful improvements to the equipment you actually use.
Should I use different Charms for each armour set?
Yes. A strong loadout usually has one clear purpose. Charms should reinforce the behaviour encouraged by the armour, such as precise defensive timing for Sarugami Armour, stagger pressure for Gosaku’s Armour, stealth and fear for Ghost Armour, or ranged combat for Tadayori’s Armour.