Ghost of Tsushima skills expand Jin’s defensive counters, stance attacks and Ghost tactics, so the best early purchases are usually Perfect Parry and Roll, followed by upgrades that solve the fights you keep losing. Shield trouble points toward Water Stance investment, crowded battles favour Ghost weapons, and stealth or archery specialists should fund the actions they actually use.
This guide covers the single-player campaign, including the shared core systems in Director’s Cut. Its priorities are editorial recommendations for spending limited Technique Points; they are not a mandatory build, a Legends class guide or a promise that one purchase makes every encounter easy.
Which Ghost of Tsushima skills should you buy first?
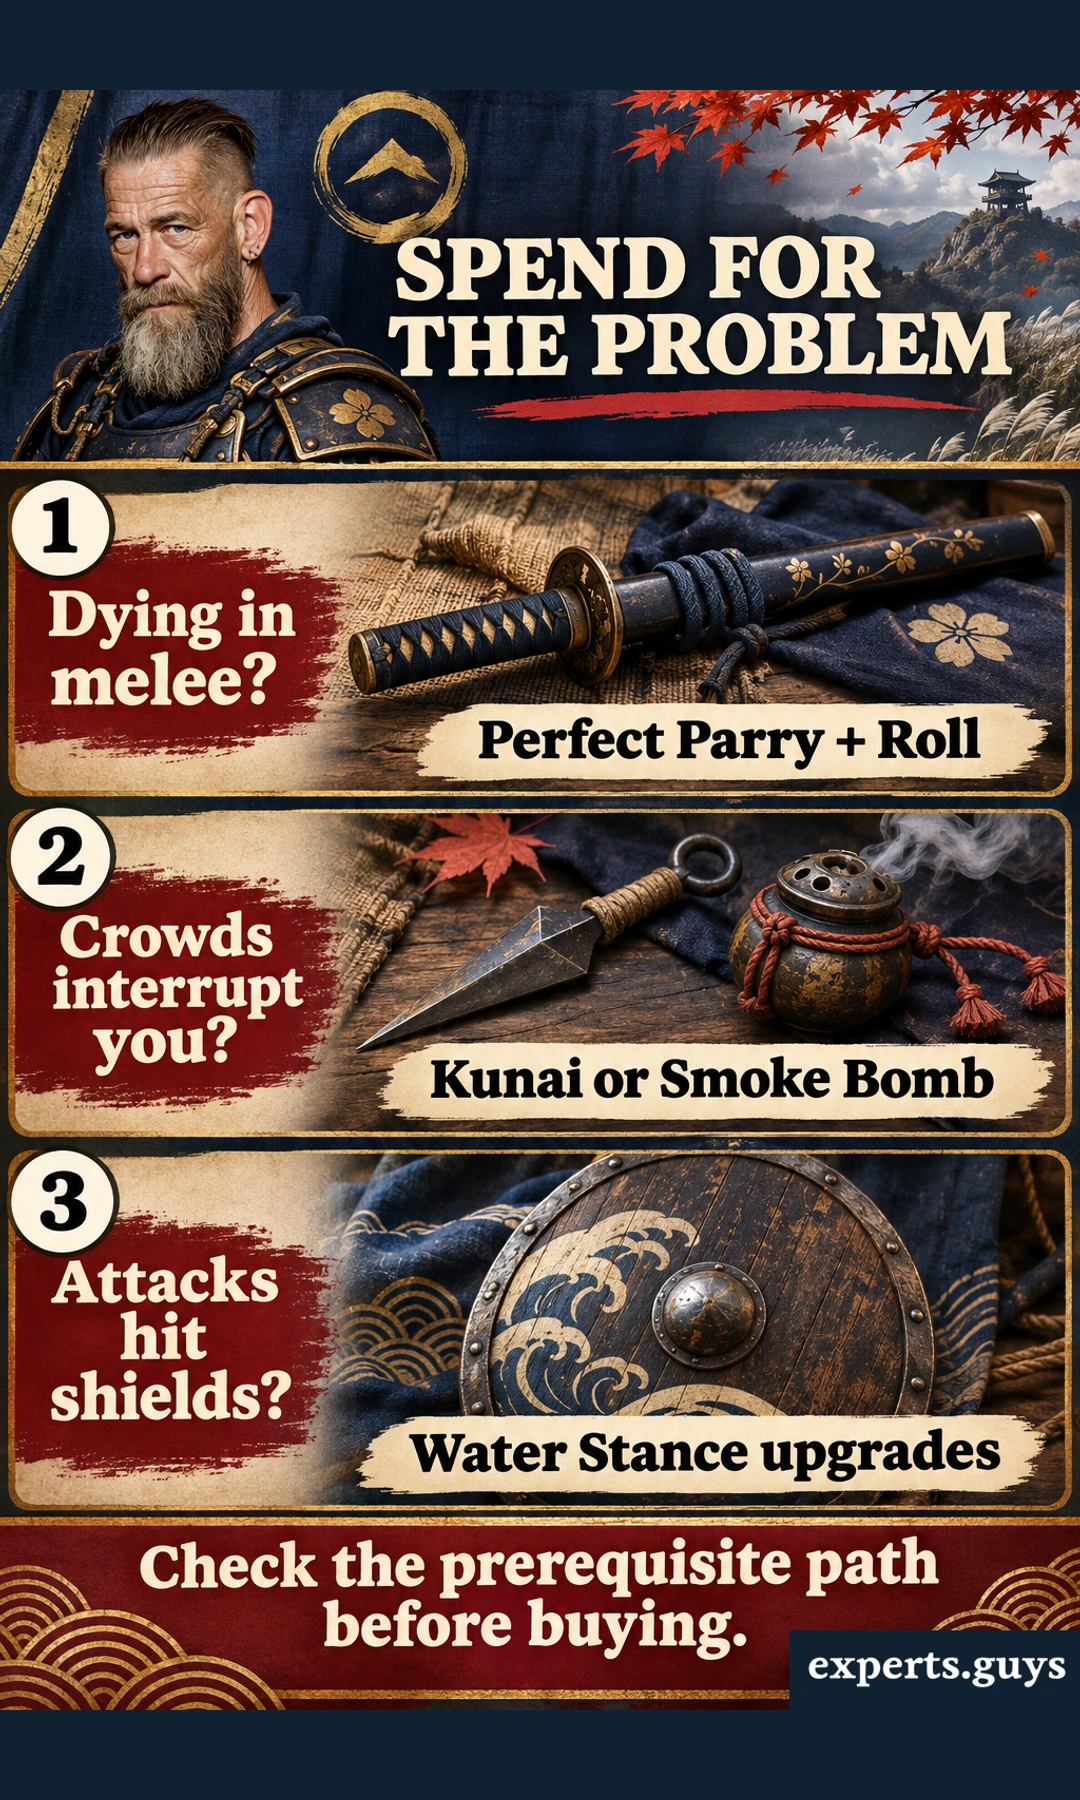
Start with a small defensive foundation, then buy for your current obstacle. Perfect Parry creates a powerful timing-based counter, while Roll gives you an additional way to create distance. Neither replaces learning which attacks can be defended against, and neither makes specialised stance or Ghost purchases unnecessary.
| Your current problem | Priority to inspect | What changes the choice |
|---|---|---|
| Ordinary melee fights end too quickly | Perfect Parry; Roll | If you already own both, identify the specific attack or crowd problem. |
| Sword or spear attacks defeat your guard | Unyielding Sword Parry; Unyielding Spear Parry | Check the required tree path and whether that enemy’s attack remains red. |
| Arrows interrupt close combat | Deflect Arrows | Useful when you can guard; it does not remove every ranged threat. |
| Shield enemies absorb your pressure | Water Stance upgrades | First confirm Water Stance is unlocked through leader progress. |
| Groups leave no room to recover | Kunai or Smoke Bomb access and upgrades | Prioritise availability, ammunition and how you intend to use the opening. |
| You repeatedly enter camps unseen | Chain Assassination | Nearby follow-up targets matter more than the promise of extra kills. |
| You open fights with a bow | Concentration | Bow access and actual ranged use must come first. |
| You prefer face-to-face openers | Standoff Streak | Its value depends on winning the initial standoff. |
A long skill tree can make a late upgrade look more valuable simply because it sits farther from the start. That is a poor spending rule. A basic purchase used in nearly every fight can change your next session more than a spectacular ability whose trigger you rarely meet.
Choose an early route, then change it when the problem changes
For a fresh campaign, my recommended direction is Perfect Parry and Roll first, followed by an appropriate defensive branch or crowd-control option, then one focused stance investment. Change that direction when the evidence on screen changes: constant shield resistance is a different problem from getting surrounded after a missed counter.
Imagine two players at the same story stage. One survives sword exchanges but loses health whenever an archer fires during a crowd fight; the other avoids arrows comfortably but cannot pressure shield users. Giving both players the same next five purchases ignores the reason each is struggling. The first should inspect Deflect Arrows and control options; the second should check Water Stance availability and its upgrades.
Use the last failed encounter as a quick diagnostic, without a notebook or checklist. Identify what prevented a useful action: the defence was ineligible, the timing failed, the enemy’s guard stayed intact, or another opponent interrupted. Choose the matching branch before comparing the most expensive nodes.
Perfect Parry, Roll and the defensive upgrades worth considering
Perfect Parry is a strong early purchase because it adds an opportunity to turn defence into immediate offence. Its benefit comes from the counter you can execute after the precise defensive timing, rather than a passive increase that works regardless of your inputs. Buying the technique creates the option; landing it remains a player skill.
Roll serves a different purpose. It can help when you need separation, but repeatedly rolling after every movement may put Jin farther from a punish opportunity than a small dodge would. Buy it for the extra response it gives you, then choose between a short evasion and a larger escape according to the attack and space available.
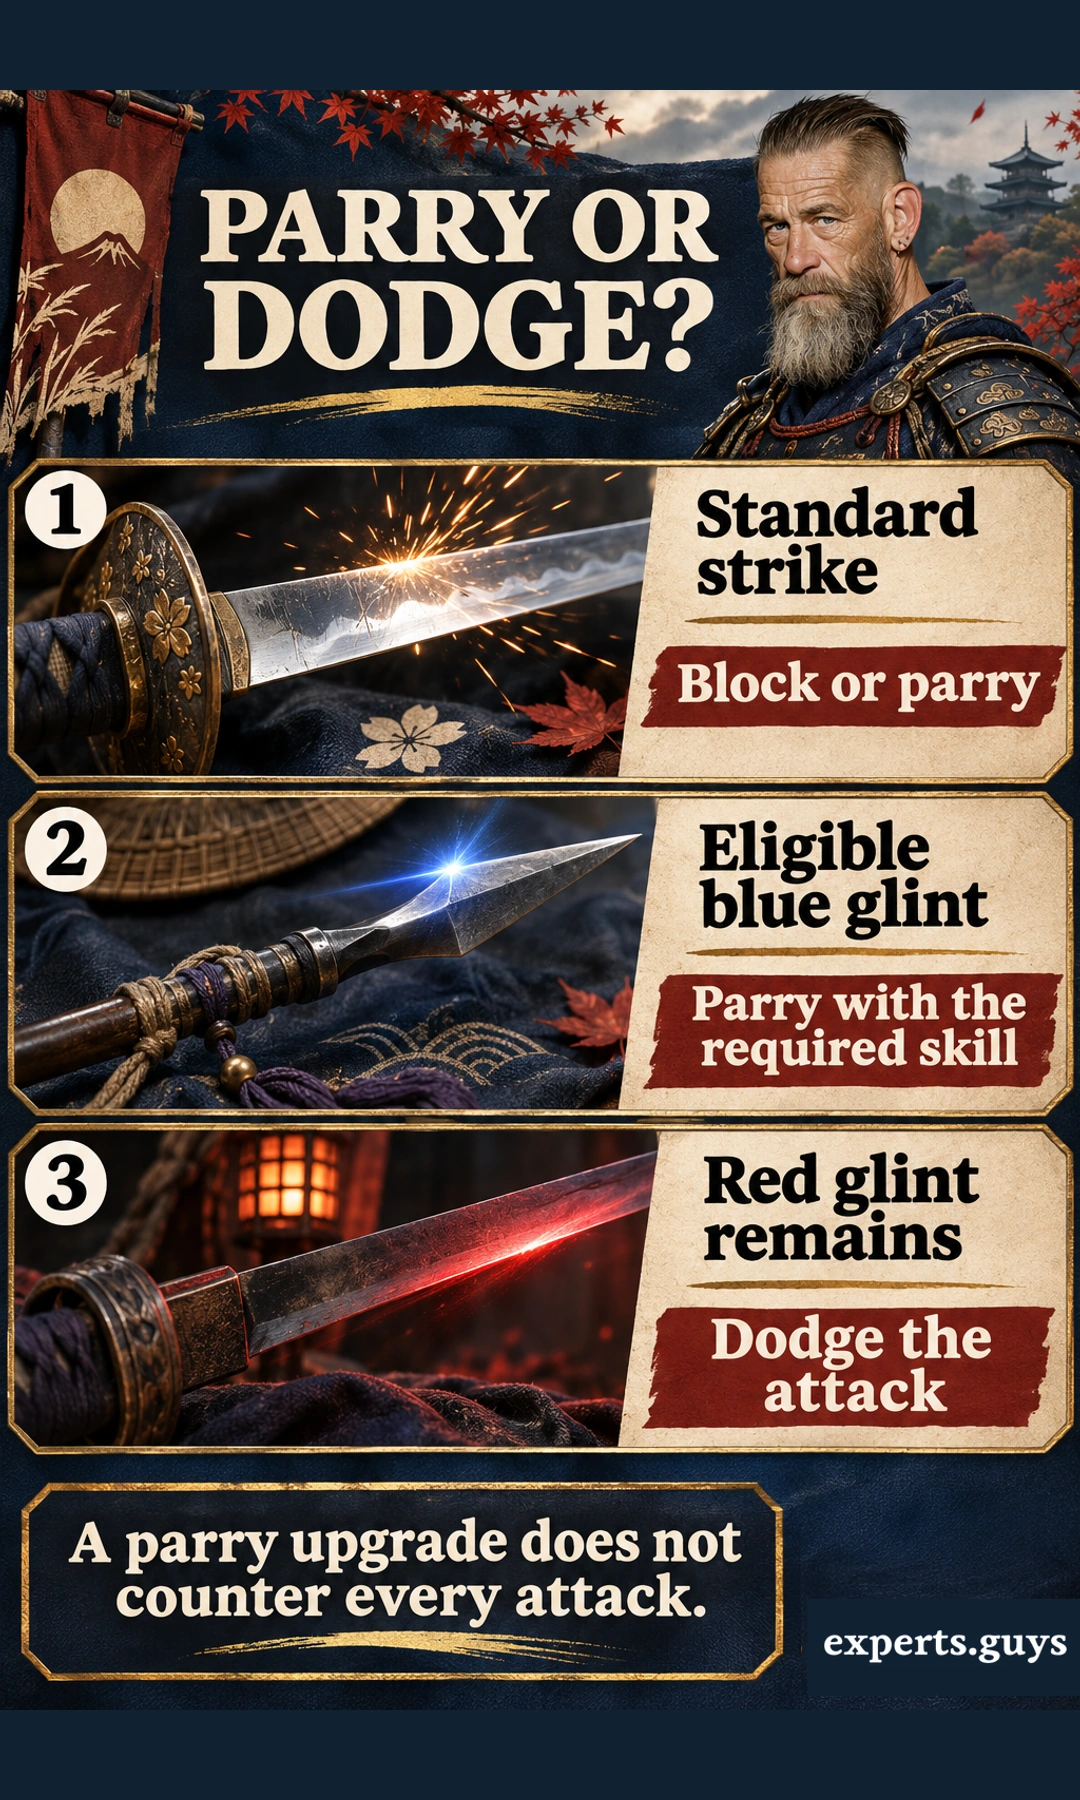
Unyielding Sword Parry and Unyielding Spear Parry expand the attacks you can parry. Read the actual node and its prerequisites before committing: a sword-specific upgrade does not grant universal protection against spears, and an attack that still displays a red warning still calls for evasion. The important distinction is eligibility first, timing second.
Deflect Arrows is worth moving forward when ranged interruptions repeatedly spoil otherwise manageable fights. It is especially attractive for someone who already uses guard reliably. It should not persuade you to ignore enemy position, ranged warnings or an attack that your current defensive state cannot handle.
Perfect Healing Parry and Resolved Parry reward successful defensive actions in different ways: the former adds health recovery to perfect parries, while the latter adds Resolve from parries. Their practical value depends on whether those actions already occur often enough to support you. A player who rarely parries may get more immediate help from basic control before extending that branch.
Iron Will is a conditional recovery option rather than a free extra life. It needs available Resolve and an eligible defeat state, so it loses value if you routinely empty that resource first. PlayStation’s beginner guidance highlights healing-related upgrades and Iron Will alongside early defensive priorities.
If timing feels overwhelming, the smaller adaptation is to use reliable ordinary defence while deciding whether the extra timing rewards fit your play. The observable purchase test is simple: does the new option address the attack that was beating you, and can you recognise when it is available? If not, buying another reward for the same rarely used action is unlikely to fix the gap.
When should stance upgrades outrank Ghost weapons?
Prioritise a stance branch when one enemy category repeatedly blocks your progress; prioritise a Ghost option when the surrounding encounter prevents you from using your sword effectively. This separates a guard-breaking problem from a crowd-control problem. They often appear together, but buying only for one leaves the other untouched.
Buy stance upgrades for the enemy who keeps stopping you
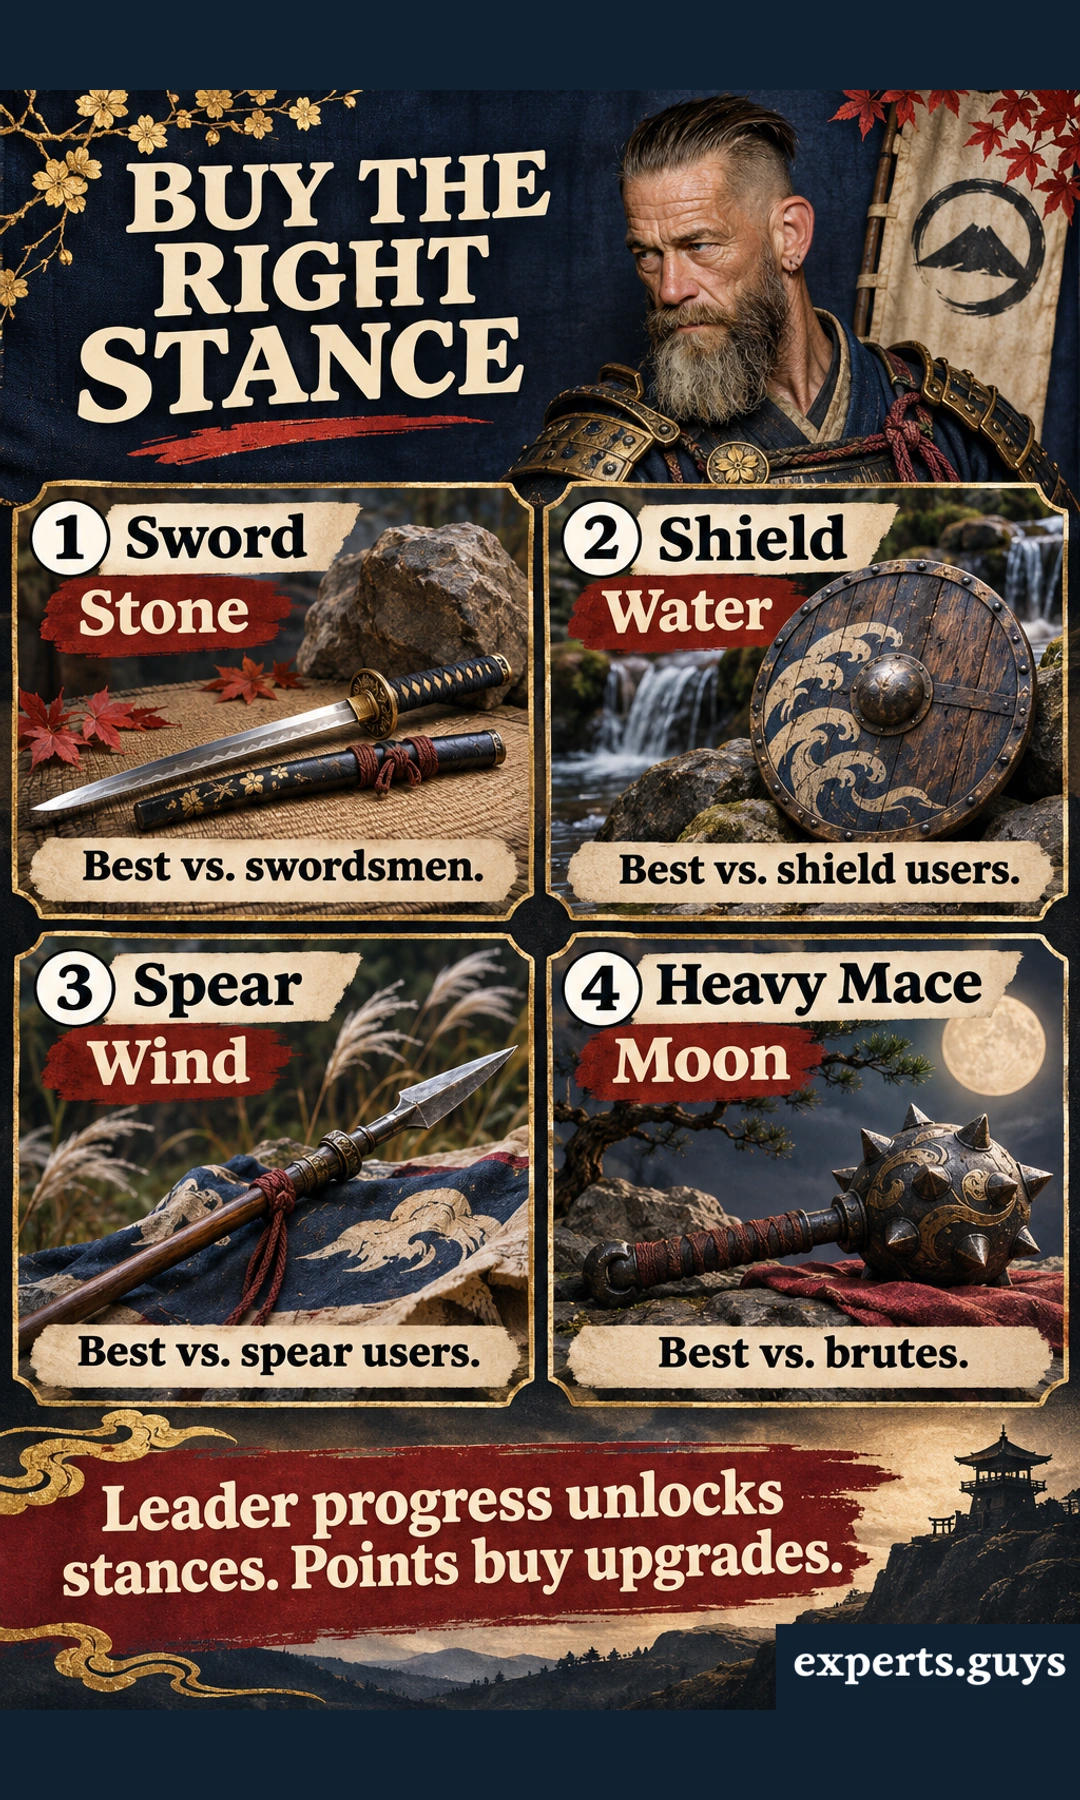
Stone, Water, Wind and Moon are designed around swordsmen, shield users, spearmen and brutes respectively. Leader observations and defeats contribute toward unlocking additional stances; Technique Points improve the moves within stances you have available. Saving a point does not, by itself, open a stance whose leader requirement is still unfinished.
This matters because “buy Water next” can mean two different things. If Water is locked, the next useful action concerns stance-unlock progress. If Water is already available, the decision concerns its upgrade path. A recommendation that fails to distinguish those states can send a player looking for a purchase the menu will not allow.
After unlocking a stance, inspect what its next upgrade changes: a new attack, a stronger version of a move, greater stagger pressure or another defined effect. Choose the change that fits the action you already attempt against that enemy. Avoid spreading points evenly merely to make four branches look balanced.
Against shields, for example, Water investment becomes attractive when you already select Water but need a better opening or more effective pressure from its moves. Buying it while continuing to use another stance by habit does little to solve the original problem. The upgrade and the intended move must meet in the same encounter.
There is a mechanical reason to distinguish guard pressure from health damage. Heavy attacks contribute stagger pressure, and a vulnerable enemy gives you a different opportunity from a defended one. Sucker Punch’s explanation of stagger and stance design describes how the team connected stance choices to enemy archetypes and offensive opportunities.
For mixed groups, choose the stance investment for the opponent who consistently delays or endangers you, while retaining the other unlocked stances for their intended matchups. A heavily upgraded favourite is useful, but its upgrade level does not erase the purpose of the remaining movesets. The result to look for is more dependable access to a useful opening against the category you selected.
Choose a Ghost weapon by the kind of interruption you need
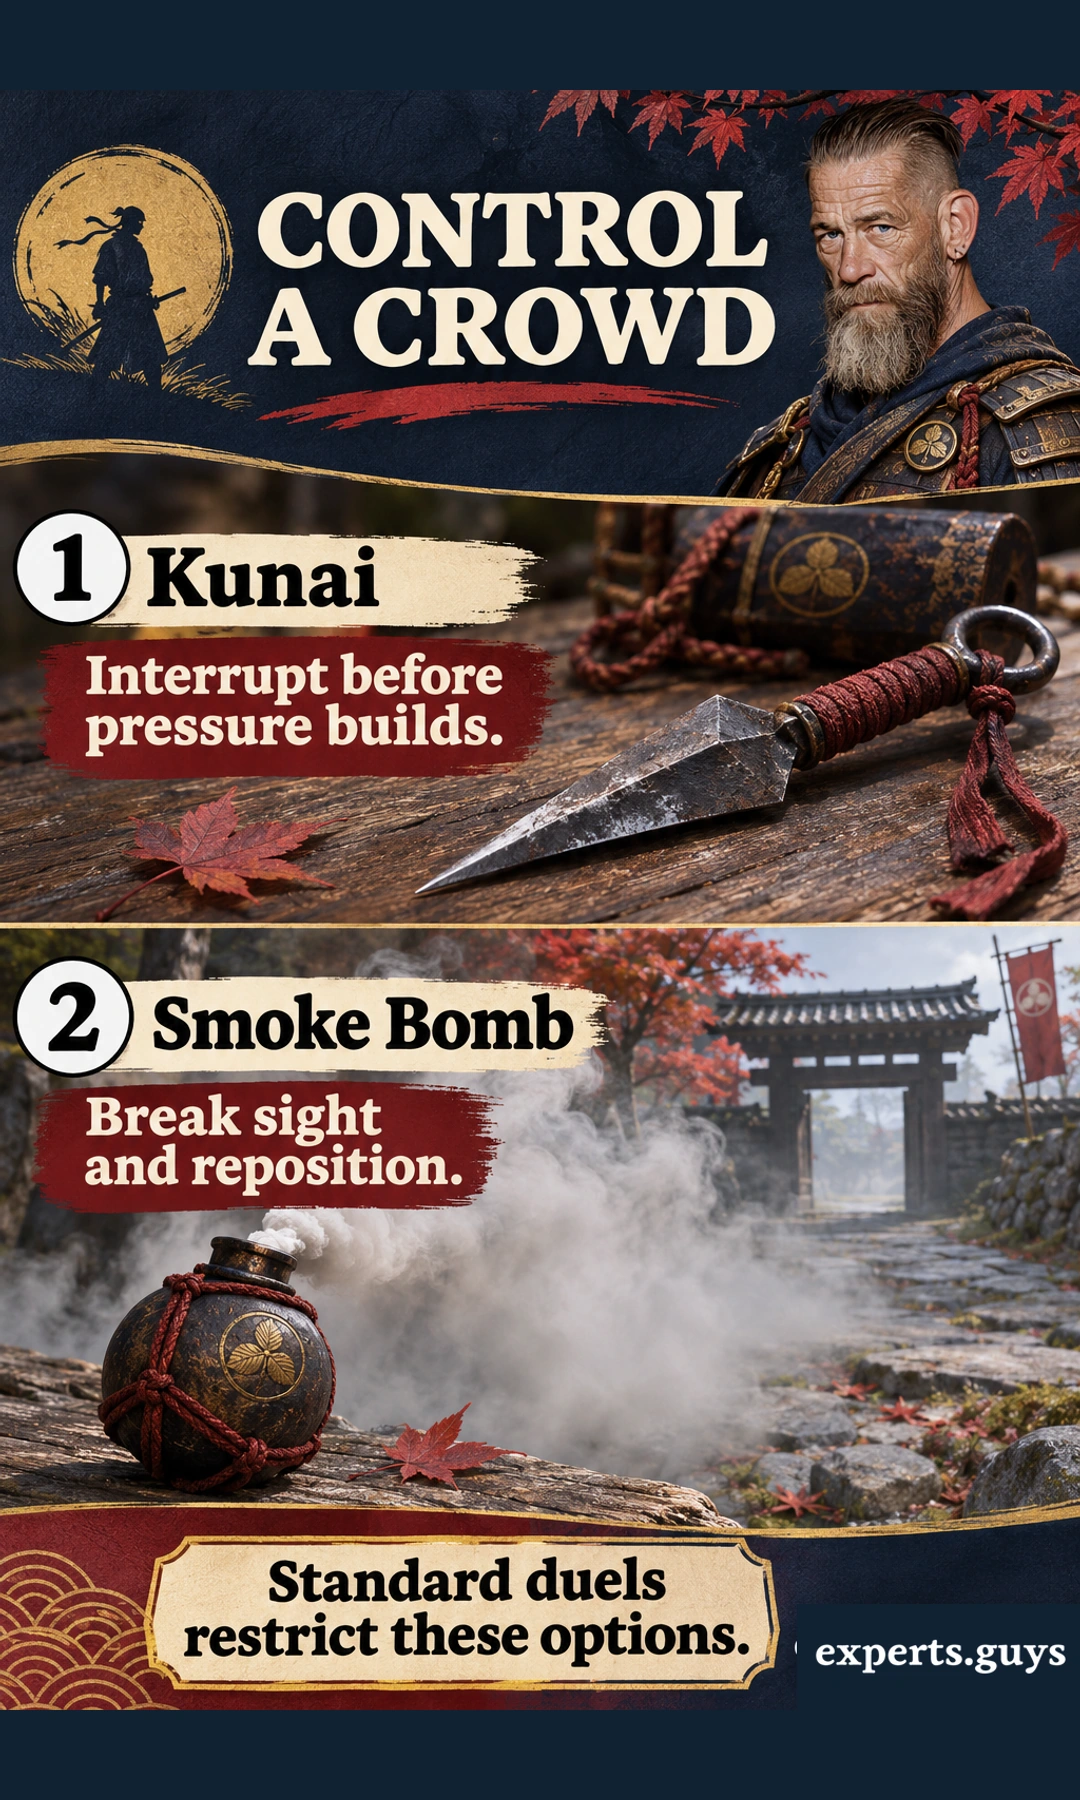
Kunai are an appealing early control choice because their interruption can give a crowded exchange a clearer next action. Smoke Bombs serve a different decision: they create space and obscure sight when the situation has become difficult to manage. Choose the effect that addresses your current failure instead of comparing only damage or visual spectacle.
Treat first access and later upgrades as separate decisions. Ghost-weapon availability is tied to campaign progression and the options the game offers you, while additional purchases develop those weapons further. If a recommendation is unavailable in your current menu, improve the relevant option you can actually access rather than assuming your save is broken.
A useful kunai purchase supports a specific plan: interrupt the nearby pressure that is preventing your next sword action. A useful smoke purchase supports a reset, a safer position or a valid stealth opportunity. Those are reasons to invest; owning a full pouch for many fights without using it is a reason to reconsider the next upgrade.
A hypothetical camp encounter shows the difference. Suppose Jin can handle one shield user but gets hit by a second enemy every time he begins pressure. Extra stance investment may shorten the exchange, yet interruption could solve the immediate inability to act. If the same shield user is still a problem in isolation, stance investment moves back up the list.
Ammunition is part of this comparison. A consumable effect is not available indefinitely, so do not judge a Ghost upgrade as though it were a permanent passive bonus. If you prefer a low-consumption sword style, put more weight on defensive and stance purchases. If you actively use control items, those same upgrades may repay their cost often.
For wider opening-hour priorities, use the Ghost of Tsushima beginner guide. Here, keep the spending decision narrow: decide whether your obstacle is the opponent’s defence or your lack of room to perform the next action. That distinction prevents several expensive purchases aimed at the wrong problem.
Which skills suit stealth, archery and duels?
Specialise after establishing the responses your normal fights require. Stealth upgrades need reachable targets, archery upgrades need deliberate bow use, and duel investments must remain useful when an encounter restricts your equipment. A skill can be excellent within one of those conditions and a low priority outside it.
Stealth: Chain Assassination rewards opportunities you can actually reach
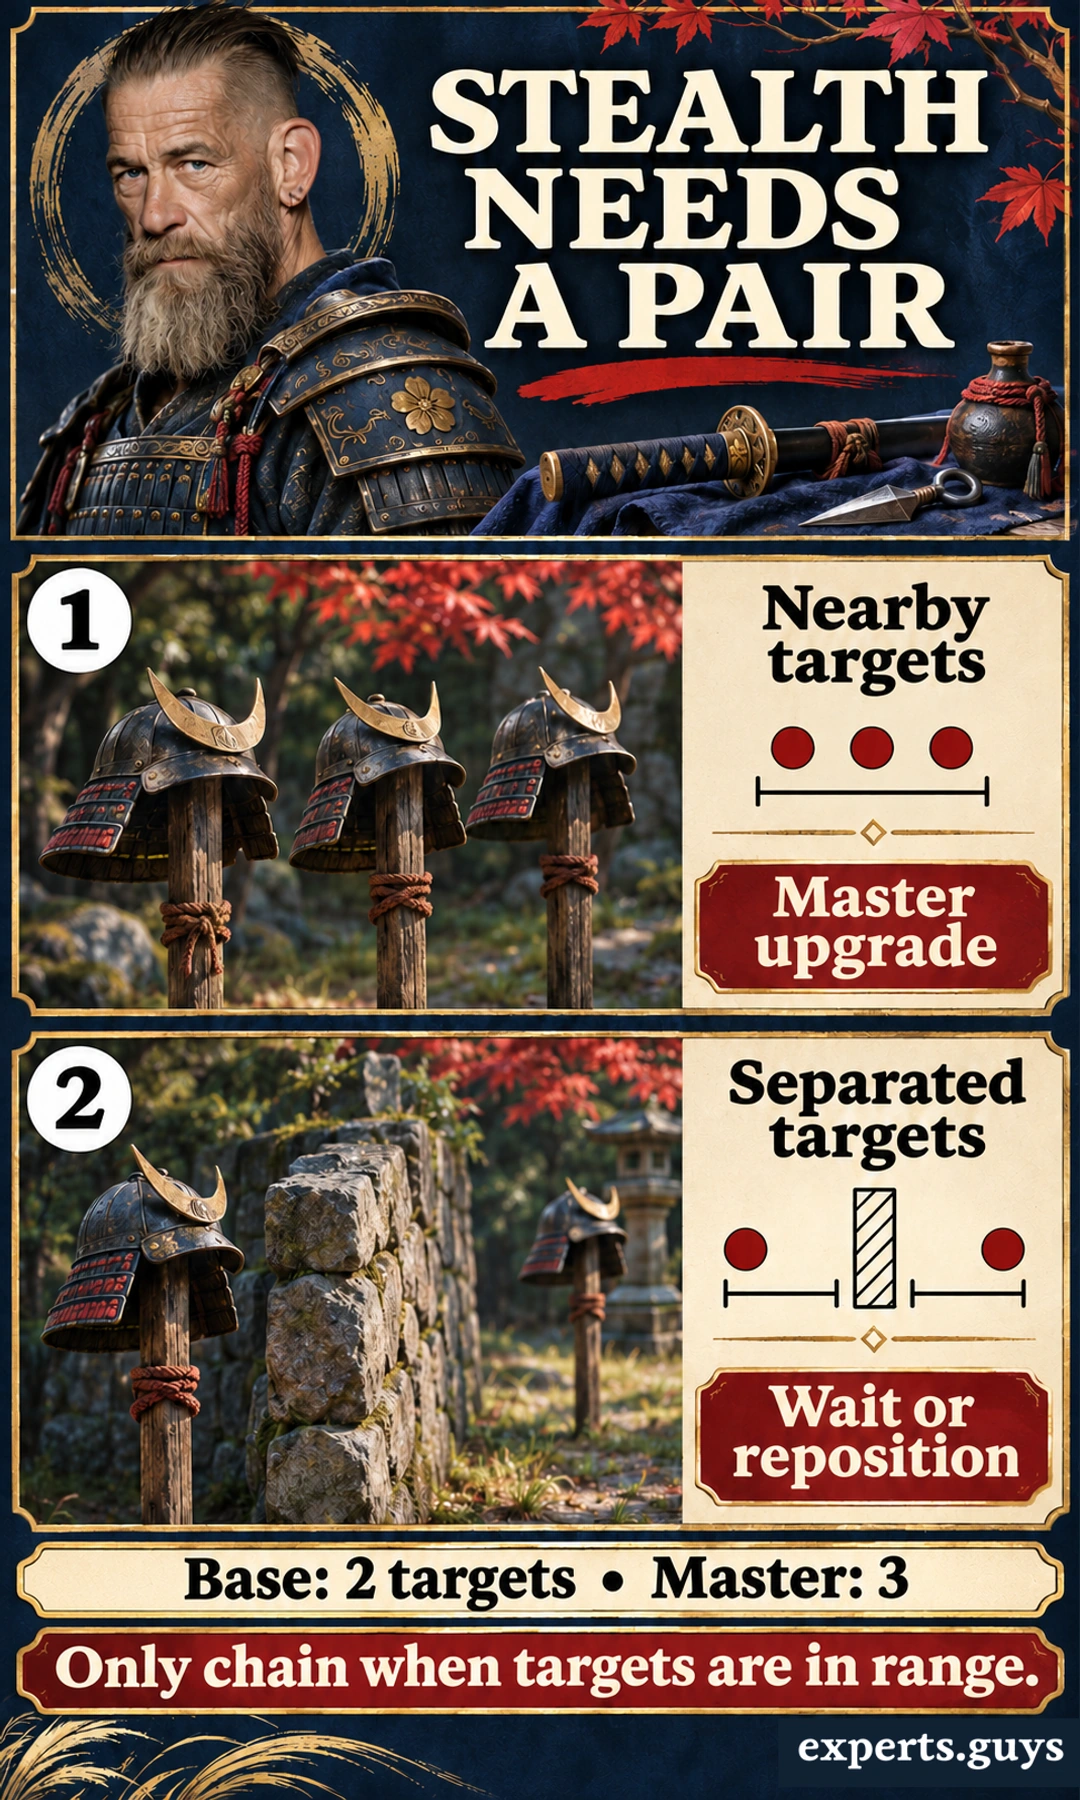
Chain Assassination lets you remove nearby targets in quick succession, with the base technique supporting two targets and Chain Assassination Master extending the sequence to as many as three. The extra target is valuable only when the surrounding layout and available prompts permit the follow-up. It does not turn every visible enemy into a valid chain target.
Before buying the Master upgrade, ask whether you regularly encounter usable three-target groups and already finish the shorter sequence. If most of your approaches involve isolated guards, distance or obstructions, improving the maximum count may have little immediate effect. The better purchase may be the defensive or control skill you use after detection.
The illustration below uses helmets as target markers, including a three-target group for the Master upgrade. Its lower panel represents separation and a barrier; it is a planning comparison, not a measurement of the game’s exact detection or chaining radius. Follow the prompts and target availability in your own encounter.
Consider an illustrative approach with two nearby guards and a third beyond a wall. Buying the three-target upgrade does not remove the wall or ensure that third follow-up becomes available. The correction is to judge the actual grouping before entering the sequence, rather than buying capacity in the hope that the environment will cooperate.
For a player who enjoys stealth but dislikes complicated chains, the lower-effort choice is to stop investment at a level that already produces reliable opportunities. More capacity is optional. A useful upgrade should increase the number of realistic approaches you can complete, not encourage you to force a fragile plan into every camp.
Archery and standoffs: fund the opener you repeat
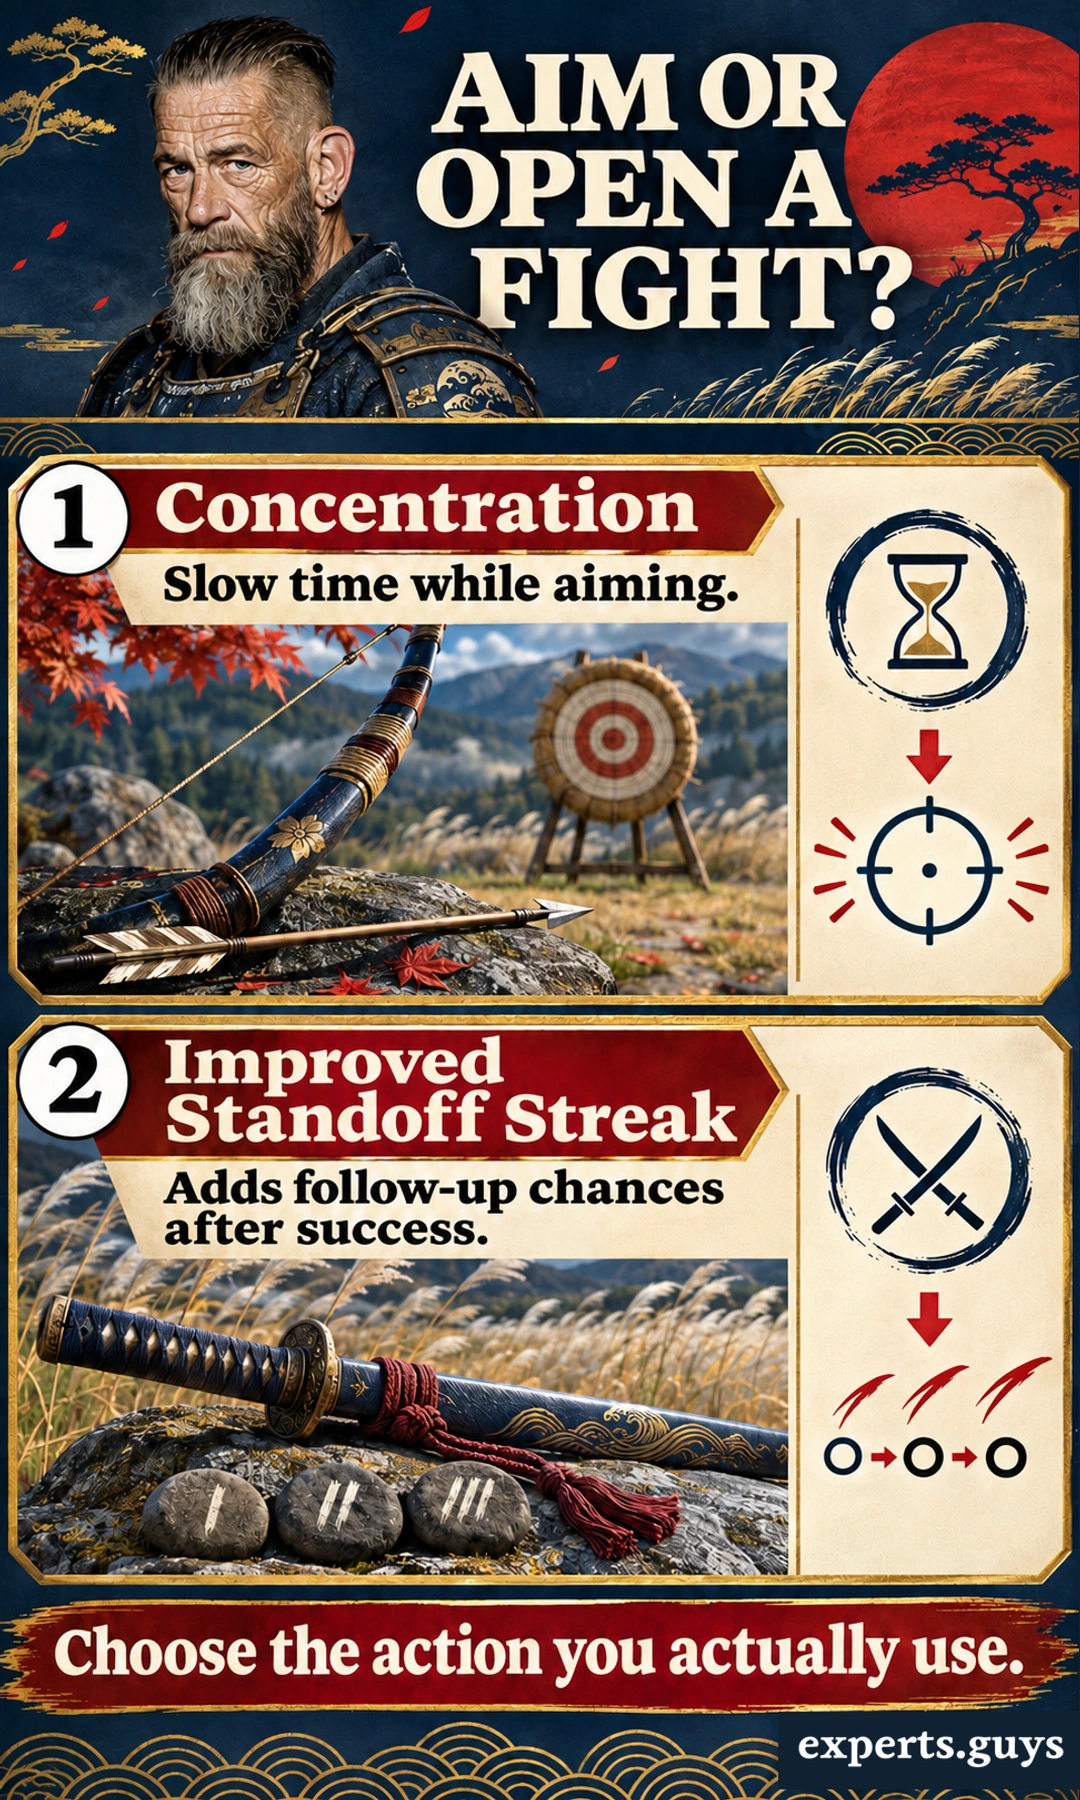
Concentration is the clearest archery purchase to inspect when aiming time is your main constraint. It briefly slows time while aiming, which can make a planned shot easier to place. It does not give you ammunition, remove an obstruction or make an unsuitable shot automatically effective.
Buy further archery support when you repeatedly use the bow and can identify what the next upgrade improves. Someone who fires only occasionally may gain more from a skill used in every sword encounter. Conversely, a deliberate archer should not follow a melee-heavy purchase order merely because it appears first on a general ranking.
Standoff Streak rewards a different repeated action: winning the opening standoff. The base streak adds a follow-up opportunity after success, and Improved Standoff Streak adds another. The image’s sequence markers represent that developed route, not three guaranteed kills from the first node alone.
Its hidden cost is dependence on the initial win. If you frequently lose the opening exchange, extra follow-up capacity contributes nothing on those attempts. That makes Standoff Streak a higher priority for a player who already enjoys and succeeds at the opener, and a lower one for someone who enters camps quietly or finds the opening timing unreliable.
Use the next encounter you would naturally choose as the comparison. If you intend to approach from range and place a careful shot, Concentration serves that plan. If you intend to issue an open challenge and already win it consistently, a streak upgrade serves that plan. The decision does not require a universal ranking between bow play and standoffs.
Duels: pay for abilities the encounter allows
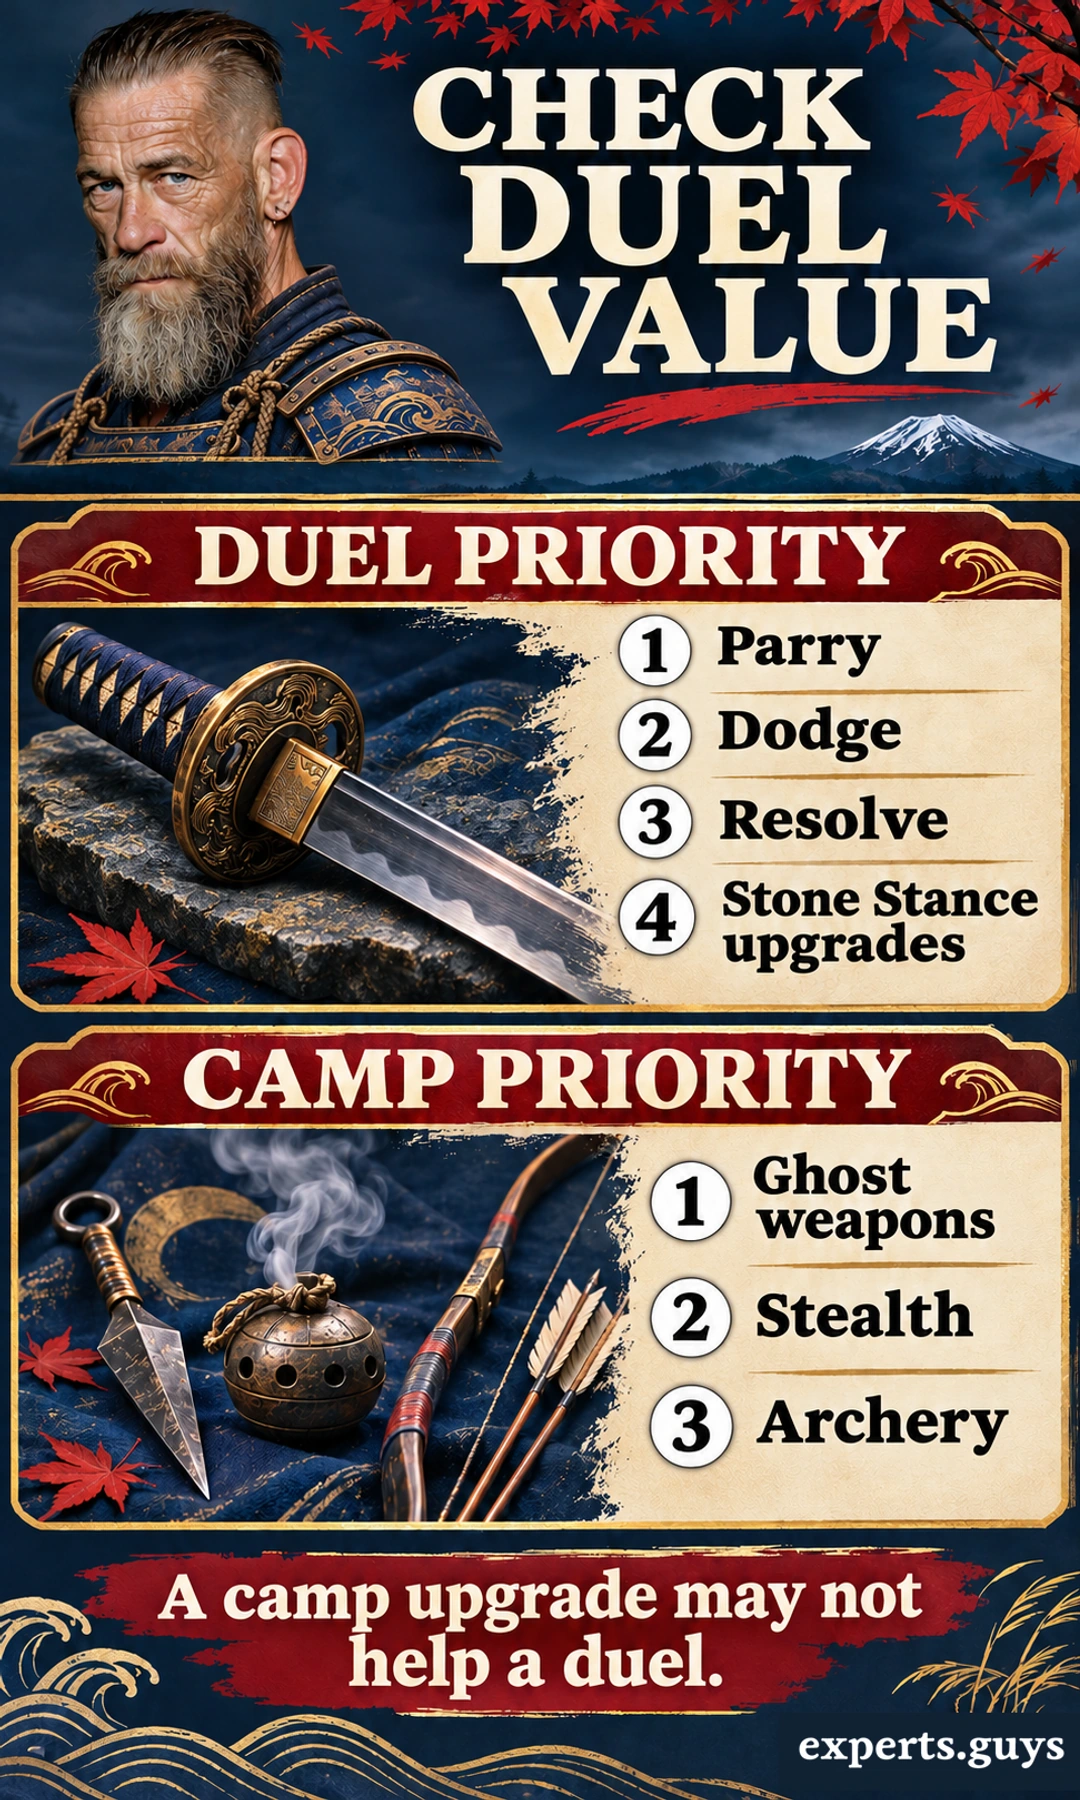
Standard sword duels restrict the Ghost weapons, archery and assassination options that can dominate camps. Defensive sword techniques and suitable stance investment therefore become more relevant to the immediate fight. This is a restriction check, not a claim that your camp build was a mistake.
For a sword opponent, inspect the Stone branch alongside your parry and evasion options. Perfect Dodge can be attractive for players who want another precision counter, but it sits within a progression path rather than functioning as an isolated early purchase. Include the preceding nodes when deciding whether reaching it now is worth delaying something else.
Resolve support also needs a purpose. Spending every available resource on offence can leave less available for healing or a conditional recovery option. An upgrade that helps you obtain or use Resolve is valuable only within the abilities and resource state you actually bring into that duel.
Do not assume additional healing or defensive rewards stack into the same experience with every armour set. Equipment can alter the behaviour or incentives around particular combat actions. Use the Ghost of Tsushima armour comparison for that separate equipment decision, then evaluate your technique choices with the selected set’s description in view.
If you bought several camp-focused upgrades before meeting a difficult duel, you do not need to declare the entire save ruined. Those purchases continue serving the encounters they were intended for. Redirect the next available points toward the duel-relevant gap, and avoid judging an unavailable Ghost option as though it should have solved a restricted sword fight.
How do you avoid wasting Technique Points?
Count the full missing path, check whether the benefit will occur in your next encounters, and separate point purchases from other unlock systems. These checks matter more than copying a long list in order. A technically powerful upgrade can still be the wrong next purchase when reaching it delays an immediately useful response.
Count the route, not just the final node
Open the target node and identify every requirement you have not yet completed. Some requirements are earlier purchases; others concern the availability of a stance, weapon or campaign ability. Add only the point costs of missing purchases, and keep non-point conditions separate so the arithmetic does not pretend to solve them.
- Identify the specific problem the target skill would solve.
- Read the target’s effect, availability and preceding required nodes.
- Add the displayed costs of every missing purchase on that route.
- Compare that total with another useful purchase you could make now.
- Buy the route you intend to use, then reassess after it becomes part of normal play.
Illustrative budgeting example: suppose you have three Technique Points, a missing prerequisite costs one, and the target costs two. Reaching that target costs three in total, leaving zero. If you already own the prerequisite, the remaining price is two. These are example numbers for dependency arithmetic, not the verified prices of a particular named technique.
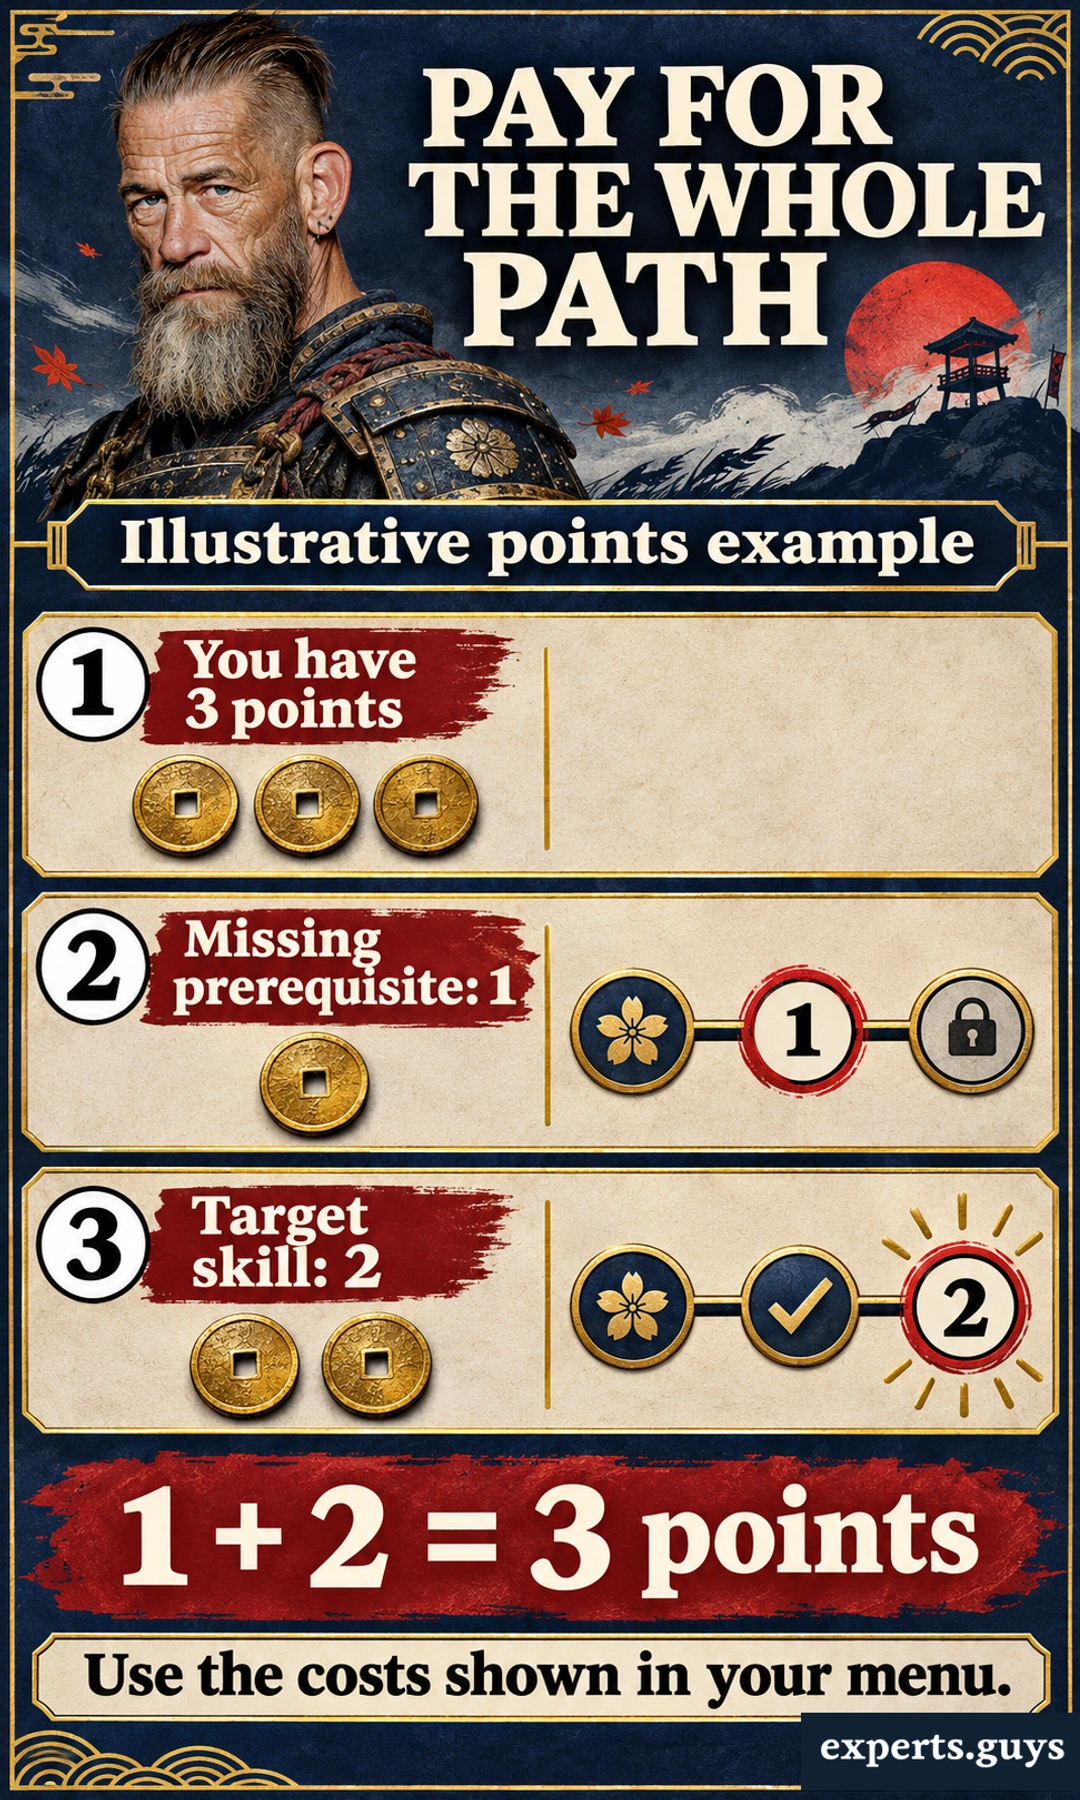
This exposes the difference between a node’s price and your remaining route cost. Two players viewing the same target can face different spending decisions because one has already invested in its prerequisites. A recommendation that only names the final technique conceals that difference.
The other comparison is timing. A route that consumes all your current points may be sensible when its preceding skills also help you. It is less attractive when you dislike those actions and only want the final effect. In that case, a modest purchase that immediately solves a repeated problem may be a better use of the same budget.
Compare access, reward and capacity before extending a branch
Skill descriptions often offer benefits that look similar in a ranking but operate at different stages of a fight. An access upgrade lets you do something you previously could not do. A reward upgrade adds a benefit after you complete an action. A capacity upgrade extends an action you already have. Those distinctions change how soon a purchase can help.
Unyielding Spear Parry is an access example because it changes eligibility for certain spear counters. Perfect Healing Parry is a reward example because the health benefit follows a successful perfect parry. Chain Assassination Master is a capacity example because it extends the maximum sequence when suitable targets are present. Their names alone do not tell you which problem each solves.
This gives an uncertain spender a useful way to compare two branches. If you cannot perform the response your encounter requires, inspect access. If you already perform an action reliably but need the extra benefit attached to it, inspect rewards. If your existing action repeatedly stops short of a usable extra target or follow-up, inspect capacity. These are selection categories, not additional hidden game statistics.
The common mistake is buying a reward or capacity increase when access or execution is the real obstacle. Extra health from perfect parries cannot help an attempt in which no perfect parry occurs. A larger assassination chain cannot help an approach without reachable follow-up targets. More room in a successful standoff sequence cannot repair an initial standoff loss.
The reverse mistake is remaining in basic access purchases after the foundation already works. A consistent defensive player can reasonably put greater weight on rewards from successful counters. A player who regularly finds compact stealth groups can reasonably extend the chain. Reassess the next branch when your normal actions become dependable, rather than preserving a beginner order long after it has stopped matching your play.
Keep Technique Points separate from other progression
| System | What it changes | What to check |
|---|---|---|
| Technique Point purchase | A purchasable technique or upgrade | Displayed cost, missing prerequisites and usable benefit. |
| Mongol leader progress | Availability of additional stances | Whether the required observation or defeat progress is complete. |
| Mythic Tale reward | A specific ability or item from that tale | The tale’s actual reward and access conditions. |
| Equipment improvement | The selected weapon or armour’s properties | Required upgrade materials and the equipment description. |
| Permanent exploration reward | An increase or benefit from the activity | Its stated reward, rather than assuming it grants Technique Points. |
Mythic abilities such as Heavenly Strike and Dance of Wrath belong in the wider combat conversation, but they are not interchangeable with a normal node purchase. Their associated tales determine access. Do not leave points unspent while looking for a menu purchase that cannot replace the required tale.
Exploration wind techniques are convenience investments with a different payoff from immediate combat support. They can be worthwhile when your current goal is finding a particular activity. Delay them when the pressing issue is surviving the fights in front of you; move them forward when navigation is the real friction you want to reduce.
Safe Landing is another situational purchase: useful when traversal mistakes repeatedly cause damage, less urgent when your losses happen entirely in combat. It still has limits and does not make every drop survivable. Treat convenience, recovery and combat purchases as distinct benefits rather than calling everything outside a damage branch wasted.
Use a purchase test instead of chasing a perfect build
After an upgrade, look for its promised opportunity during the encounters you would normally play. A stance upgrade should affect the move or pressure described by its node; a chain upgrade should add a genuinely available follow-up; an archery upgrade should matter while you aim. If you never enter the relevant situation, pause that branch before spending further.
Failure after a purchase does not necessarily mean the skill was weak. It may mean the original diagnosis was wrong, the action was unavailable, or the technique’s timing still needs learning. Those are different corrections. A second purchase in the same branch should be justified by its actual effect, not by frustration with the first.
You can also deliberately choose enjoyment over efficiency. A player who loves open standoffs may reasonably invest there before a broadly useful control upgrade. The recommendation changes because the reader’s goal changes; it should not be disguised as proof that one sequence produces the strongest possible character for everyone.
If you are still deciding what kind of experience the full game offers, the Ghost of Tsushima Director’s Cut review covers the wider campaign and edition context. This page’s narrower job is to help the next Technique Point purchase make sense within the way you are playing now.
Frequently asked questions
Should a higher difficulty make me buy only defensive skills?
No. A tougher encounter increases the consequence of a missed response, but reliable offence and crowd control can also reduce exposure. Decide whether your current losses come from a failed defence, prolonged enemy guard or pressure from several opponents; then choose the corresponding upgrade.
Are single-player skill rankings useful for Legends?
Only as broad background. Legends uses its own classes, progression and encounter structure, so a campaign shopping order should not be treated as a Legends build. This guide’s recommendations apply to Jin’s single-player techniques.
Does the best skill order change on PC?
The recommendation depends primarily on the ability’s effect, availability and your preferred actions. Use your current input bindings for execution rather than assuming a controller button from another guide matches your setup. Changing the input device does not make an unavailable skill available.
Should I save every point until I can reach a late upgrade?
Save when the complete route serves an action you want and the delay is acceptable. If your next encounters repeatedly expose a problem that an affordable purchase can address now, spending that point can be more useful. Compare the opportunity you are gaining with the option you are postponing.
Does this order require a particular armour set?
No. It starts from the problems your fights reveal, while equipment can change which benefits are most useful. Read any armour effect that modifies a technique before assuming it works like the unmodified version, and choose purchases for the setup you intend to wear.
Choose the next skill you will actually use
Open the Techniques menu with one encounter in mind. Choose the upgrade whose effect addresses that encounter, count its complete remaining path and check that the ability is usable there. That gives you a defensible next purchase without needing to predict your entire campaign build.