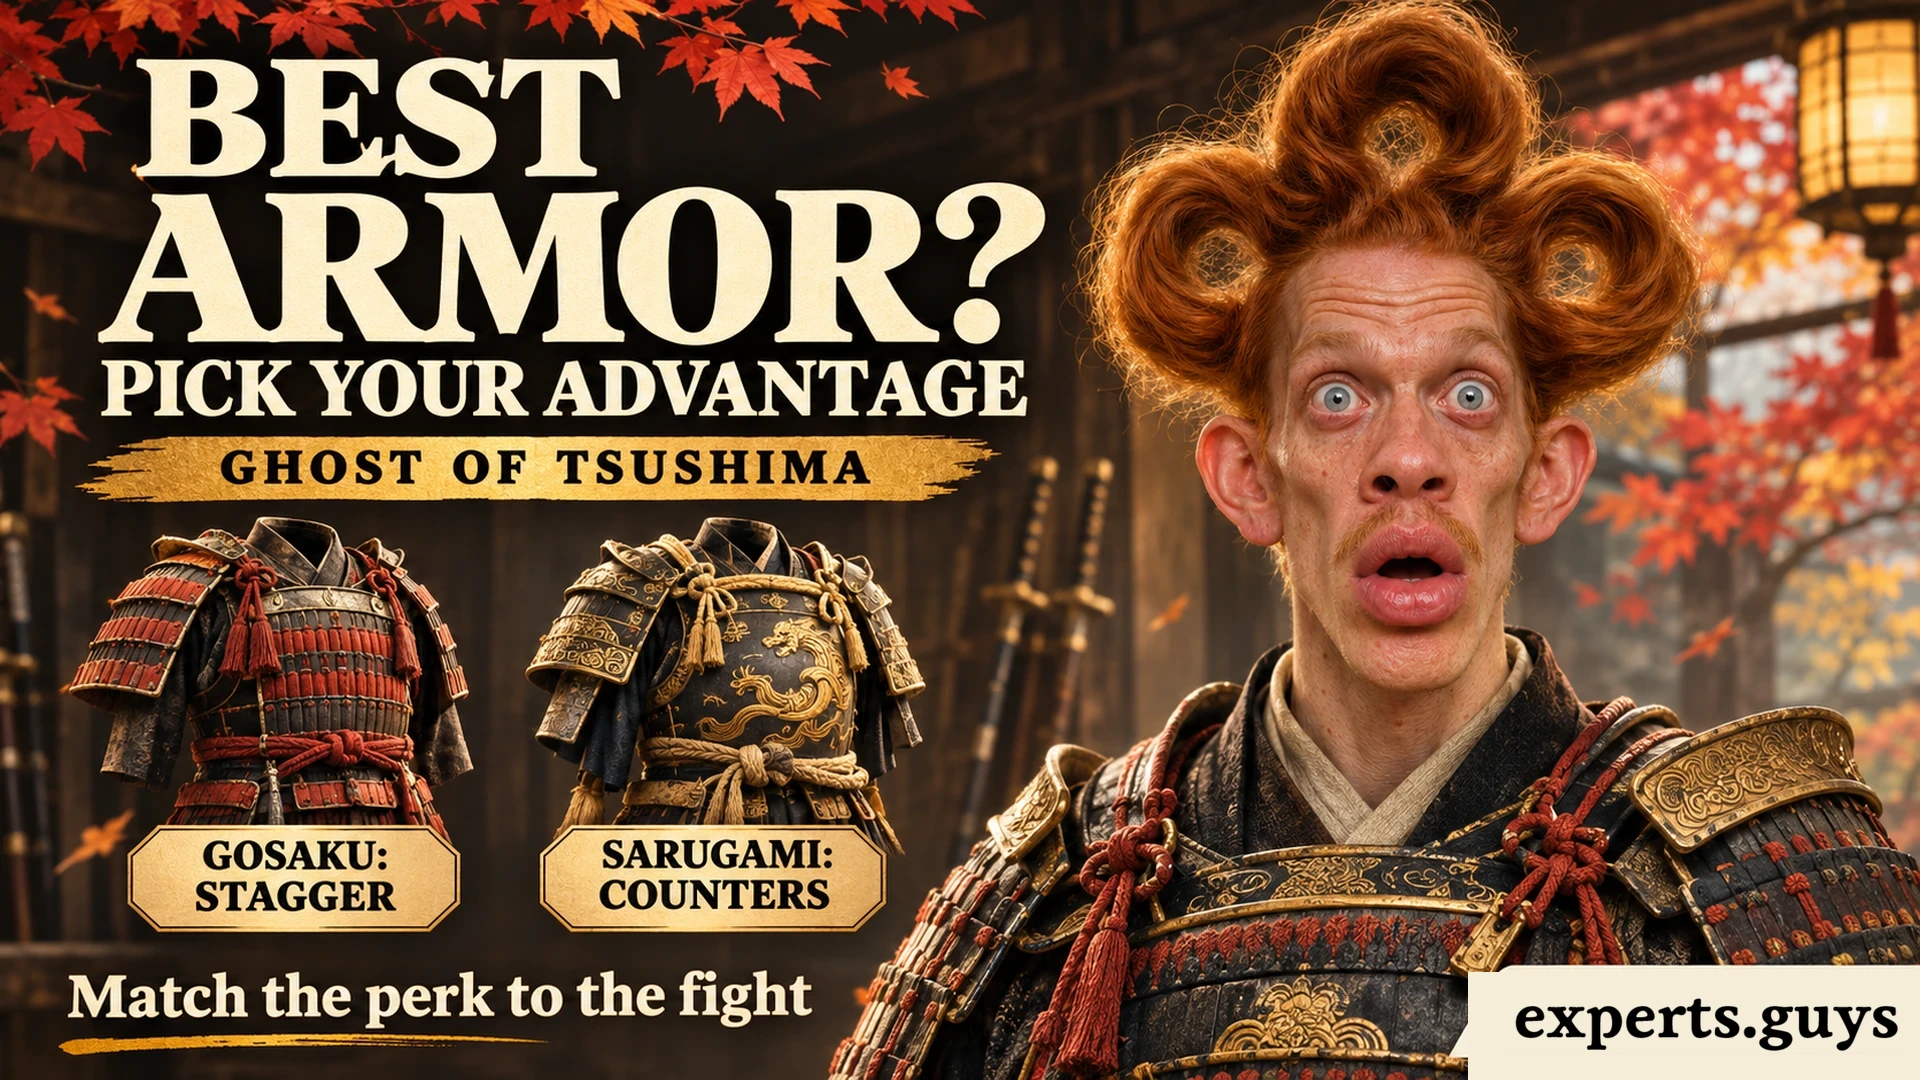
Samurai Clan Armor is the best starting choice when you need help surviving, Gosaku’s Armor is the strongest straightforward pick for stagger-focused melee, and Sarugami Armor is the specialist choice for perfect counters. The best Ghost of Tsushima armor changes when a fight removes your preferred tools, your next upgrade improves a perk you rarely trigger, or the set is still locked behind later content.
This guide covers Jin’s single-player campaign and Director’s Cut, including Iki Island; Legends has a separate gear system. The recommendations distinguish an armor set’s actual effects from the editorial decision about when those effects are worth using, with minor equipment-unlock spoilers but no story-outcome spoilers.
| Your next job | First comparison | Important condition |
|---|---|---|
| Survive early mistakes | Samurai Clan Armor | Protection and damage-triggered Resolve; do not seek hits. |
| Break enemy guards | Gosaku’s Armor | Stagger support; healing requires a staggered kill. |
| Build around perfect counters | Sarugami Armor | Iki reward; regular parries are disabled. |
| Melee with standoff openings | Sakai Clan Armor | A standoff bonus is separate from duel performance. |
| Approach unseen or use fear | Ghost Armor; Ronin earlier | Reduced detection does not mean invisibility. |
| Fight with damaging tools | Kensei Armor | Weapon-dependent effects need a Ghost-weapon hit. |
| Use repeated bow shots | Tadayori’s Armor | Headshots, ammunition and clear targets sustain the plan. |
| Find artifacts and reveal the map | Traveler’s Attire | Exploration bonuses serve a different job from melee. |
Which armor bonuses will actually help your next fight?
Start with the event that activates the bonus. A larger health pool helps whenever you are in danger of running out of health; a reward for killing a staggered enemy requires that particular kill; a perfect-counter effect requires the correct defensive action. Those are different kinds of advantages, even when a tier list places all three sets beside one another.
PlayStation’s official beginner guidance confirms that armor has distinct gameplay advantages and that upgrades strengthen its effects. The useful decision is therefore narrower than “Which outfit is strongest?”: identify the next encounter, then choose a bonus that has a realistic opportunity to work there.
Samurai Clan Armor: protection while you are taking hits
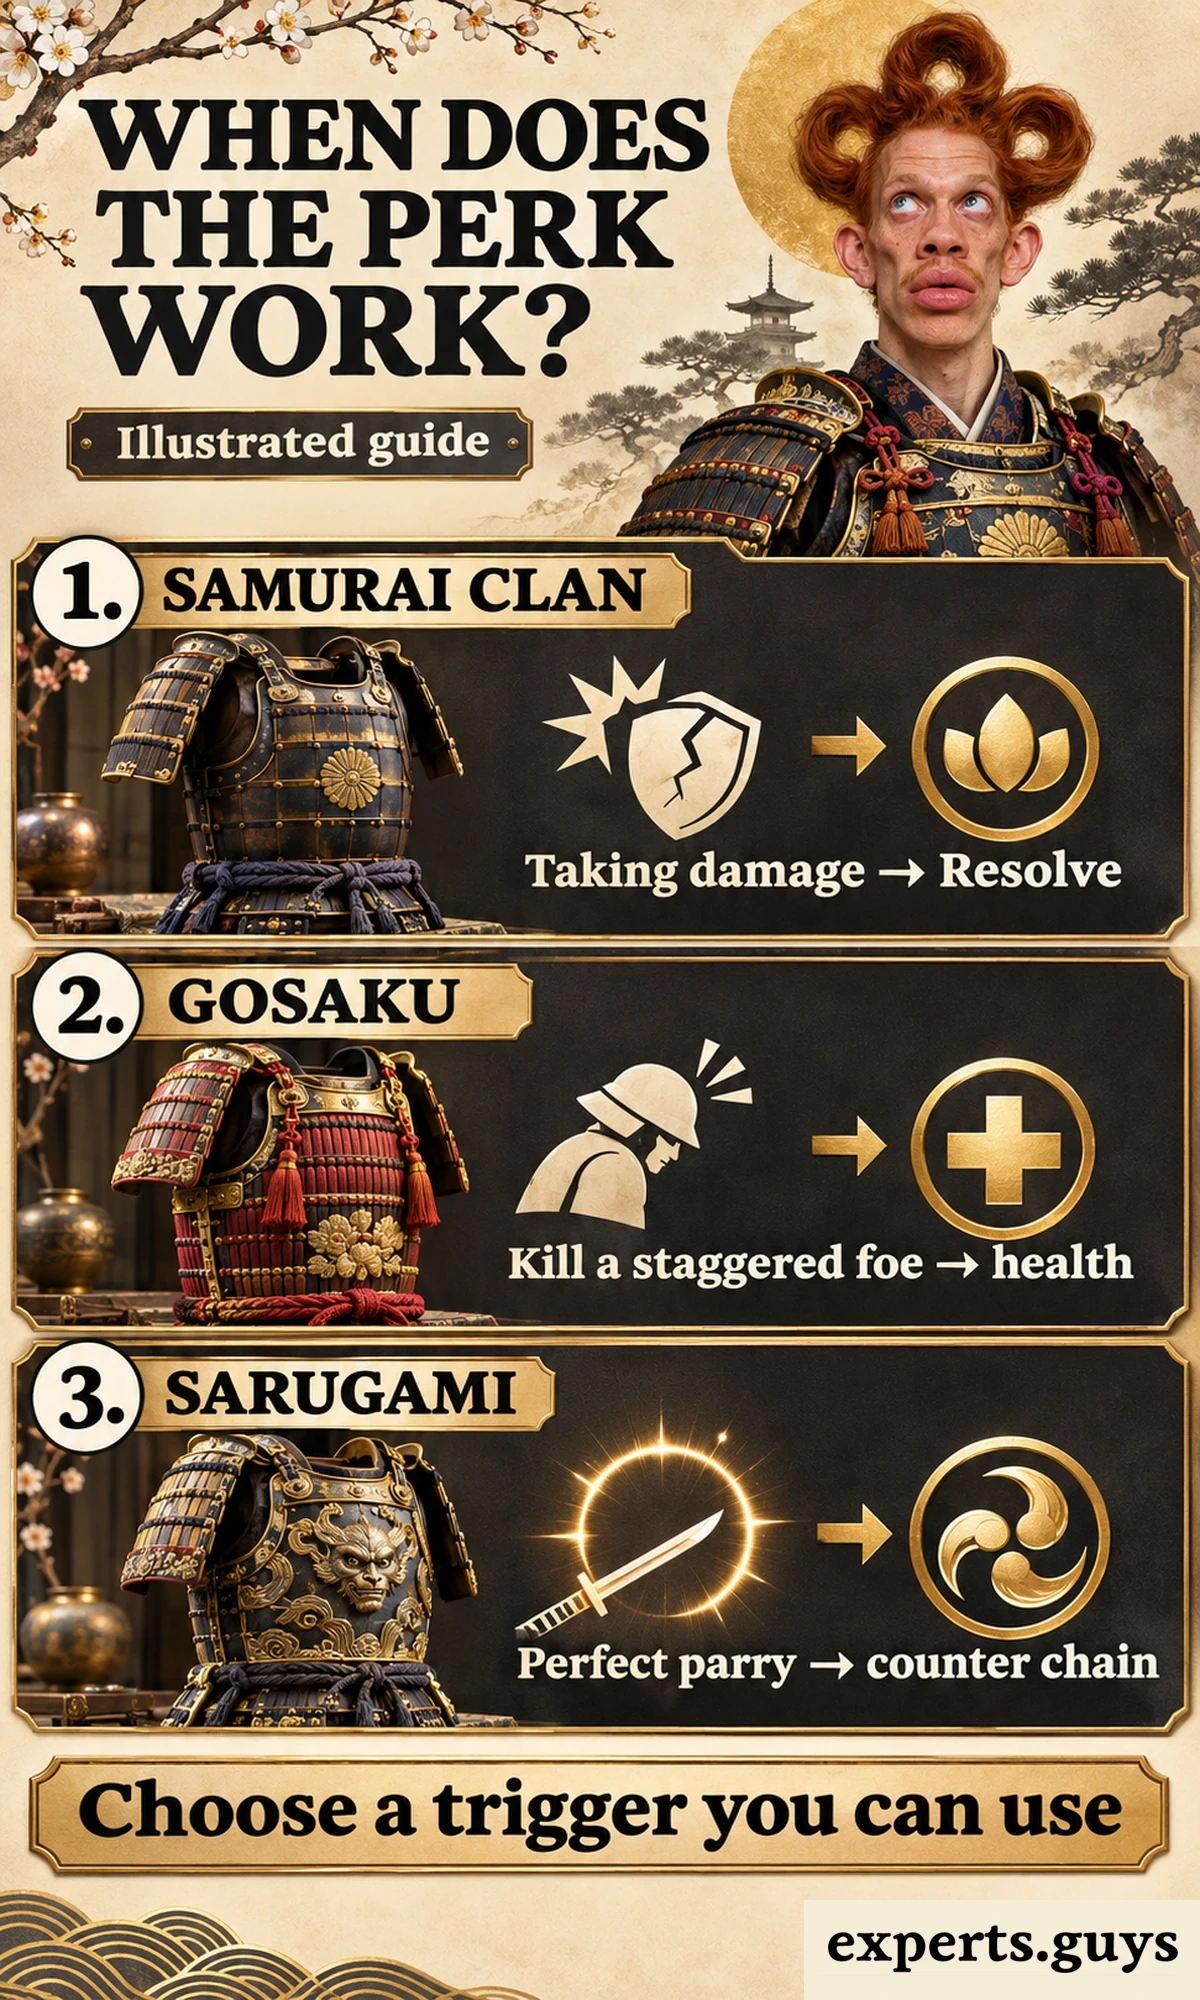
Samurai Clan Armor combines damage reduction, extra health and Resolve gained from taking damage. That makes it a practical early recommendation for a player who reaches healing opportunities but struggles to remain alive long enough to use them. Its value does not depend on landing a headshot, frightening a second enemy or finishing a counterattack chain.
Do not turn the Resolve perk into a reason to accept hits deliberately. Incoming damage still consumes health, and an attack that defeats Jin cannot become a useful recovery resource. The armor gives mistakes a more manageable consequence; it does not make trading blows a sound plan against every enemy or at every difficulty.
An illustrative choice: a player repeatedly survives the first exchange, takes another hit while trying to heal and loses the encounter. Samurai Clan is a more relevant first comparison than an archery set because its protection applies to the part of the fight causing the failure. If the same player later stops taking damage but struggles to finish opponents, the reason for preferring it becomes weaker.
Gosaku’s Armor: distinguish stagger damage from health damage
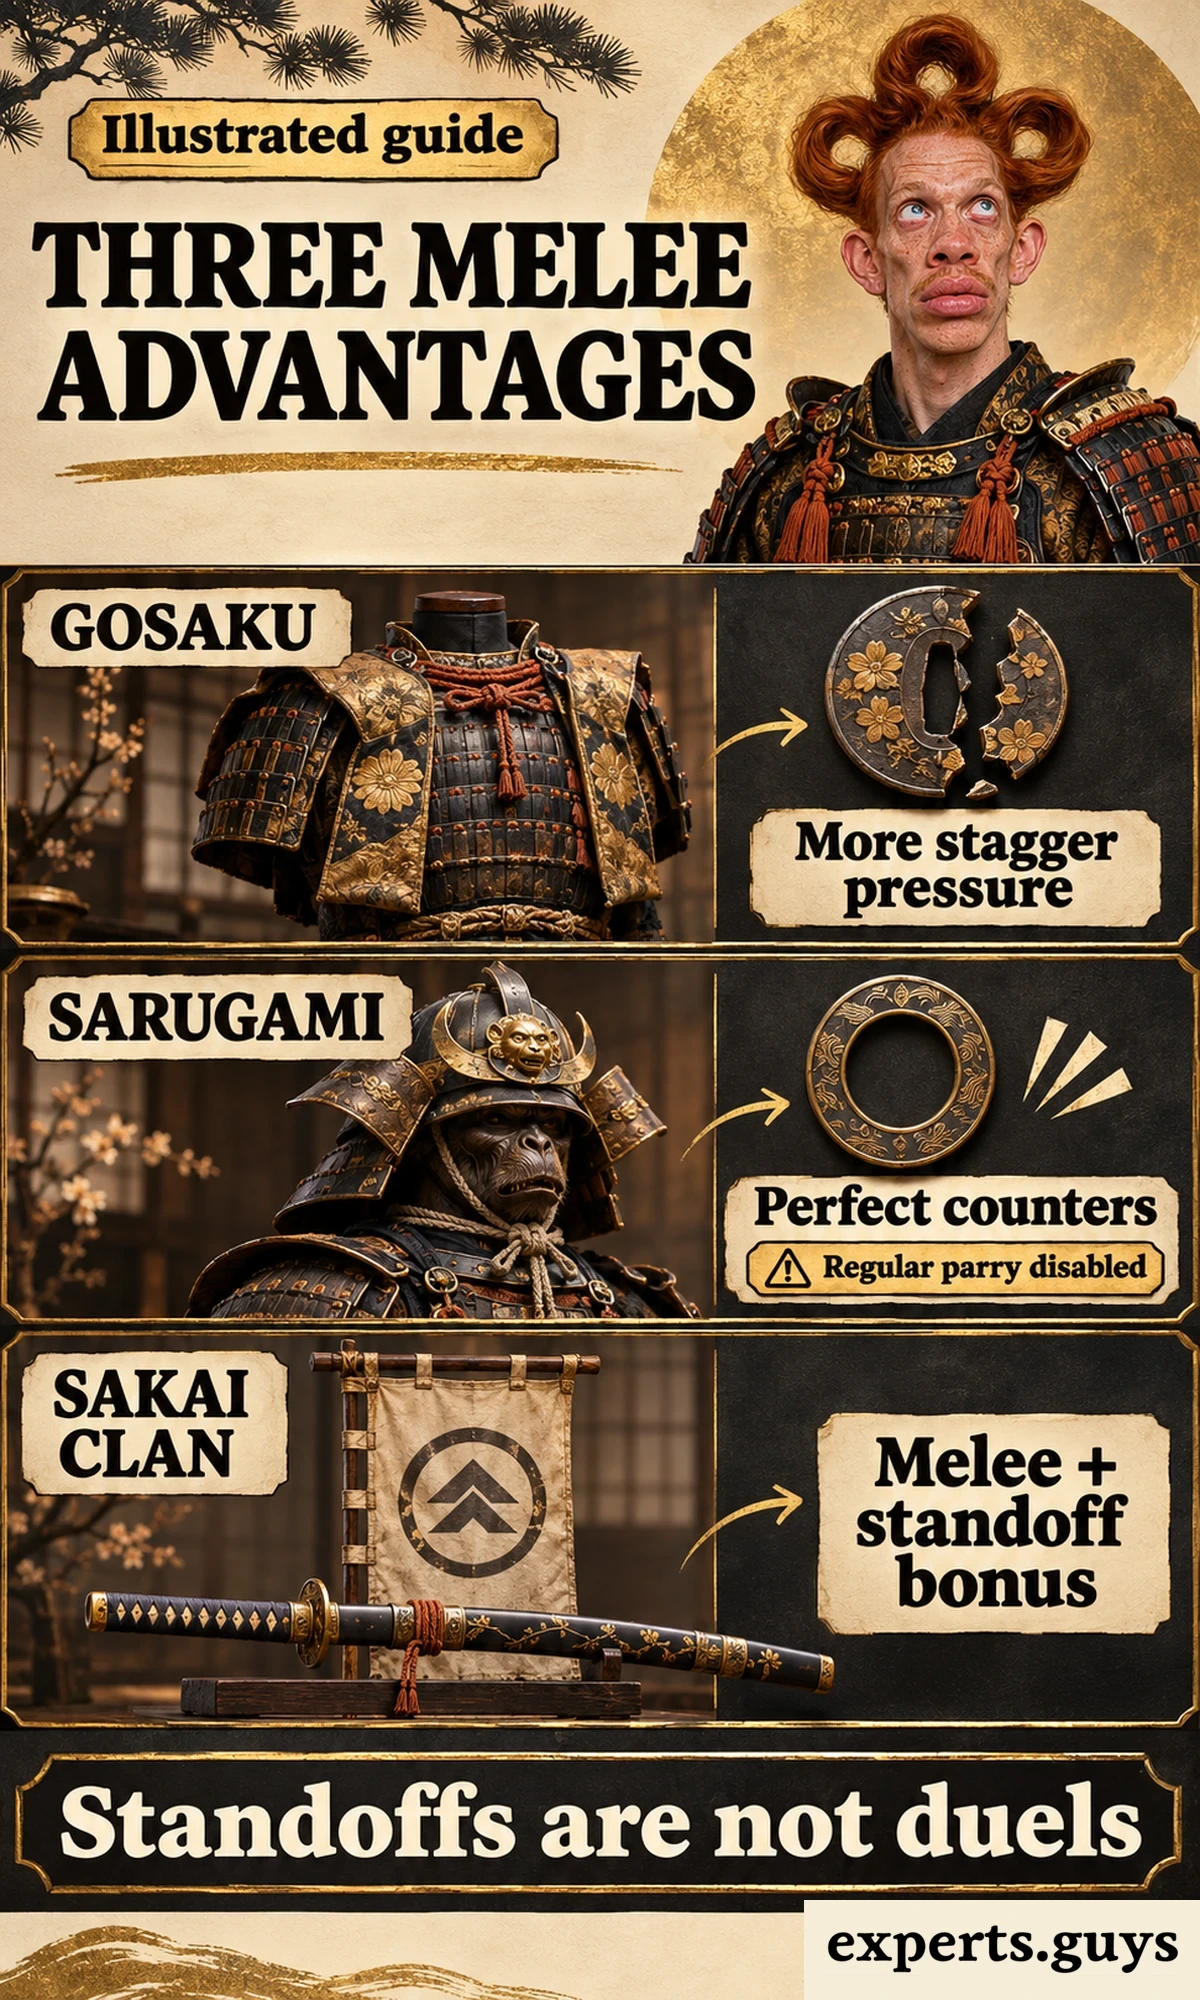
Gosaku supports breaking an enemy’s guard and rewards killing a staggered enemy with health. Stagger damage acts on the enemy’s defensive state; it is not interchangeable with a direct increase to the damage taken off the health bar. This distinction explains why a set can make openings arrive more easily without making every individual sword strike equally stronger.
In an ordinary group fight, the health reward can connect one completed kill to the next engagement. In a fight where no enemy dies until the encounter ends, that same reward cannot provide a stream of healing during the exchanges. Gosaku’s health and stagger benefits still matter, but its sustain should not be counted twice when deciding whether it suits a particular fight.
The common misread is treating “stagger an enemy” and “kill a staggered enemy” as identical triggers. Breaking a guard alone does not satisfy the latter wording. When comparing an upgrade, read the entire condition, including the action that must finish the sequence, before deciding how often the benefit will appear.
Sarugami Armor: a changed defensive rule, not just more damage
Sarugami disables regular parries while enhancing perfect-parry and perfect-dodge play, increasing the timing windows and improving Resolve gain. Its perfect-parry follow-up develops into a counterattack chain as it is upgraded. The increased timing window is part of the attraction: the set changes both the reward for precise defense and the opportunity to achieve it.
The loss of the regular parry matters even if the perfect window becomes more generous. Someone who often lands ordinary parries may feel less comfortable until their inputs produce the perfect result consistently. Conversely, a player who already prefers counterattacks may find the larger window useful immediately; calling Sarugami suitable only for flawless experts understates what the armor itself contributes.
Our recommendation is conditional: use Sarugami when you want to build your encounter around perfect defensive counters and are comfortable with its changed rules. Prefer Samurai Clan if your immediate priority is surviving missed responses, or Gosaku if creating guard breaks is the more dependable way you obtain openings. Neither alternative requires you to abandon the option of learning Sarugami later.
Sakai Clan Armor: direct melee and a stronger standoff opening
Sakai Clan Armor adds melee damage, health and standoff-related benefits. It fits players who want their ordinary sword attacks to carry more weight and who enjoy challenging groups before open combat. A standoff bonus affects that opening challenge; it does not automatically improve every subsequent phase of the fight.
Sakai and Gosaku therefore answer different problems. If enemies are already open to attack but take longer to finish than you would like, direct melee damage is relevant. If their guard is preventing those openings, stagger support is the more targeted advantage. This is an editorial comparison of what the bonuses address, not a claim that either set produces the fastest clear time for every player.
For the underlying stance and defensive fundamentals, the Ghost of Tsushima beginner guide is the appropriate next read. This armor guide assumes those actions are available and concentrates on which equipment effect supports them, rather than repeating the full combat tutorial.
Use a trigger check before committing to a set
- Name the next job. Decide whether you are entering a duel, fighting a group, shooting from range or travelling to a collectible.
- Read the armor condition. Separate an always-present benefit from one that needs a hit, kill, headshot, perfect response or standoff.
- Remove unavailable actions. A bonus tied to an action you cannot perform in that encounter contributes no practical value there.
- Choose the benefit that addresses the obstacle. Surviving, opening a guard and increasing finishing damage are related but separate needs.
The completion check is simple: you can explain what should activate the chosen advantage in the next encounter. If you cannot name that event, keep your familiar armor while you compare the descriptions. There is no need to assign yourself a performance score or build an elaborate spreadsheet to make a useful choice.
What changes when you enter a duel?
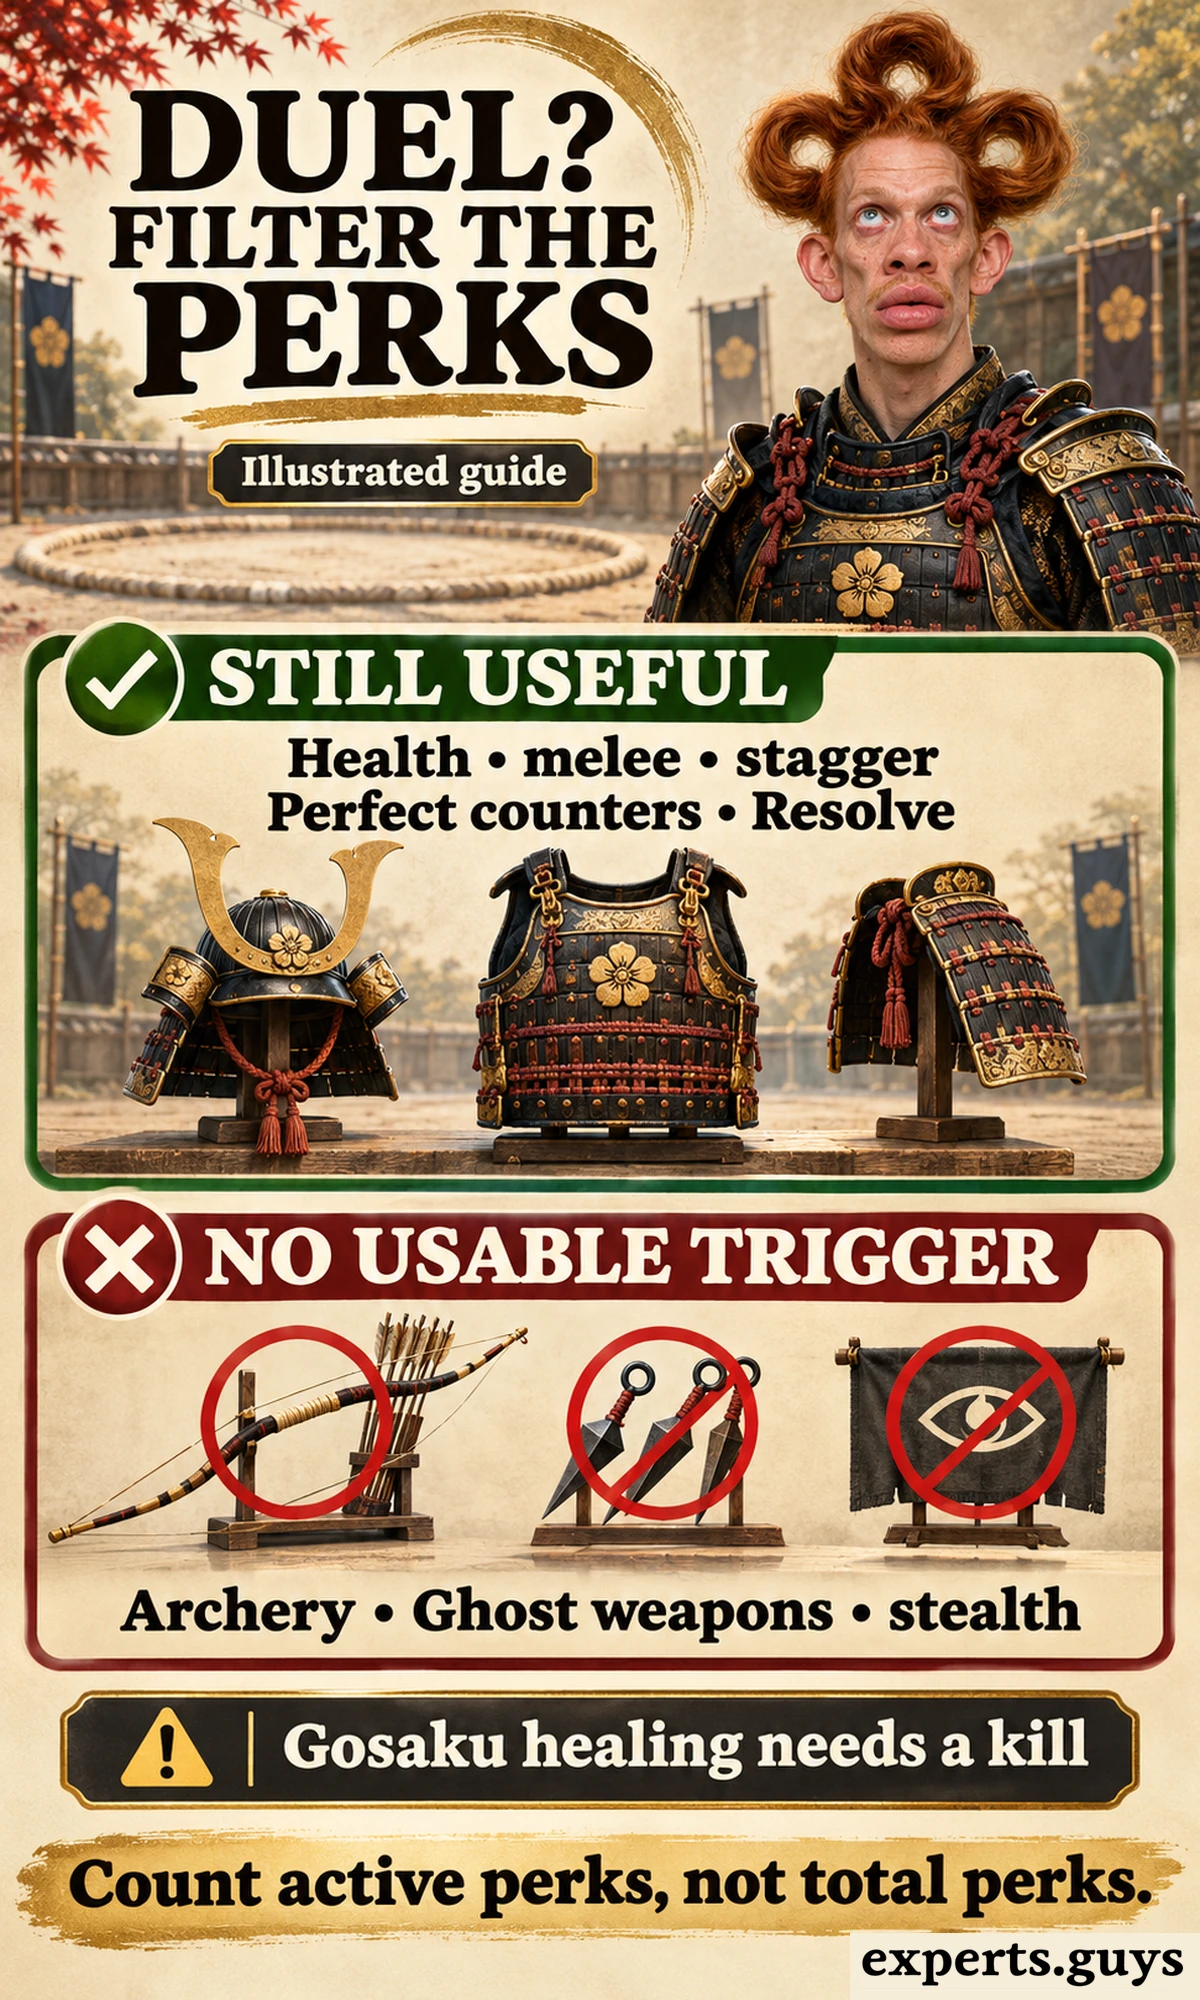
A formal sword duel removes much of the value of archery, stealth and Ghost-weapon bonuses because their triggering actions are unavailable. Health, damage reduction, melee damage, stagger support, Resolve effects and perfect counters remain relevant when their individual conditions can be met. Filter the bonuses first; compare armor names second.
Why a camp build can disappoint against one opponent
A camp gives you several ways to change the encounter before the sword fight becomes difficult. You may reduce awareness, remove an isolated enemy, damage a target with a Ghost weapon or frighten another enemy after a kill. A duel removes those surrounding opportunities, so a loadout that feels effective against a crowd can lose much of its supporting structure.
That does not mean every effect on the armor stops working. Kensei’s Resolve support is a separate consideration from its Ghost-weapon effects, and Sakai’s melee and health benefits are separate from its standoff benefits. Avoid the opposite mistake of discarding an entire set because one part of its description is irrelevant; evaluate each line on its own.
| Armor | Relevant effects | Do not count on |
|---|---|---|
| Samurai Clan | Health, damage reduction, damage-triggered Resolve | Surviving every attack at every difficulty. |
| Gosaku | Health and stagger support | Repeated healing before the only opponent is defeated. |
| Sarugami | Perfect-counter effects, timing windows and Resolve | Regular parries or automatic counter success. |
| Sakai Clan | Melee damage and health | A standoff streak inside a formal duel. |
| Kensei | Its applicable Resolve support | Ghost-weapon damage and weapon-hit effects. |
| Ghost or Tadayori | Compare other equipment for this encounter | Stealth, nearby-enemy fear or bow effects as a duel strategy. |
Gosaku’s healing is not a mid-duel recovery plan
Against a single duel opponent, there is no recurring supply of defeated enemies to activate Gosaku’s kill-based healing during the fight. Its stagger advantage can still help create openings, and its health increase can still matter. The key correction is to stop treating the healing line as protection that will repeatedly rescue you before the opponent is defeated.
This distinction becomes useful when comparing two failed attempts. If you consistently create guard breaks but run out of health before finishing the opponent, you need to examine survival and healing opportunities rather than assuming another staggered exchange will restore health. If you barely create an opening at all, the stagger benefit may still address your main obstacle despite the inactive recovery loop.
Standoffs and duels are separate situations
A standoff is the challenge that can begin an open-world confrontation; a formal duel is the sustained one-on-one fight that follows its own restrictions. Sakai’s standoff enhancement should not be added to its duel value. Its other applicable benefits remain available, which is why it can still be a reasonable sword-fighting choice without being the automatic winner.
The practical consequence is that a set can deserve a place in your ordinary combat rotation for its opening advantage while another becomes your duel choice. There is no contradiction in those decisions. They concern different parts of play, and neither requires declaring the first set obsolete.
Choose between forgiveness, pressure and counters
For a duel you are still learning, Samurai Clan is a sensible starting point because protection supports longer observation and recovery opportunities. Choose Gosaku when breaking the opponent’s defense is the useful advantage. Choose Sarugami when your intended response is the perfect counter and you accept that regular parries are disabled.
An illustrative comparison makes the trade-off clearer. Imagine you are comfortable with an opponent’s normal attacks but repeatedly lose to an unblockable sequence. More stagger damage may create an earlier opening, but it does not turn that sequence into a blockable one. Armor can change the margin or the reward; the required response still depends on the attack.
If a specialized set makes a familiar duel feel confusing, returning to your familiar equipment is a valid adaptation. First regain a clear understanding of what caused the failed exchange, then decide whether the specialist bonus addresses it. Changing armor, charms, difficulty and fighting style together makes that decision harder because several possible causes move at once.
Lethal difficulty does not create a universal armor winner
Lethal difficulty makes mistakes more consequential, but the best response depends on the encounter and the actions you can execute. An extra defensive benefit is useful only if it changes what you survive; an offensive benefit is useful only if it changes the openings or hits needed. Do not assume a percentage or a descriptive tier translates into a guaranteed extra hit survived against every attack.
For this reason, avoid treating “best on Lethal” as a separate permanent identity for one set. A camp approach that reduces the number of active enemies and a duel build that supports precise counters solve different risks. Use the encounter’s restrictions and your actual failure point to decide which one matters now.
When do Ghost, Kensei and Tadayori beat melee armor?
Specialist armor becomes the better choice when you can make its favored action central to the encounter. Ghost supports stealth and fear, Kensei strengthens Ghost-weapon play and its follow-up opportunities, and Tadayori supports sustained bow use. These are opportunities to reshape a fight, rather than passive replacements for every melee loadout.
Sucker Punch’s explanation of combat freedom makes an essential distinction: armor does not lock you into a class or remove your other actions. You can use stealth or tools in samurai armor. The decision here is whether those actions deserve equipment that specifically rewards them.
Ghost Armor: awareness and fear, with limits
Ghost Armor slows enemy detection, lowers the kill requirement for Ghost Stance and gives kills a chance to terrify nearby enemies. Its value grows when a mission lets you approach quietly and when there are surrounding enemies who can be affected by fear. The armor does not make Jin invisible, and a chance-based effect should not be treated as a guaranteed outcome after each kill.
Think of detection reduction as additional room to complete an approach, not permission to ignore sightlines. Likewise, fear is most useful when another enemy is present to be frightened. If the encounter is already a restricted one-on-one duel, the reasons that made Ghost attractive during infiltration no longer define the problem.
Ronin Attire supplies an earlier combination of reduced detection and melee support, including a detection-related effect after leaving pampas grass while crouched. It is useful when you want a quiet approach without waiting for Ghost Armor. Choose it for those available bonuses rather than treating it as a temporary outfit that must be replaced the moment a later reward appears.
Kensei Armor: a weapon hit changes the follow-up
Kensei increases Resolve gain and Ghost-weapon damage, while an enemy struck with a Ghost weapon becomes less dangerous and more vulnerable to subsequent damage. The target condition matters: an effect attached to the struck enemy should not be interpreted as a permanent weakening of every enemy in the camp. Its value depends on actually connecting the relevant weapon hit.
An illustrative camp decision: a durable enemy is about to become part of an open fight, and you have a damaging Ghost weapon available. Kensei offers a reason to make that weapon part of the opening and exploit the affected target afterward. If your ammunition is empty or the mission restricts those tools, the weapon-dependent portion of the recommendation loses its basis.
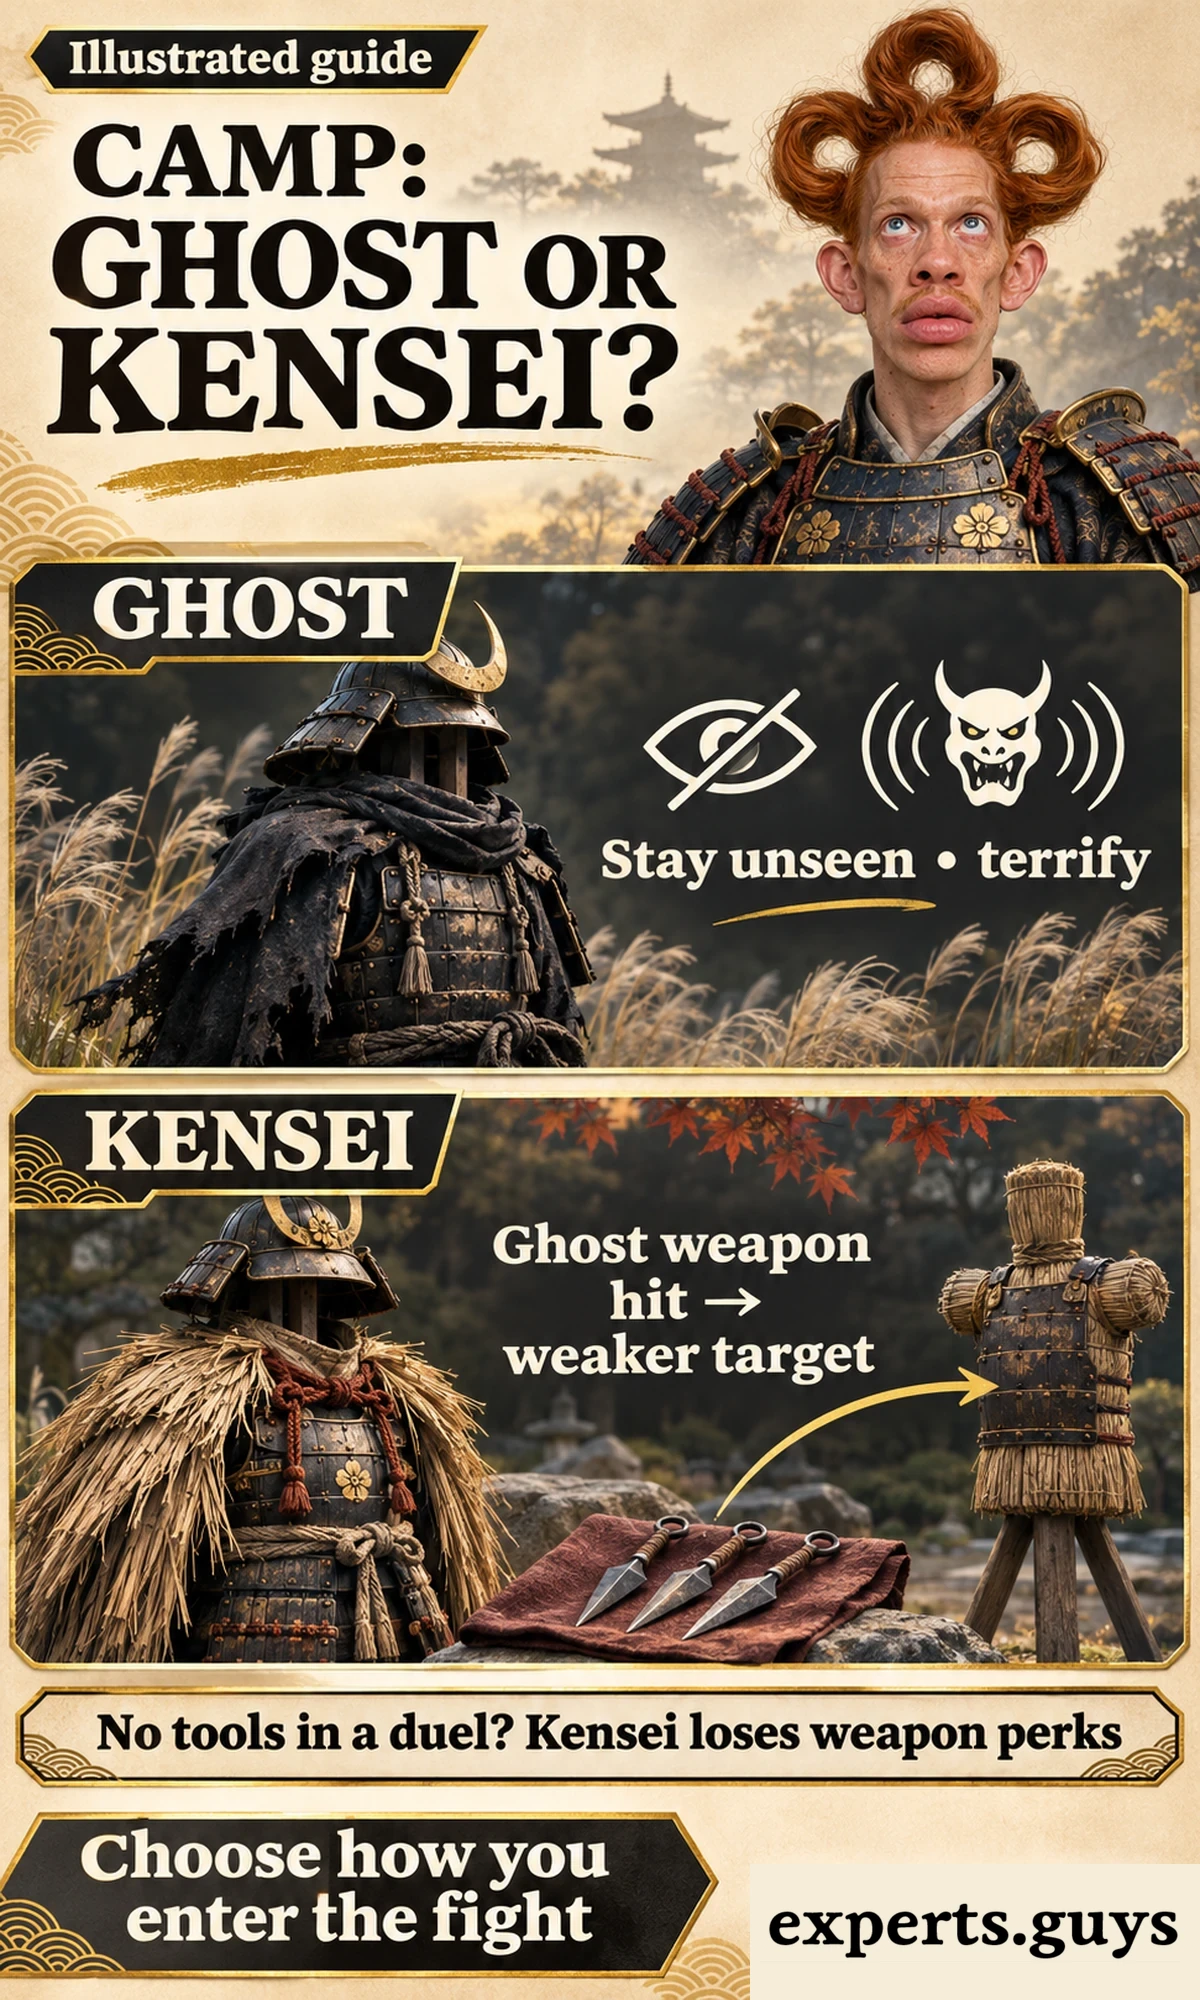
The image compares the two choices rather than prescribing a universal camp sequence. Prefer Ghost when remaining unnoticed and using fear are the desired advantages; prefer Kensei when damaging tools are central to how you intend to fight. When neither condition is available, return to the melee comparison instead of forcing a specialist set into the situation.
Tadayori’s Armor: a repeatable bow advantage
Tadayori improves nocking and reload speed, extends Concentration and rewards headshots by restoring part of the Concentration meter. Together, these effects support repeated accurate bow shots. They do not supply unlimited arrows or guarantee that every helmeted target can be defeated with whichever bow and arrow you happen to have equipped.
The useful loop is to prepare a clear shot, use Concentration when needed and land the headshot that supports the next aiming opportunity. The equipment helps the shooting cycle, while distance, obstructions, target protection and ammunition still determine whether it is a sensible cycle to attempt. The goal is not to remain in an exposed position simply because the meter can refill.
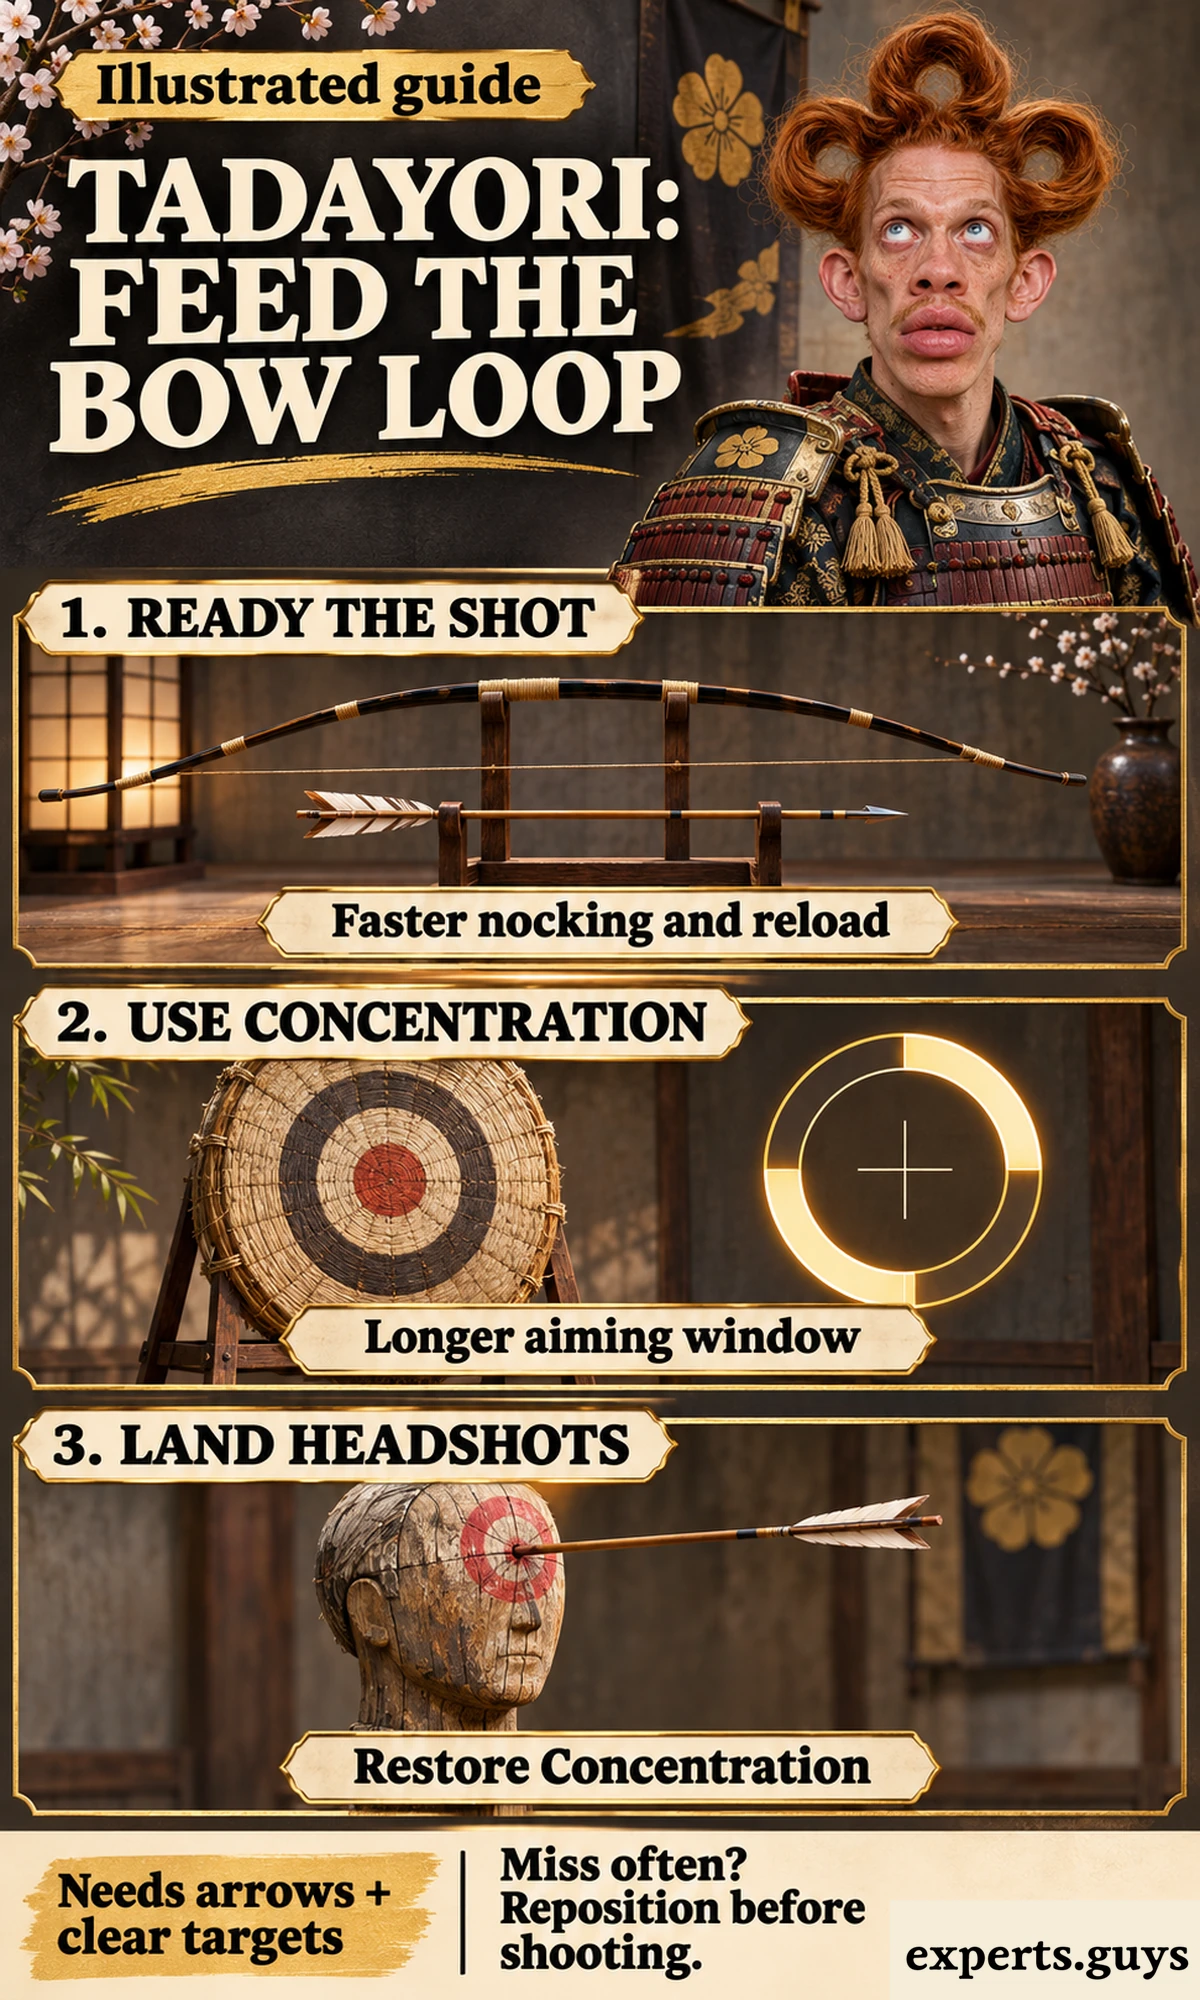
If you are missing frequently, the easier adaptation is a clearer position or a less pressured target before committing to repeated shots. Increasing the size of a headshot reward does little when the triggering shot is not landing. If the available target or mission makes ranged play impractical, switch to a loadout whose benefits can operate at close range.
Traveler’s Attire: exploration is a different job
Traveler’s Attire supports finding artifacts and uncovering the map. It deserves consideration while you are searching, even though it does not compete with specialist combat sets on their own terms. Its discovery role explains why an outfit without a strong melee bonus can remain useful after you acquire much more elaborate armor.
The mistake is extending that recommendation to every activity during the journey. A discovery bonus helps with finding something; a duel tests a different set of actions. Keep Traveler’s available for the search without treating it as a reason to enter a difficult fight in equipment that does not address the fight’s demands.
A worked choice without a universal tier list
Suppose you have reached a camp with clear ranged sightlines, a usable bow and enough ammunition. Tadayori has a direct opportunity to support your intended approach. The same camp approached through cover with an emphasis on remaining unnoticed gives Ghost or Ronin a different rationale; approaching with damaging tools makes Kensei more relevant.
These are illustrative choices, not recorded clear-time comparisons. They demonstrate why the intended action changes the recommendation before a numerical ranking is necessary. If you still need to decide whether the expansion or edition is right for you, the Ghost of Tsushima Director’s Cut review covers that broader purchase and journey decision.
What should you unlock, upgrade and save as a loadout?
Invest first in an available set whose next upgrade supports a recurring job, then keep a small number of distinct loadouts rather than spreading resources evenly. Read your current upgrade screen before copying values from a guide: first-playthrough equipment and New Game+ upgrades can have different ceilings. A visually impressive late reward is not automatically the most useful next investment.
Use the unlock stage as a practical boundary
The table below identifies the main routes without narrating their story events. The stage describes when an armor route becomes available in an ordinary first playthrough; it is not a recommendation to interrupt your journey and collect every item immediately. Iki content also requires the expansion included with Director’s Cut.
| Armor | Availability | Unlock route |
|---|---|---|
| Traveler’s Attire | Act 1 | Speak to a merchant. |
| Samurai Clan | Act 1 | The Tale of Lady Masako; armorer at the Golden Temple. |
| Ronin Attire | Act 1 | Blood on the Grass. |
| Tadayori | Act 1 | The Legend of Tadayori Mythic Tale. |
| Gosaku | Act 2 | The Unbreakable Gosaku Mythic Tale; collect its farm keys. |
| Kensei | Act 2 | The Six Blades of Kojiro Mythic Tale. |
| Sakai Clan | Act 2 | Ghosts from the Past. |
| Ghost | Late Act 2 | From the Darkness. |
| Sarugami | Iki Island expansion | The Legend of Black Hand Riku Mythic Tale. |
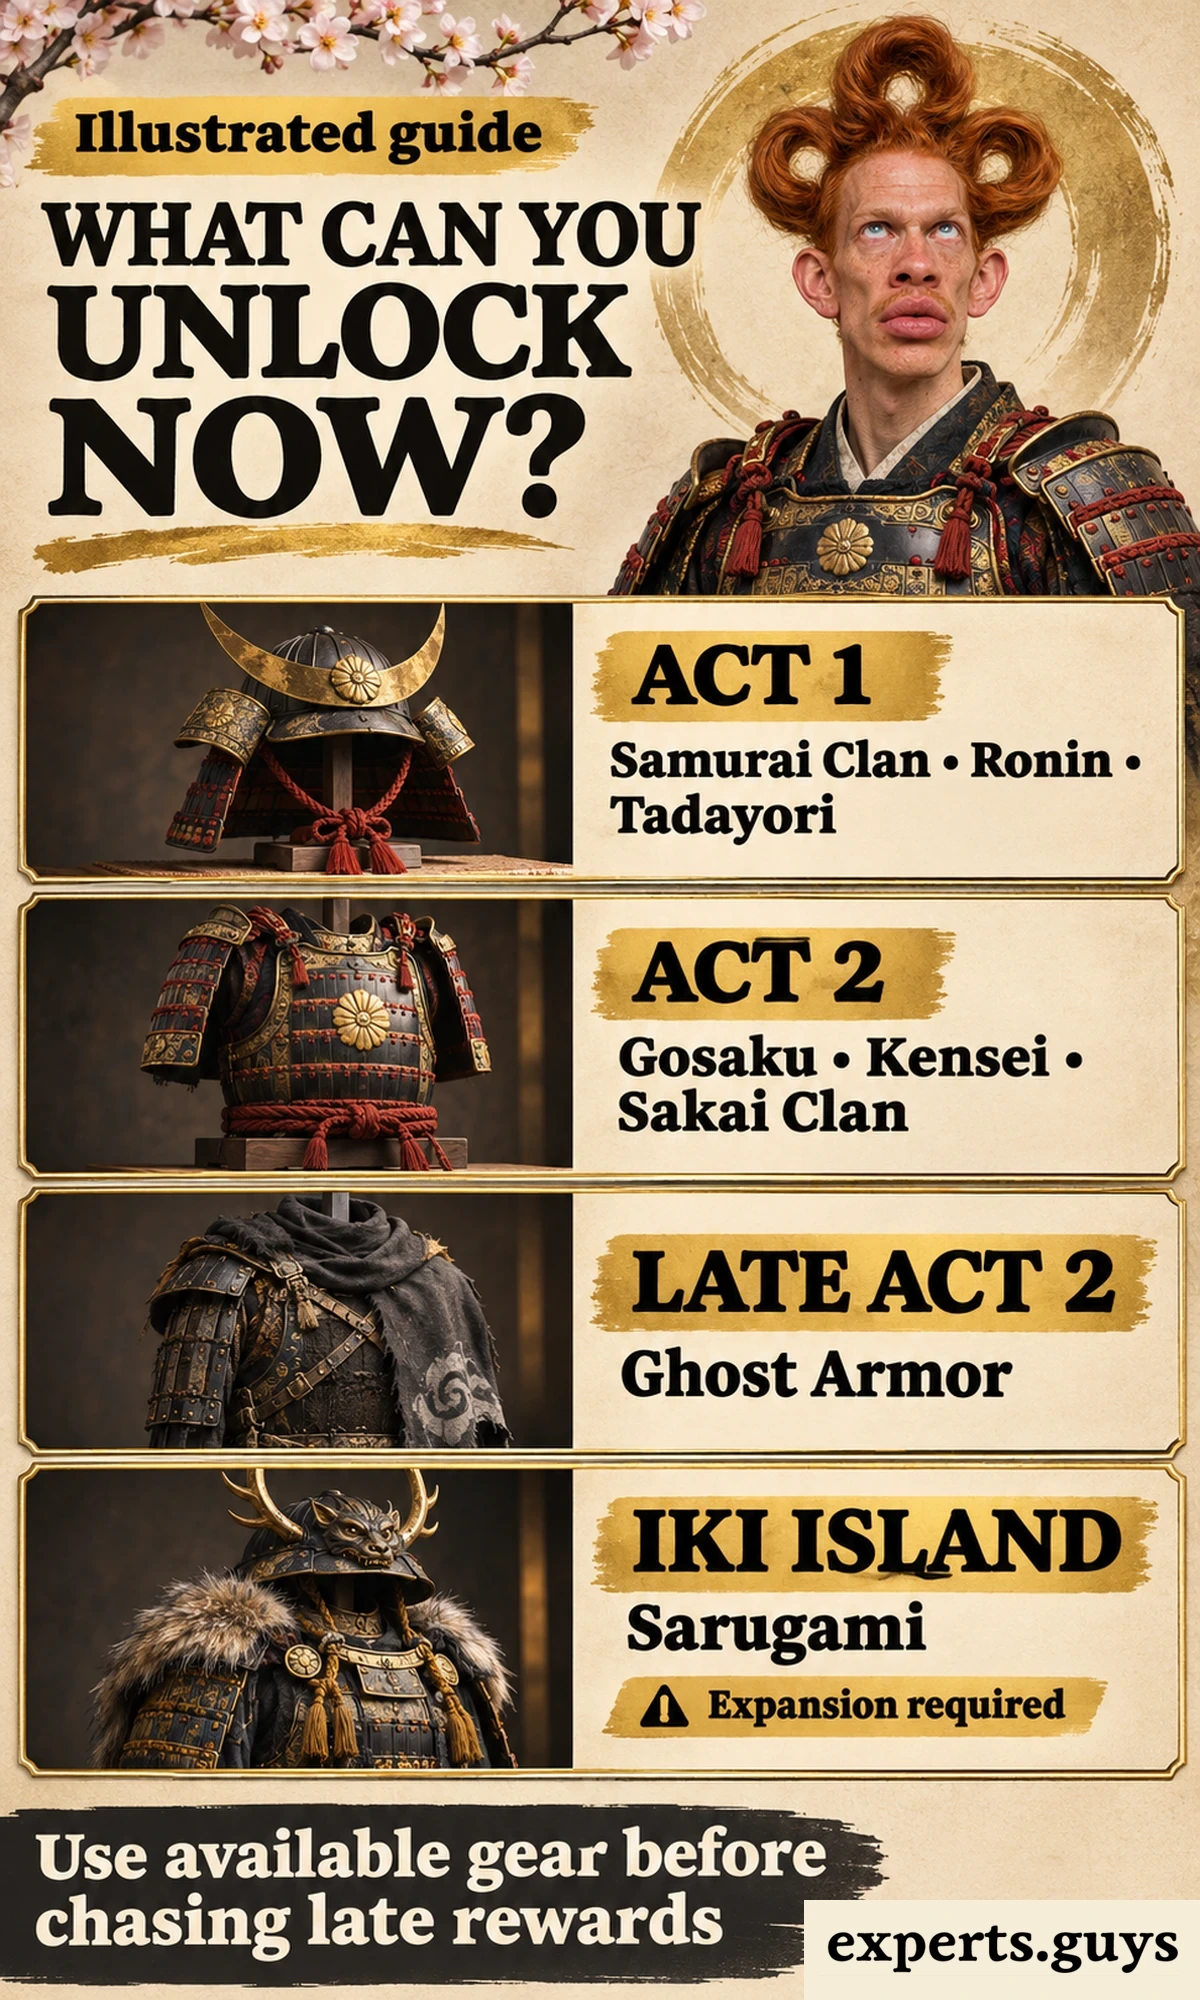
Sarugami is an Iki Island reward, so a base-game-only recommendation cannot reasonably make it the required answer. Even with expansion access, reaching a powerful set has a time and progression cost. That cost belongs in the decision alongside the advantage: available gear that already solves the next problem can be the more useful choice now.
Mongol Commander’s Armor is another late option, obtained through “Fit for the Khan” in Act 3. It combines protection with reduced Mongol detection while out of combat. The disguise-related advantage is not permanent immunity from suspicion or damage, and its late arrival prevents it from serving as an ordinary early-game solution.
Fundoshi and special bonus outfits can suit appearance preferences or challenge play, but they are unnecessary for the main comparison here. The important boundary is the action the outfit supports. A reward that changes movement noise, for example, should not be interpreted as removing every source of enemy detection.
Read the next tier before buying it
Use this short upgrade procedure at an armorer. Its purpose is to connect a resource purchase to the next useful effect, rather than to complete every upgrade row at the same pace.
- Choose one combat set for the next recurring problem. Pick from equipment you can currently use; do not budget around a locked reward as if it were already available.
- Compare the current perk with the next-tier preview. Identify the actual change, including any condition attached to it.
- Spend when that change supports an action you will use. Leave another set unupgraded if its improvement solves no present problem.
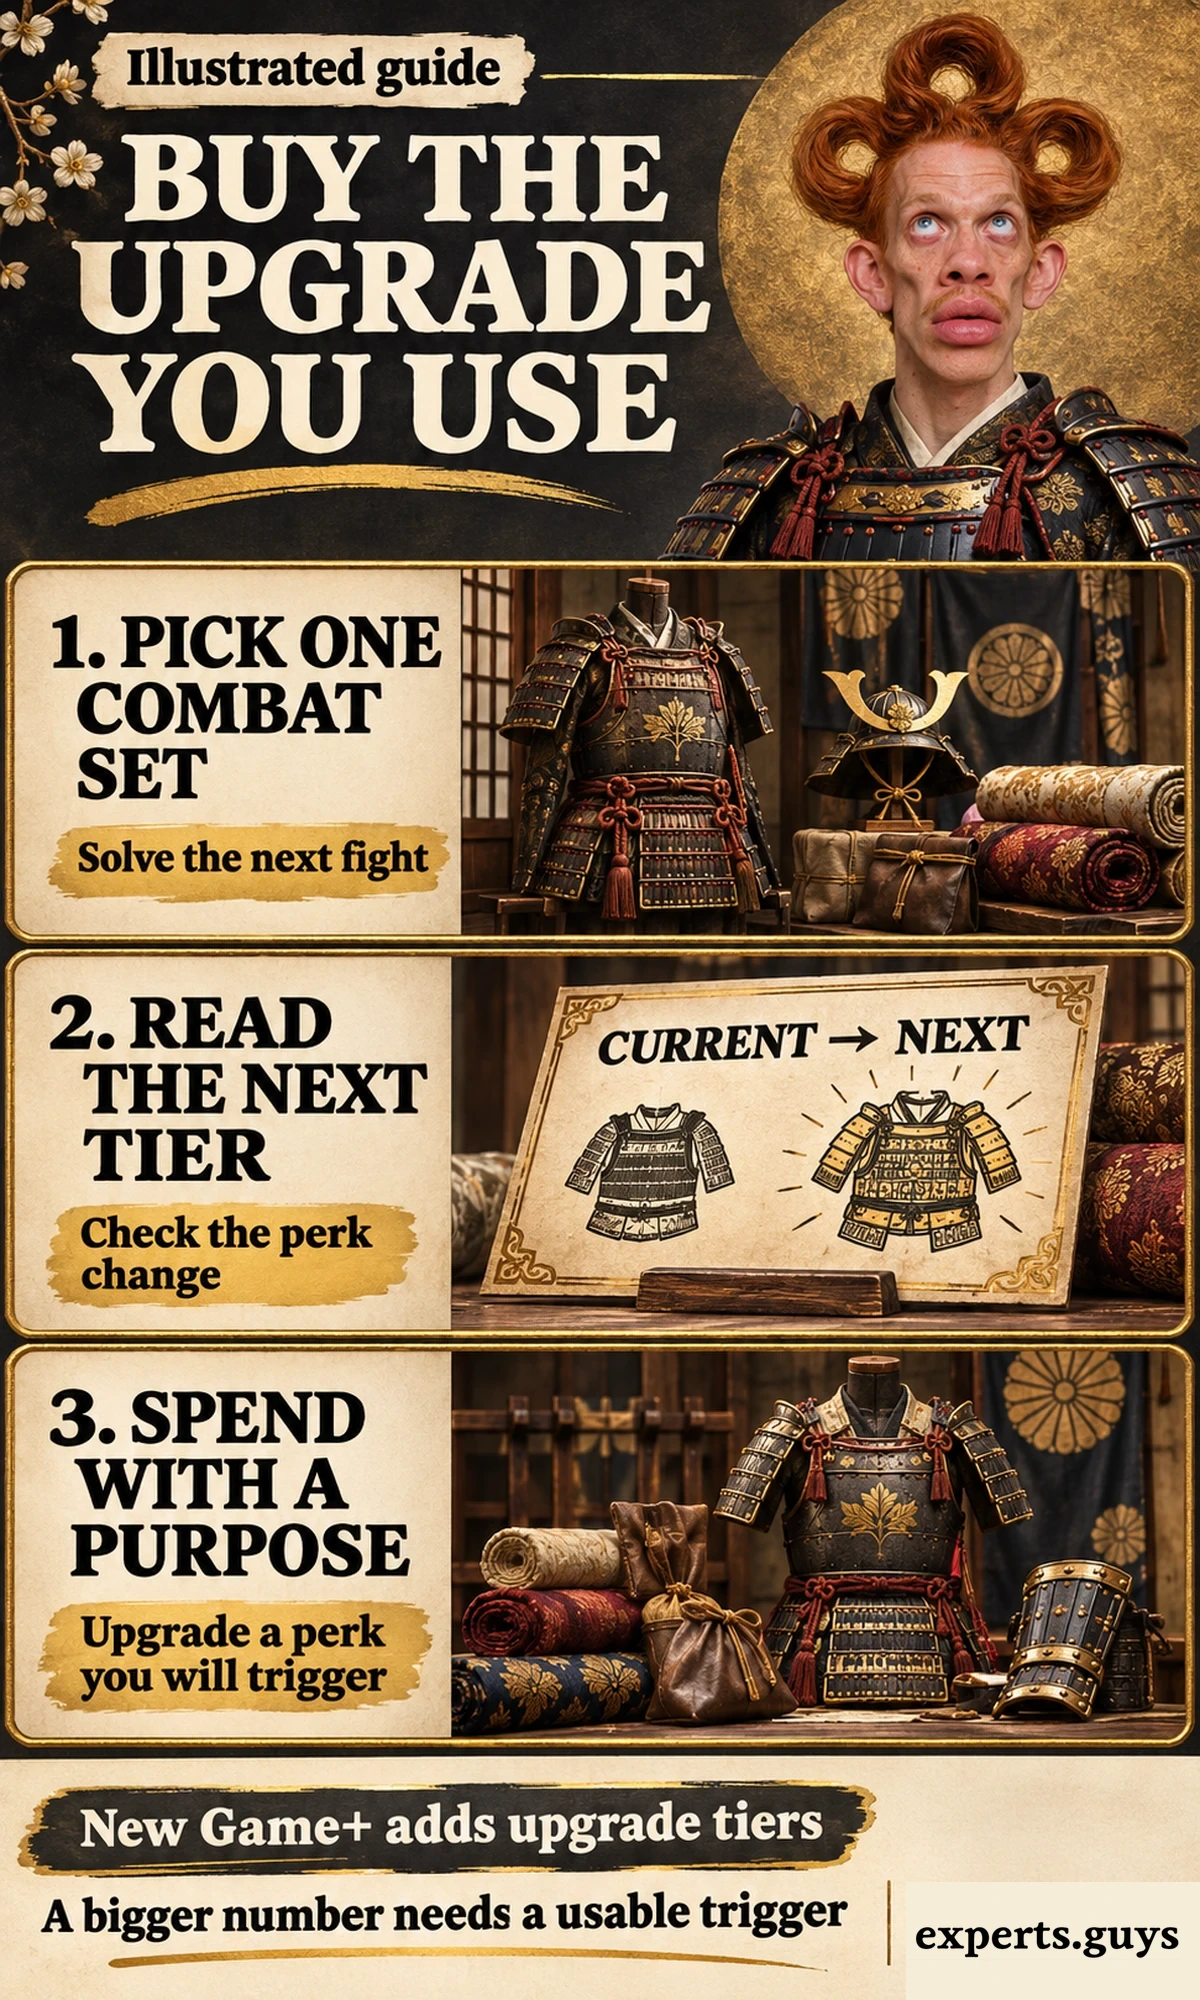
For an illustrative example, assume you use a bow occasionally but enter most encounters as a melee fighter. An upgrade to a headshot-dependent effect may be attractive, yet it belongs behind an improvement to the combat set doing most of your work if resources force a choice. Reverse that priority when ranged play becomes your main approach and you can use its reward consistently.
The common mistake is comparing your current set with someone else’s fully upgraded New Game+ build. Sucker Punch’s New Game+ and loadout announcement confirms additional equipment upgrades in that mode. A higher displayed value may therefore reflect progression or upgrade tier, rather than an error in your copy of the game.
If you cannot afford the upgrade, the lower-cost adaptation is to use the appropriate armor you already own and avoid purchasing unrelated tiers. Completion means identifying a useful next purchase or deciding to defer it; it does not require grinding until every set reaches the same level. Exact costs are best taken from your current armorer screen because that is the purchase you are actually deciding on.
Make armor loadouts carry the intended charms
Enable Armor Loadouts in the gameplay options so each set can carry its own charm and vanity arrangement. This is useful when changing from discovery to combat would otherwise leave you wearing the right armor with charms intended for another job. The feature manages equipment configurations; it does not supply locked charm slots, missing charms or additional ammunition.
- Open the gameplay options and enable Armor Loadouts.
- Equip the armor you want to configure in the gear menu.
- Assign the charms you own and the appearance you prefer for that set.
- Switch to another set, then switch back and confirm that the intended charm arrangement returns.
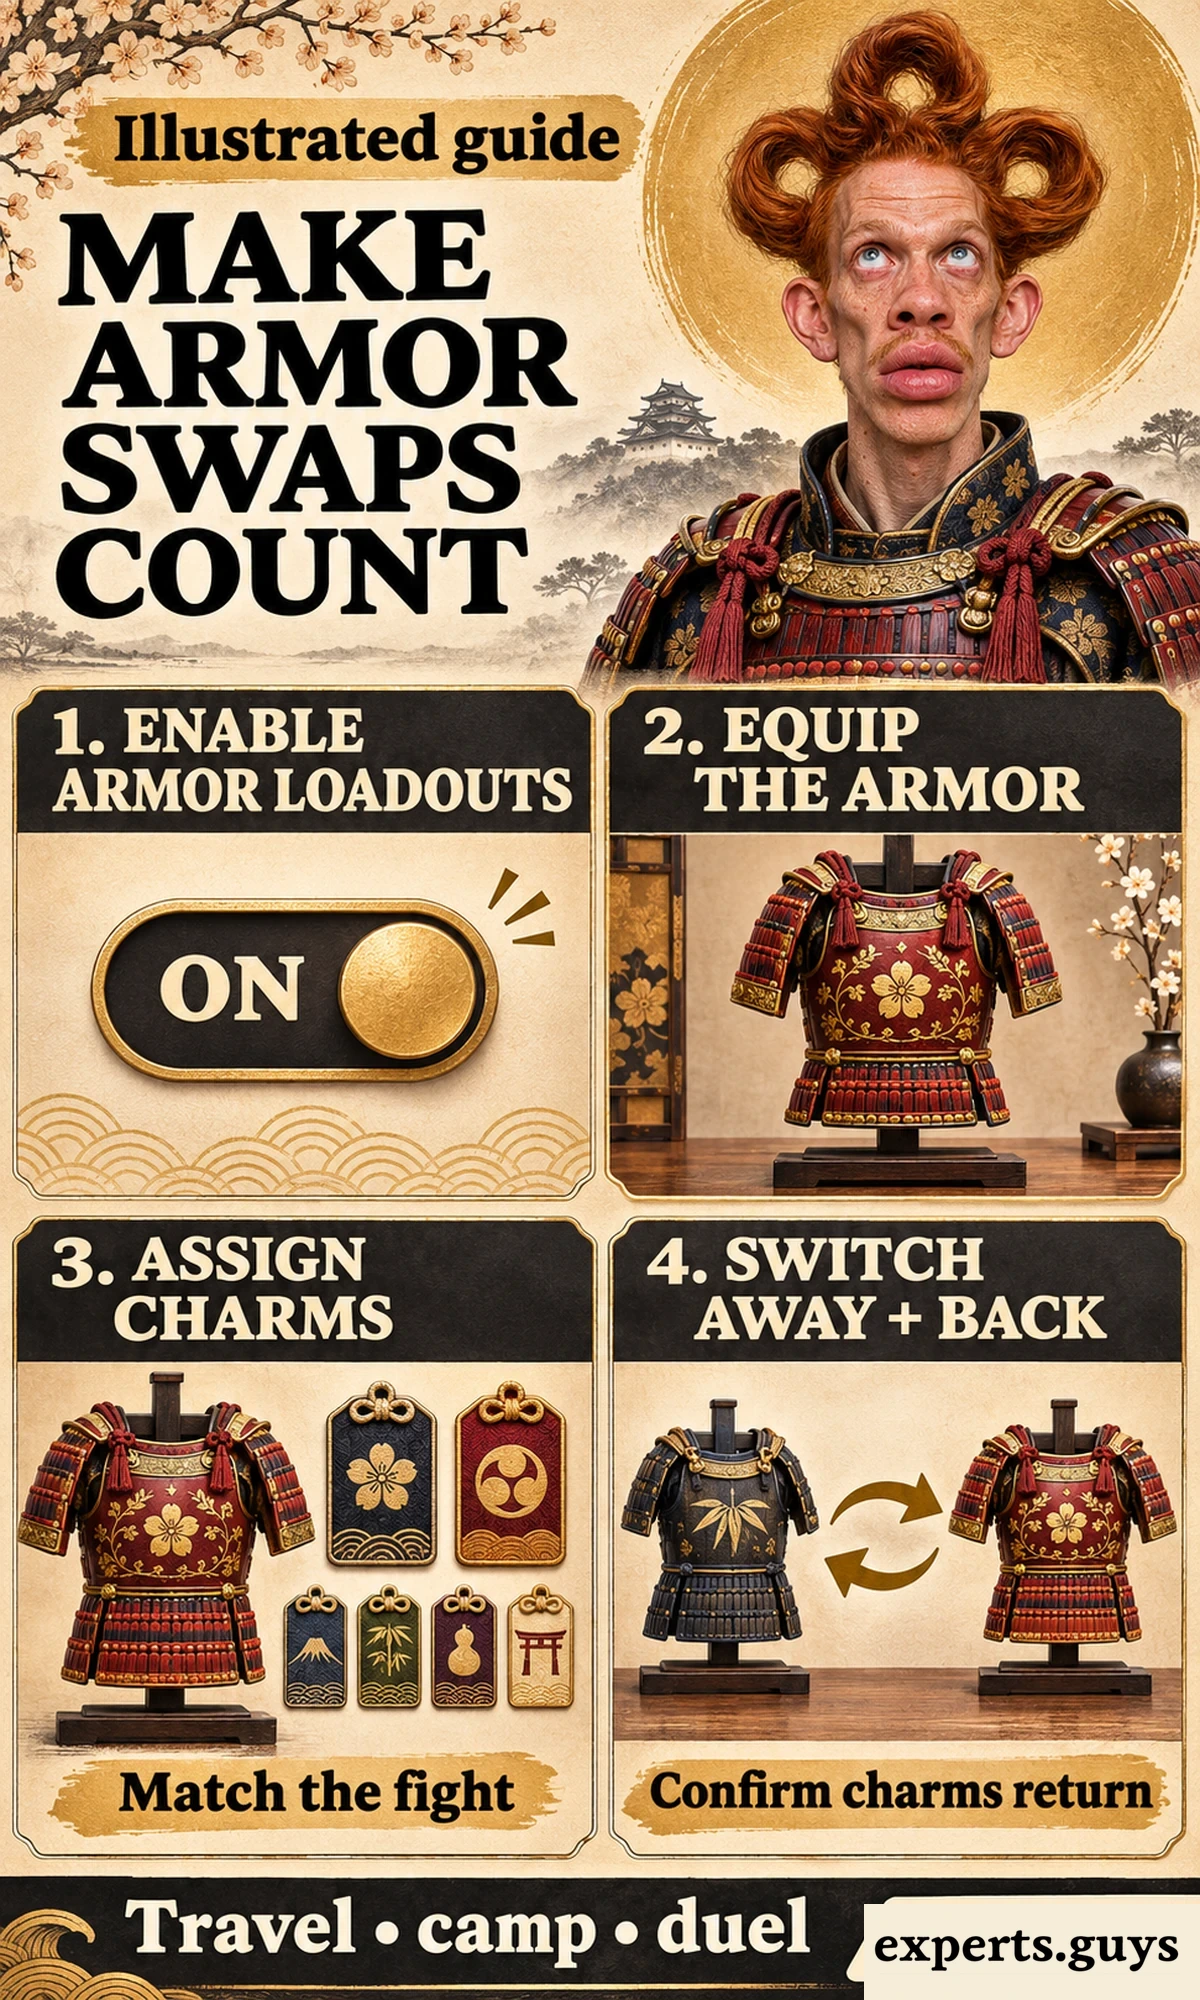
Keep the first configuration simple. A travel set, one dependable combat set and one specialist you actively use are enough to demonstrate the benefit. Add another only when it performs a different job; duplicating several nearly identical melee configurations creates menu choices without necessarily improving the decision.
Charm descriptions deserve the same condition check as armor. An effect tied to kills, a particular resource state or a specific action is not interchangeable with an unconditional effect. Match what you own to what you plan to do, and avoid copying a complete late-game list when several of its parts are still unavailable.
If the charm arrangement fails to return, check that Armor Loadouts is enabled and that you configured the intended armor set. This switch-away-and-back check confirms the setup rather than measuring combat effectiveness. Testing the configuration requires no difficult encounter, and you can complete it before risking an unfamiliar fight.
Change one choice when the setup feels wrong
A useful adjustment is the smallest change that addresses the failure you can identify. Keep familiar charms while comparing the armor’s behavior, or keep the armor while removing a charm whose trigger cannot occur. Rebuilding everything at once makes it difficult to understand whether the improvement came from the armor, a different action or a supporting effect.
You do not need to record attempts or calculate a homemade success percentage. Notice whether the promised event actually happens: the relevant counter appears, the guard opens, the shooting cycle works, or the selected charms return after a swap. Those observations are enough to decide whether to keep the setup or choose a more appropriate advantage.
Frequently asked questions
Can I mix a helmet and mask with a different armor set?
Yes. The single-player equipment system lets you choose a different headpiece and mask for your appearance. Treat those cosmetic choices separately from the body armor’s listed perks; matching the visual set is not required to make the body armor work.
Does wearing Ghost Armor lock me into stealth?
No. Jin retains his other available combat actions. Armor modifies advantages rather than selecting a fixed character class, so a stealth-oriented outfit does not prevent ordinary sword combat or turn a failed infiltration into an automatic defeat.
Do armor dyes increase defense or damage?
Ordinary dyes change appearance. Compare the actual equipment and its perk description when deciding about performance; a color variation or a dramatic helmet is not evidence of a higher combat tier.
Does this ranking apply to Ghost of Tsushima: Legends?
No. Legends uses its own classes and gear progression. The campaign recommendations here concern Jin’s single-player armor effects, and they should not be transferred to a Legends build because an outfit has a similar appearance.
Why does a build guide show a higher bonus than my armor?
Compare the upgrade tier and game mode before assuming something is wrong. New Game+ adds equipment upgrades, and a build may also depend on charms you have not equipped. Your current perk description and next-tier preview are the relevant comparison for a purchase.
Your next equipment decision
Before the next difficult encounter, remove the perks whose triggers are unavailable and choose the remaining advantage that addresses the immediate obstacle. Confirm the associated charms, then leave the equipment menu and use that setup; the next useful upgrade is the one that improves the action you are actually relying on.